Cart
0
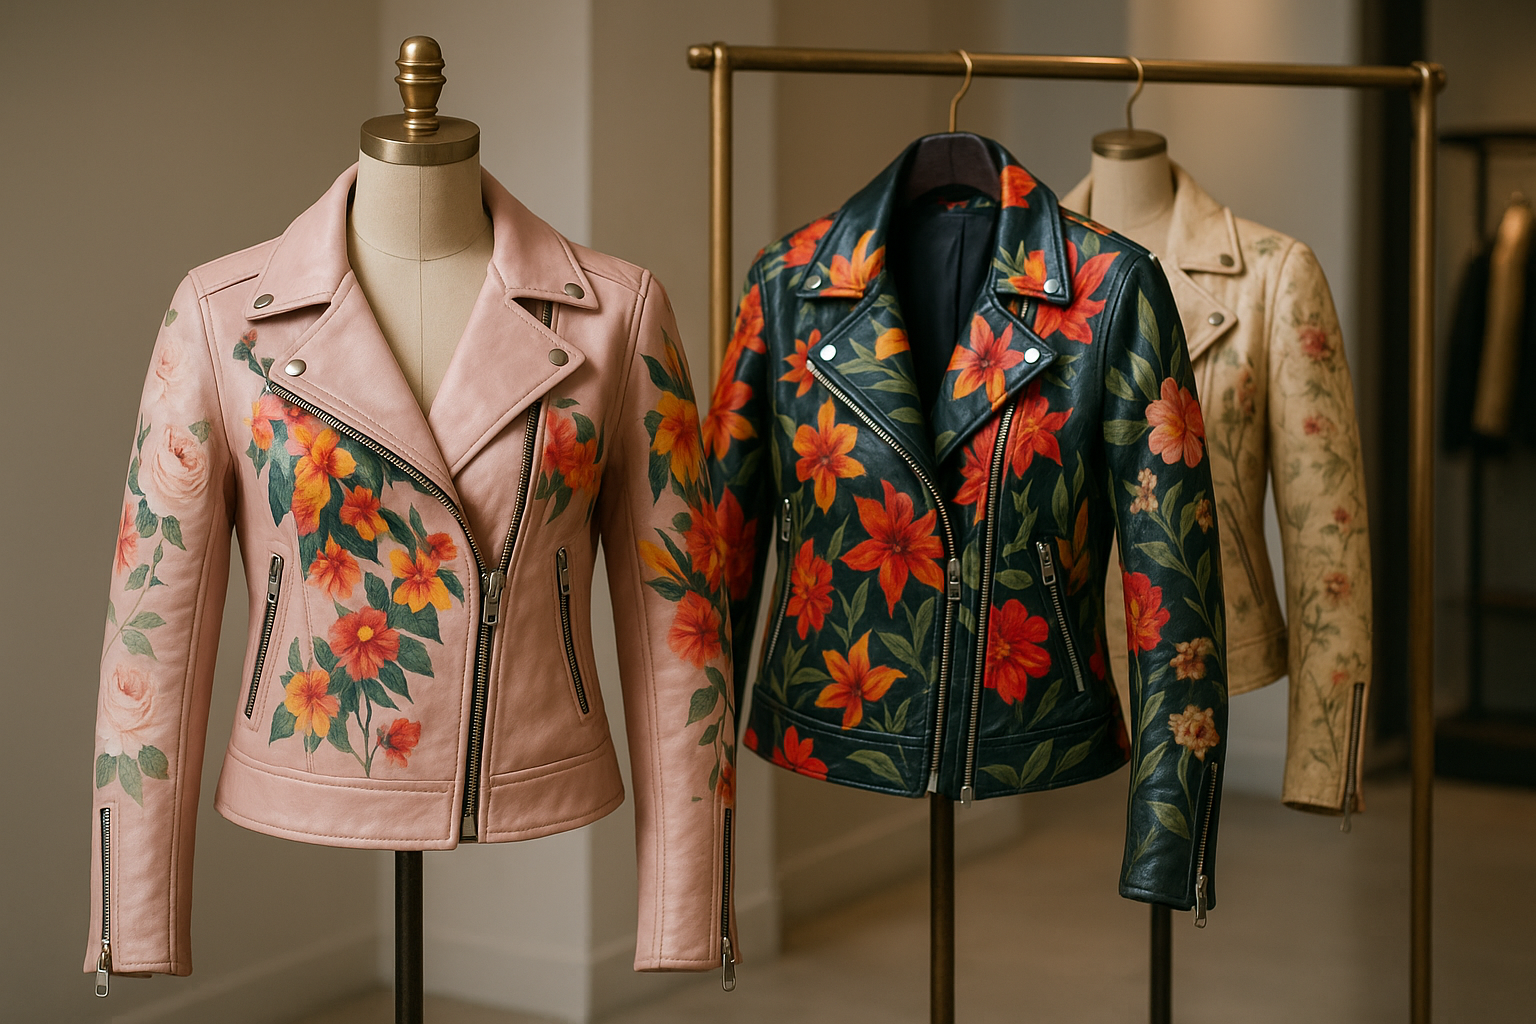
You may also like


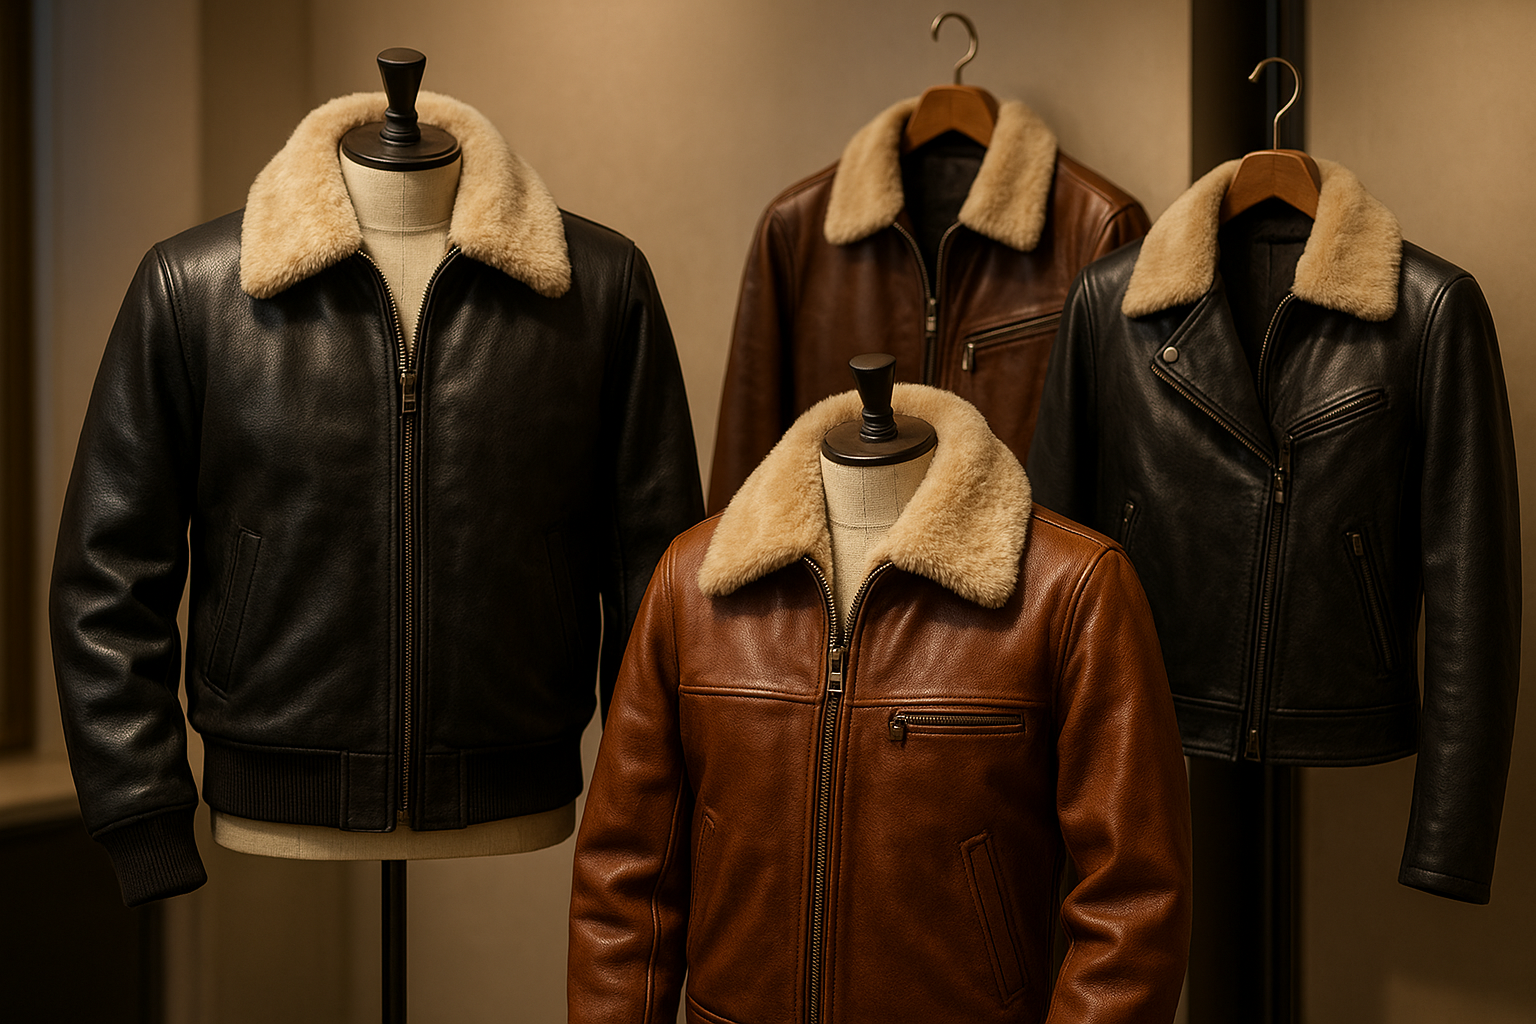
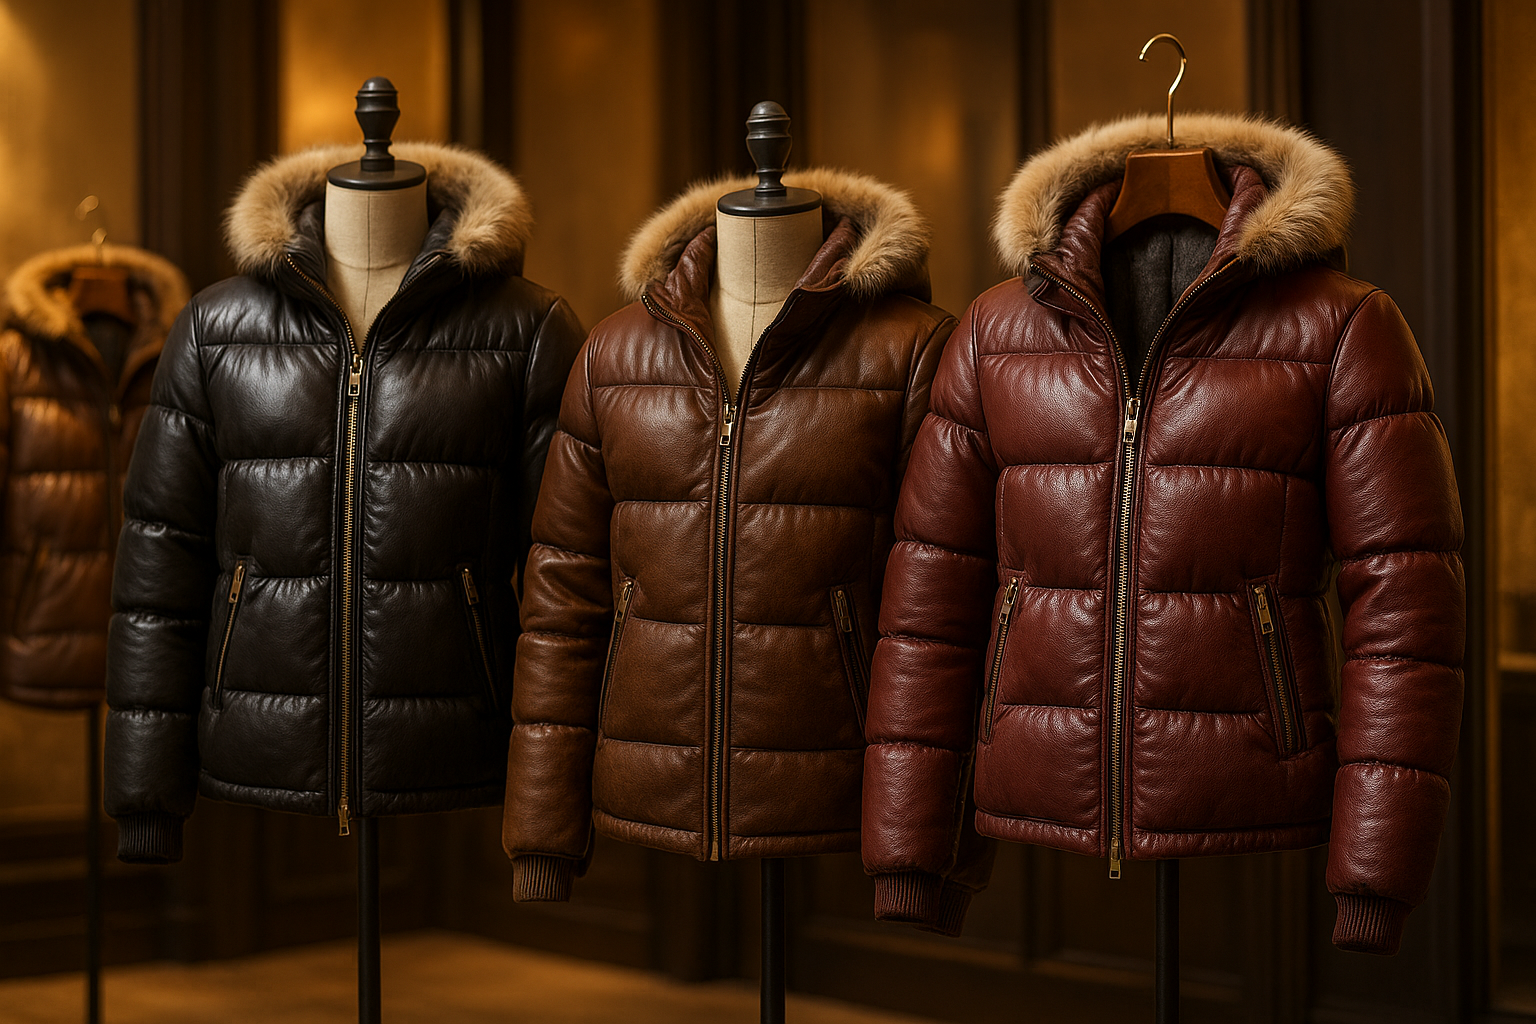
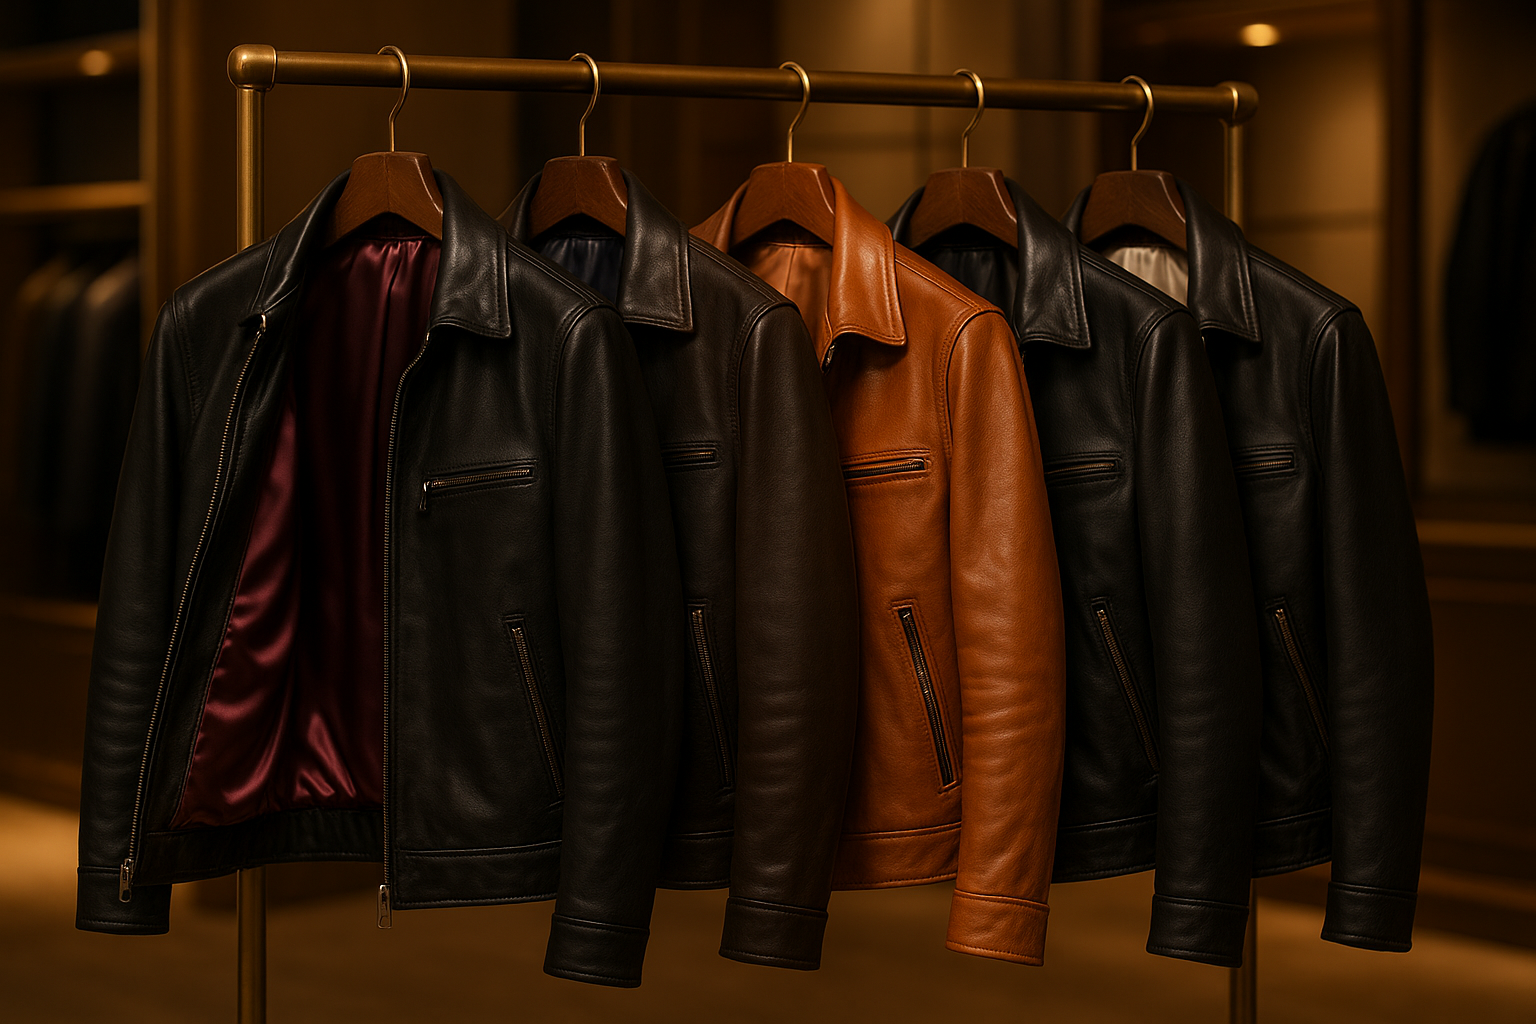
Leather is stylish and durable but can feel heavy or rough against the skin. A lining:
Adds comfort and breathability.
Provides structure so the jacket holds its shape.
Protects the leather from body oils and sweat.
Extends the jacket’s lifespan.
Silk or Satin for luxury feel.
Polyester for durability.
Cotton blends for breathable comfort.
Remove the old lining (if replacing).
Clean the inside of the jacket to remove dust and loose threads.
Use the jacket’s pattern or old lining as a template.
Leave seam allowances for stitching.
Pin the lining inside the jacket carefully, matching seams and edges.
Sew along the edges with a strong, fine needle (hand-sewn or machine-sewn).
Ensure stitches don’t pierce through to the outside of the leather.
Secure hems and seams neatly.
Smooth the lining to avoid wrinkles for a polished, professional look.
Use a walking foot sewing machine if available—it handles leather better.
Avoid thick threads that could leave marks.
Condition the leather after attaching lining to keep it supple.
Q1: Can I attach lining without a sewing machine?
Yes, hand-stitching is possible but requires patience and strong, fine needles.
Q2: What’s the best lining for summer jackets?
Light cotton or breathable polyester works best in hot weather.
Q3: How do I stop the lining from bunching up?
Cut the fabric with enough allowance and smooth it out before stitching.
Q4: Can I replace the lining on an old leather jacket?
Absolutely! Replacing the lining can give your jacket a new life without affecting the leather.
Q5: Do tailors offer lining replacement services?
Yes, many leather-specialist tailors can professionally add or replace linings.