Cart
0
You may also like


Before you begin, make sure you have all the essentials:
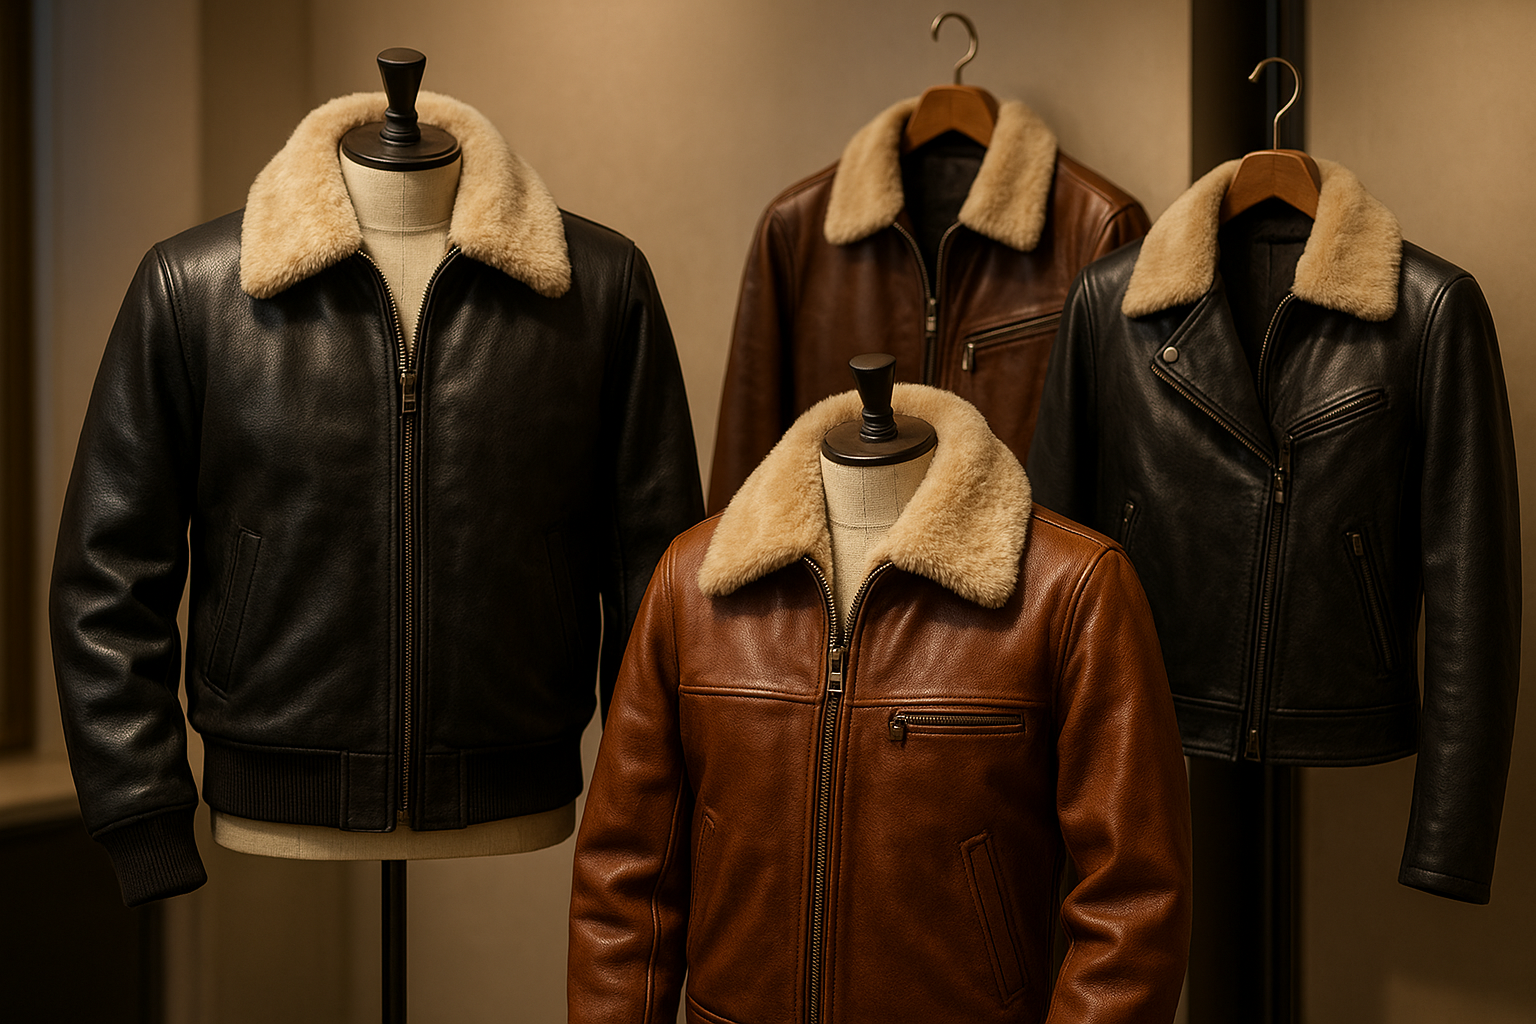
High-quality leather (cowhide, lambskin, or faux leather depending on preference)
Lining fabric (silk, satin, or polyester)
Sewing machine with leather needles
Heavy-duty thread
Fabric scissors & rotary cutter
Pattern paper or pre-made trench coat pattern
Ruler, tailor’s chalk, and measuring tape
Leather adhesive & clips (instead of pins to avoid punctures)
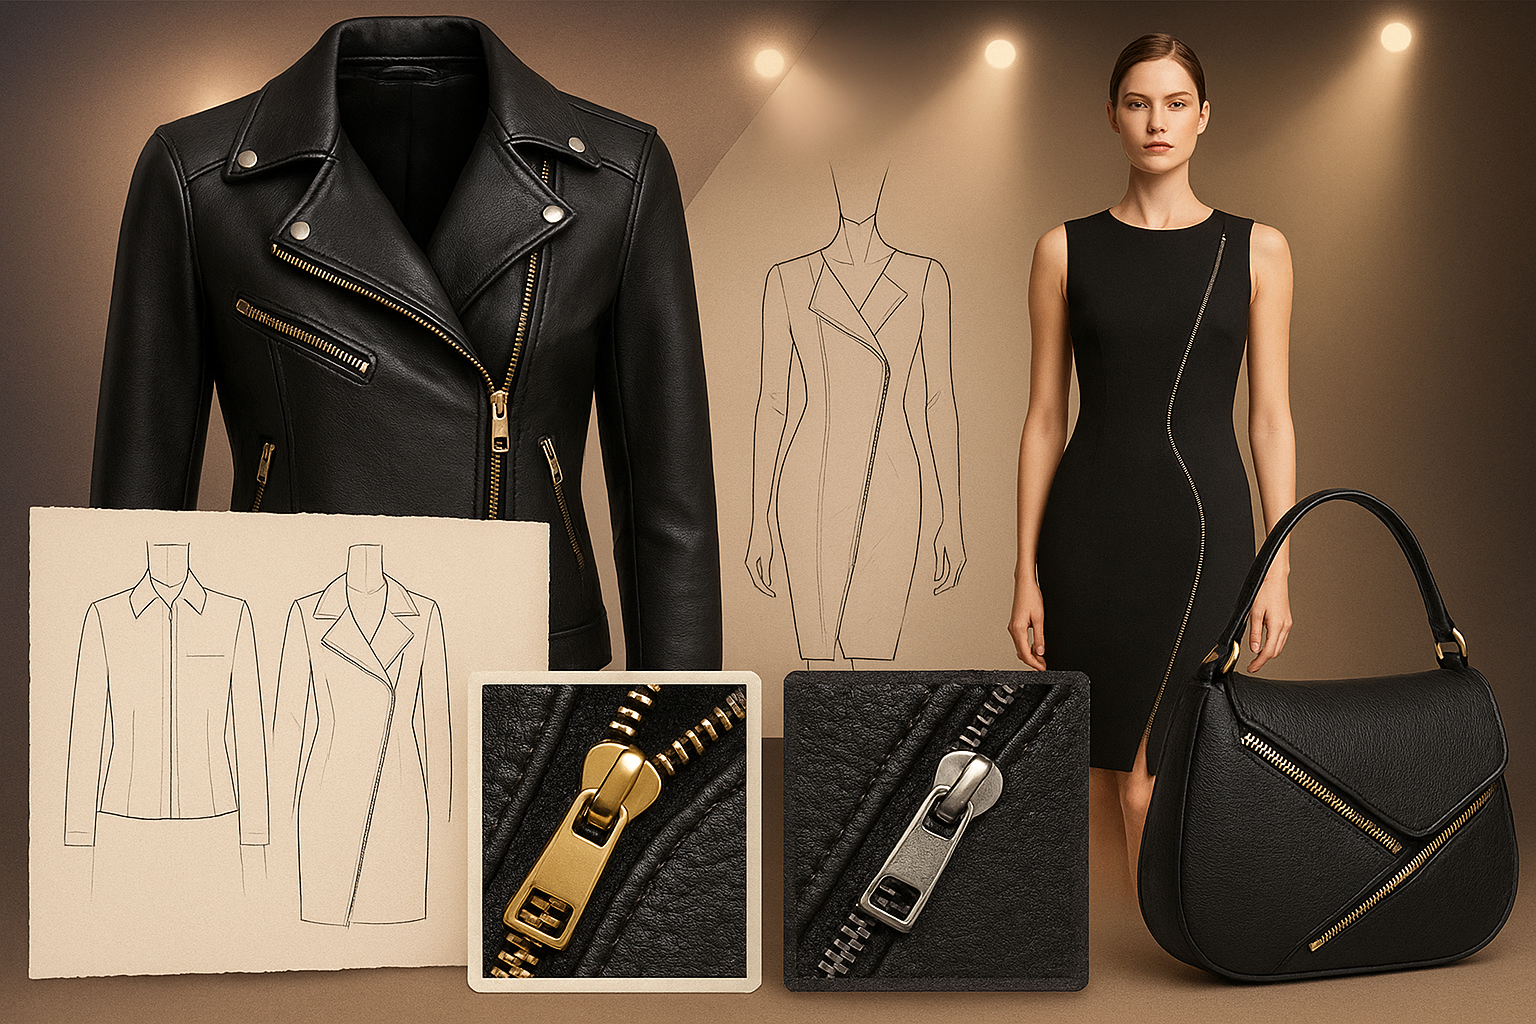
Buttons, buckles, or a belt for closure
If you’re a beginner, purchase a ready-made trench coat sewing pattern online.
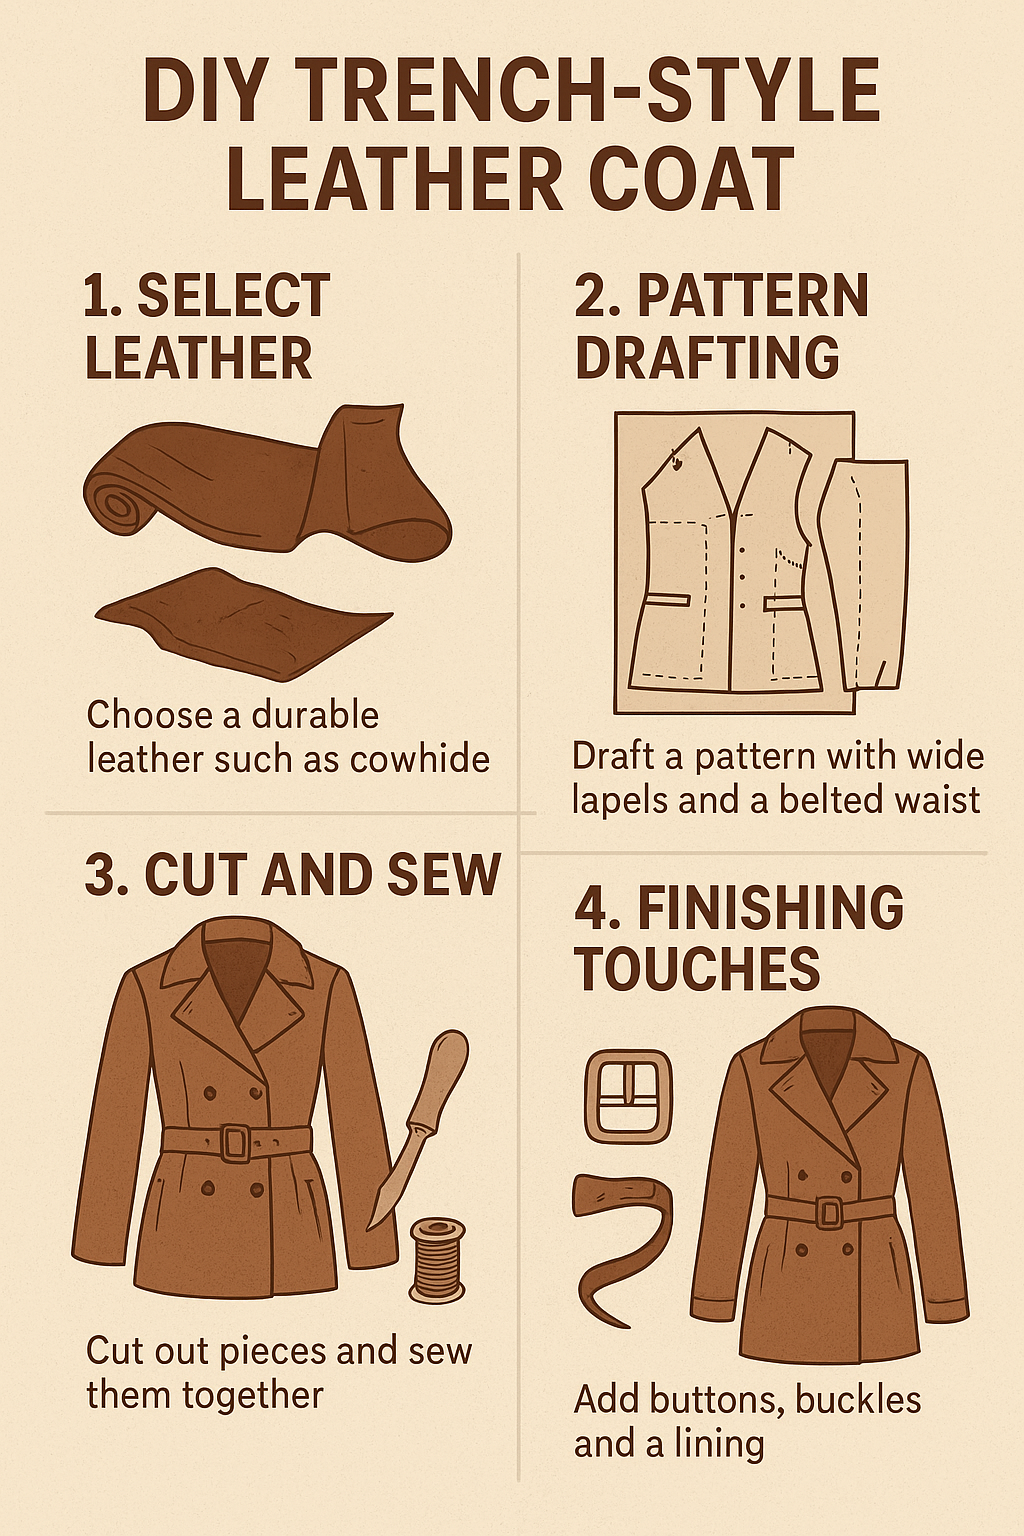
For advanced DIYers, draft your own by tracing an existing coat and modifying it into a trench style (long length, wide lapels, and a belted waist).
Place your pattern over the leather and trace using tailor’s chalk.
Cut carefully with sharp scissors or a rotary cutter.
Always cut slightly larger seam allowances (about ½ inch) since leather doesn’t stretch much.
Use the same trench pattern to cut the lining fabric.
This will ensure a smooth inner finish and comfort when wearing.
Begin by sewing together the back panel and front panels.
Use clips instead of pins to hold the leather pieces in place.
Stitch slowly with a leather needle to avoid breakage.
Attach each sleeve by aligning the armhole carefully.
Reinforce the stitching since sleeves face the most movement stress.
Sew the wide trench-style collar and lapels.
Consider adding interfacing (on the lining side) to keep them structured.
Sew the lining separately, then attach it to the inside of your leather coat.
Hand-stitch or machine-stitch the edges neatly.
Belt loops & a matching leather belt
Epaulettes (optional, for a classic trench look)
Storm flap (extra flap over one shoulder for an authentic finish)
Sew in buttons or attach buckles/snaps depending on your trench design.
Make sure they’re reinforced, as leather requires durability.
Trim excess threads and smooth out seams.
Condition your leather with a leather balm to give it shine and protection.
✨ Congratulations! You’ve crafted a stylish, custom trench-style leather coat that’s timeless and versatile. Pair it with jeans for casual looks or with dresses for a sleek evening outfit.
Q1. What type of leather is best for a trench-style coat?
Full-grain or top-grain cowhide leather works best, as it offers durability, flexibility, and a classic look.
Q2. Is a trench-style leather coat beginner-friendly to make?
It’s a more advanced project due to its length, layers, and detailing. Beginners may want to start with simpler jackets first.
Q3. How long does it take to make a trench coat from leather?
Depending on skill level, it can take 30–50 hours from start to finish, including cutting, sewing, and finishing.
Q4. What design elements are essential in a trench-style coat?
Key features include wide lapels, a belted waist, double-breasted front, and longer length for a sleek silhouette.
Q5. Can I customize my DIY leather trench coat?
Yes! You can adjust the length, choose unique colors, add buckles, or even incorporate modern minimalist details.