Cart
0
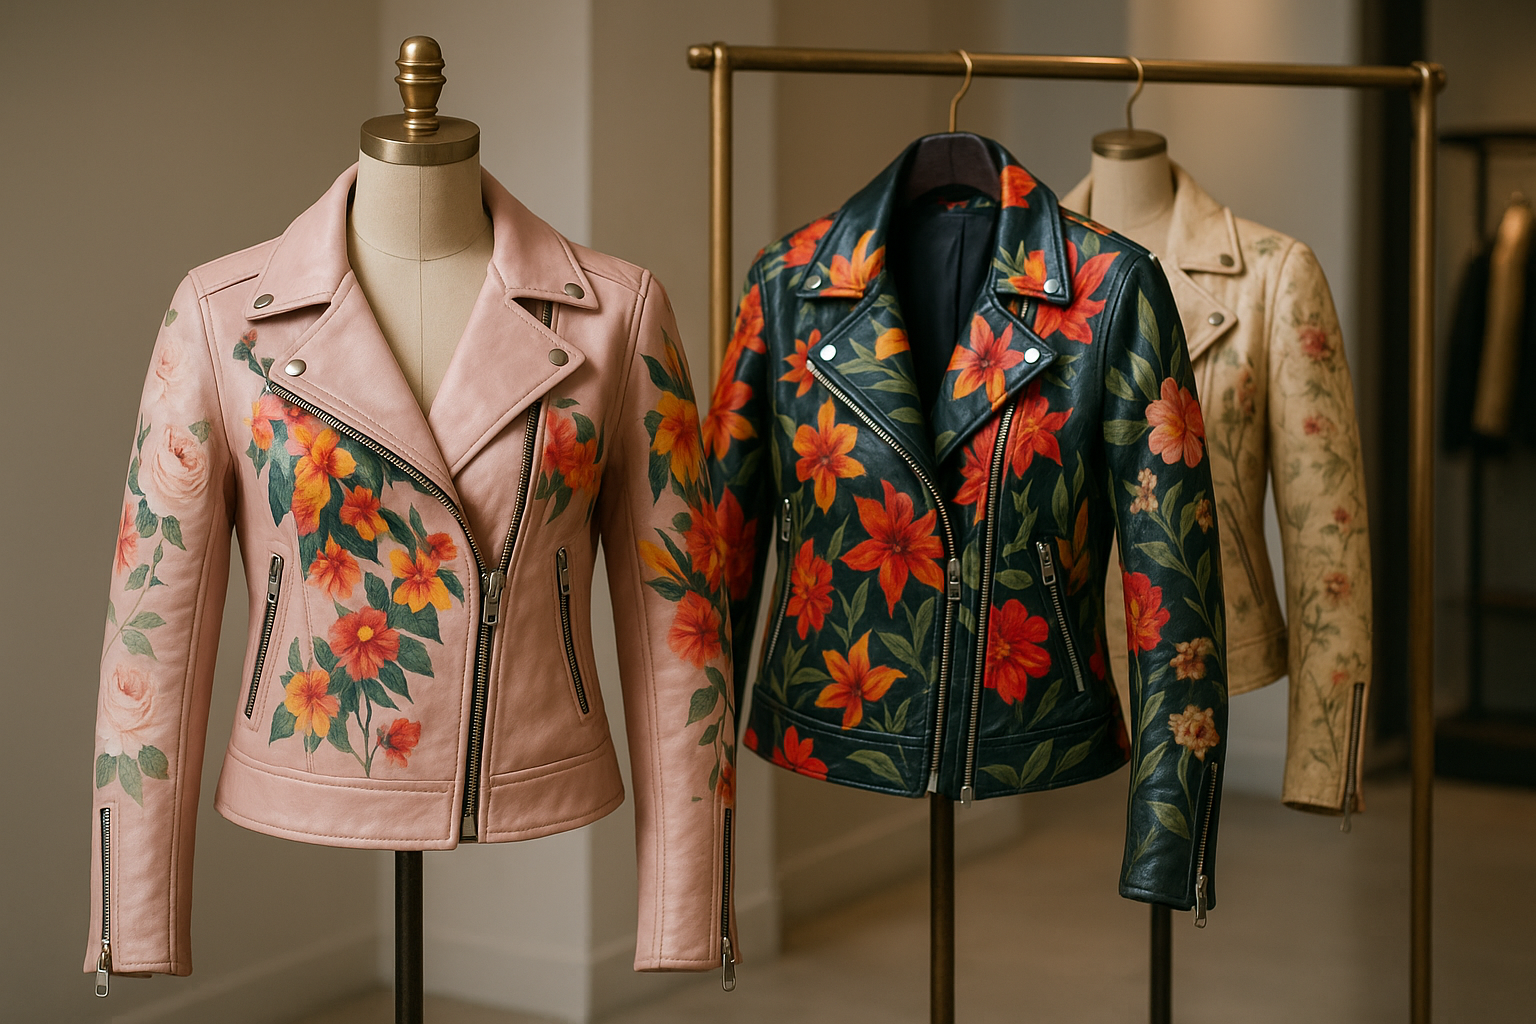
You may also like


Adding snap buttons isn’t just about convenience—it enhances both the functionality and style of your jacket:
Easy to fasten and unfasten compared to zippers.
Perfect for customizing cuffs, collars, and front closures.
A timeless, durable detail that complements leather’s rugged look.
Snap button kit (male & female snaps + setting tool)
Leather hole punch
Hammer or snap press
Ruler & chalk/fabric pencil
Use chalk to mark the exact placement of each snap. Symmetry is key for a polished look.
Use a leather hole punch slightly smaller than the snap post. Avoid knives or scissors—they can damage the leather.
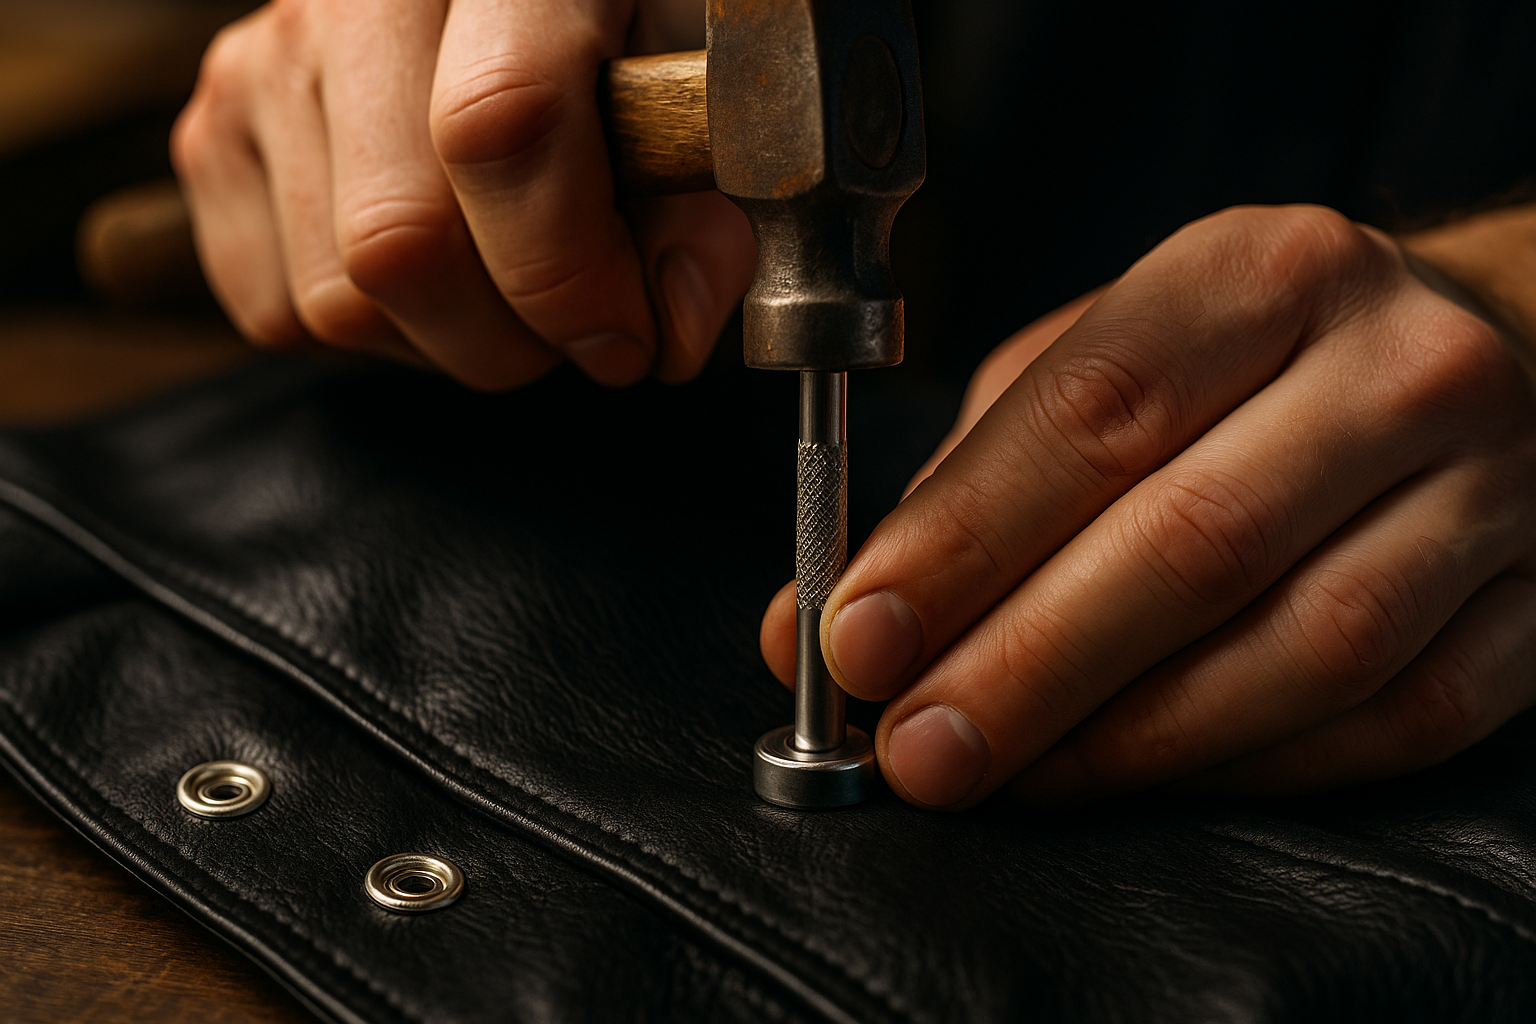
Insert the snap post through the hole, then align it with its matching piece (male or female).
Using the snap setter tool and hammer, press the two parts together firmly. A snap press machine makes this even easier.
Snap it open and closed a few times. If loose, re-align and reinforce with another press.
Always choose snaps designed for leather, not fabric.
For thicker jackets, opt for long post snaps.
Practice on a leather scrap before working on your jacket.
Q1: Can I install snap buttons without tools?
👉 You can try, but proper tools (snap setter or press) give a stronger and neater result.
Q2: Will adding snaps damage my jacket?
👉 Not if you use the right punch and avoid forcing holes. Done properly, it’s safe.
Q3: Where can I add snap buttons?
👉 Common spots are collars, cuffs, pockets, and jacket fronts for both style and practicality.
Q4: How long do snap buttons last?
👉 High-quality snaps can last as long as the jacket if installed correctly.
Q5: Can I replace just one broken snap?
👉 Absolutely—you can remove and replace a single snap without affecting the rest.