Cart
0
You may also like


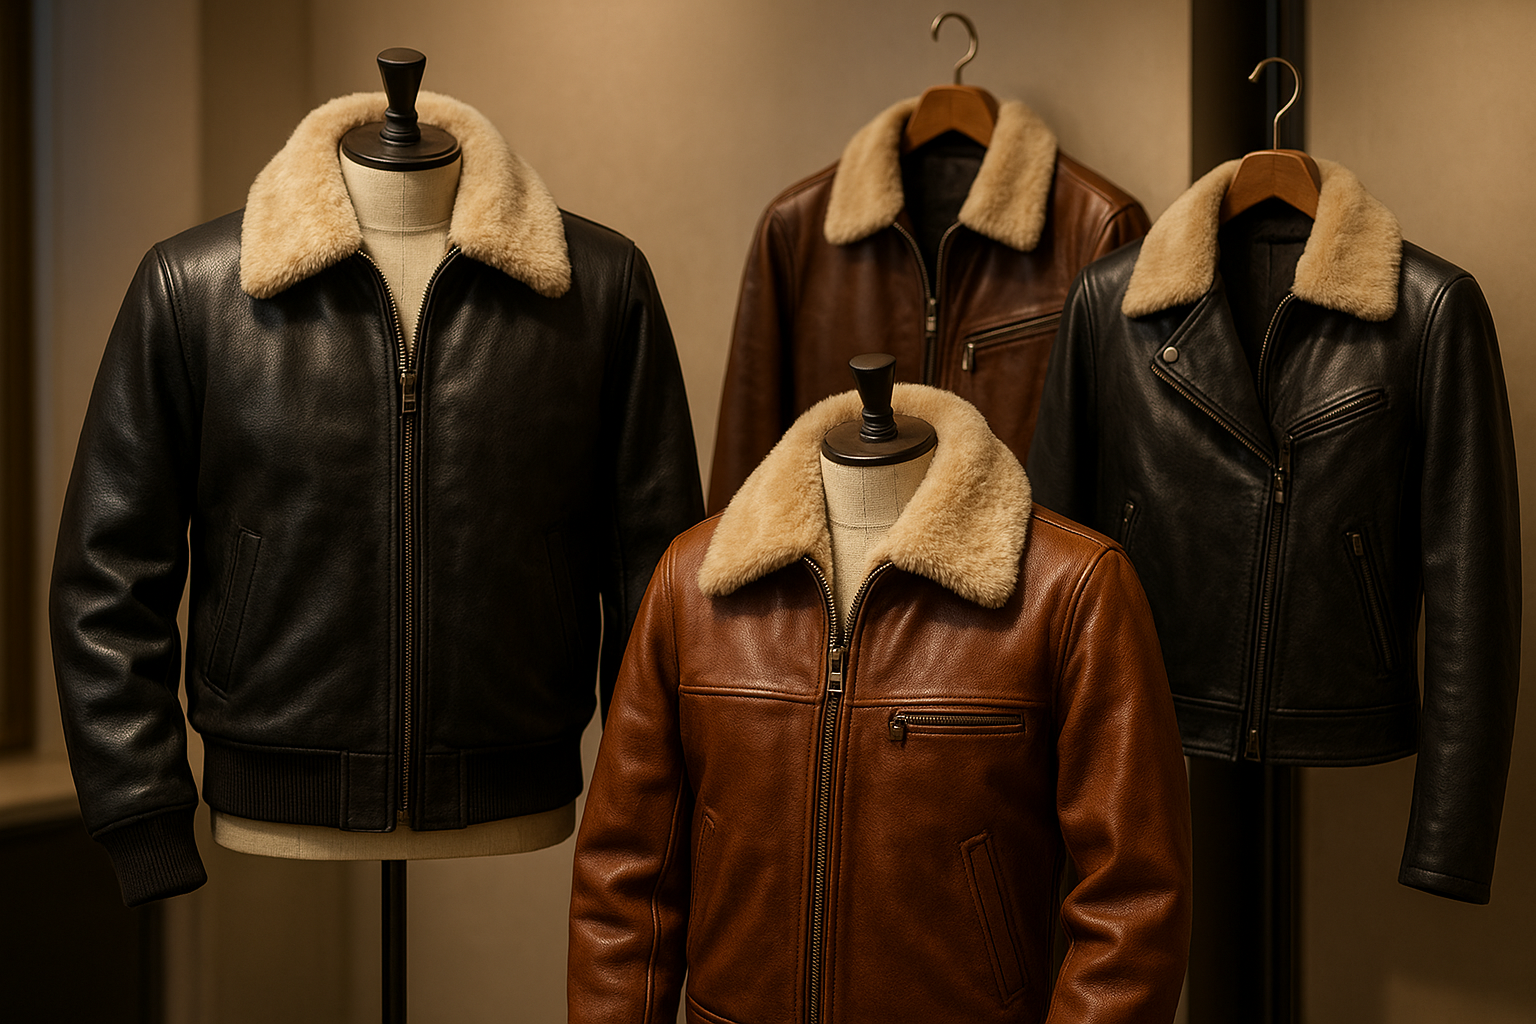
The collar is more than just a finishing touch on a leather jacket—it defines its style, gives structure, and sets the tone for the entire piece. A well-drafted collar ensures comfort, a professional look, and lasting durability. Whether you’re designing your own jacket or customizing a store-bought pattern, learning how to make a collar pattern is essential for any leather enthusiast.
A poorly fitted collar can cause:
Uneven edges and puckering
Discomfort around the neck
A less polished appearance
By carefully drafting the collar, you ensure:
Perfect alignment with the jacket neckline
Smooth seams and professional finish
Enhanced style and character for your leather jacket
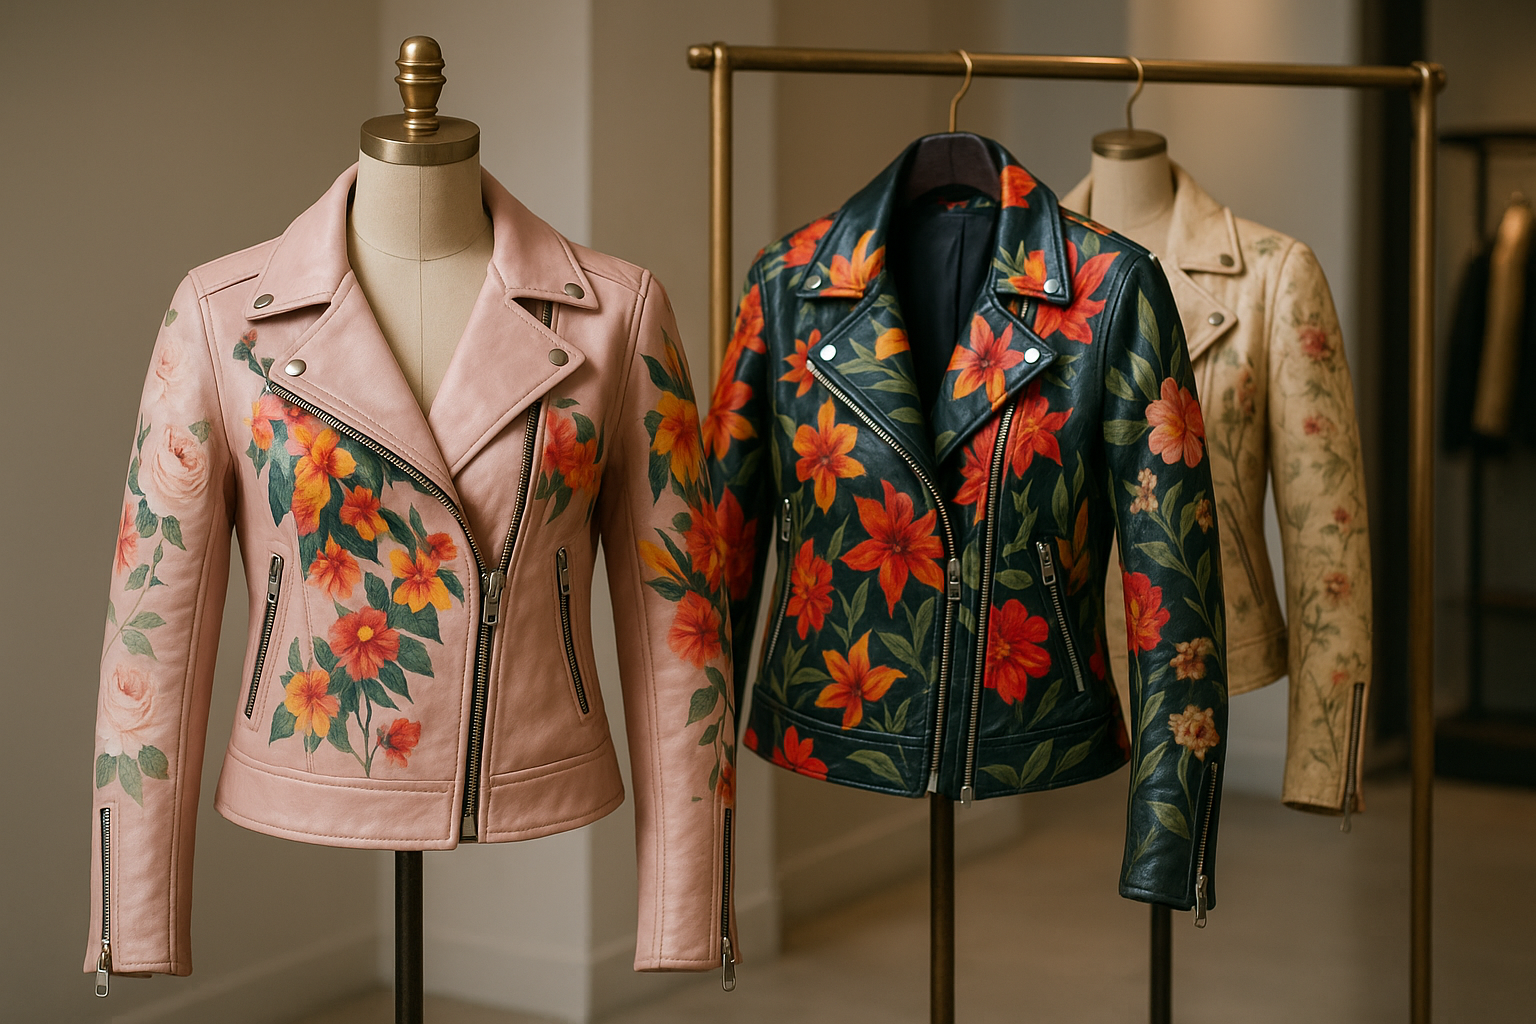
There are several collar styles to consider:
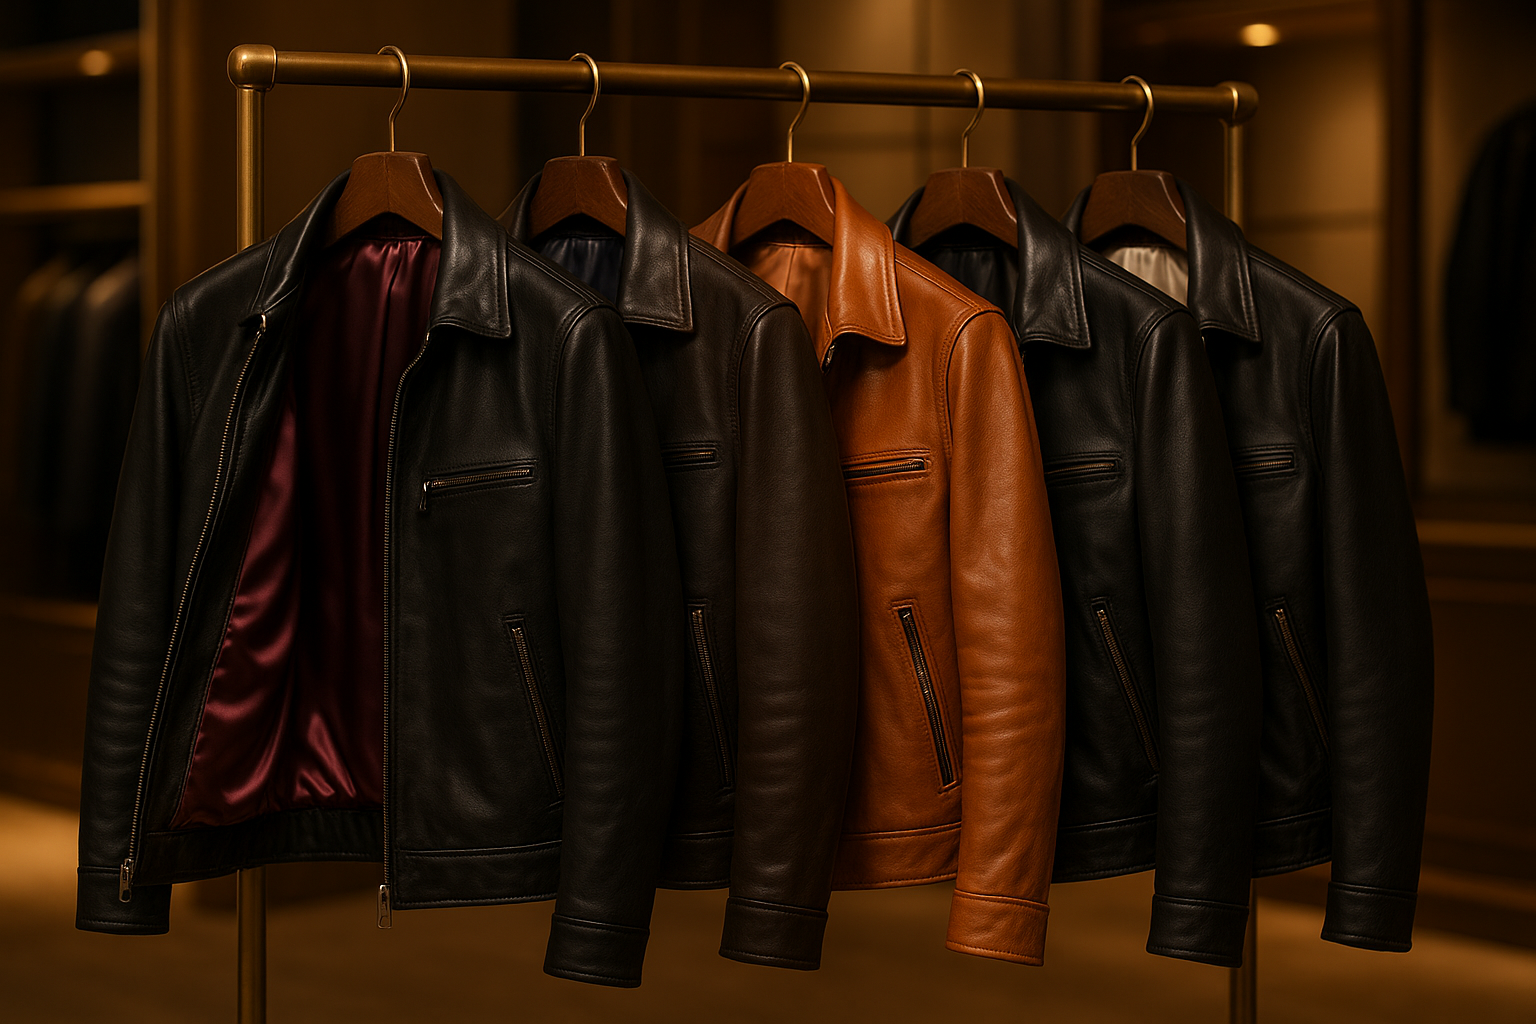
Classic Shirt Collar: Simple and clean, perfect for casual or lightweight jackets
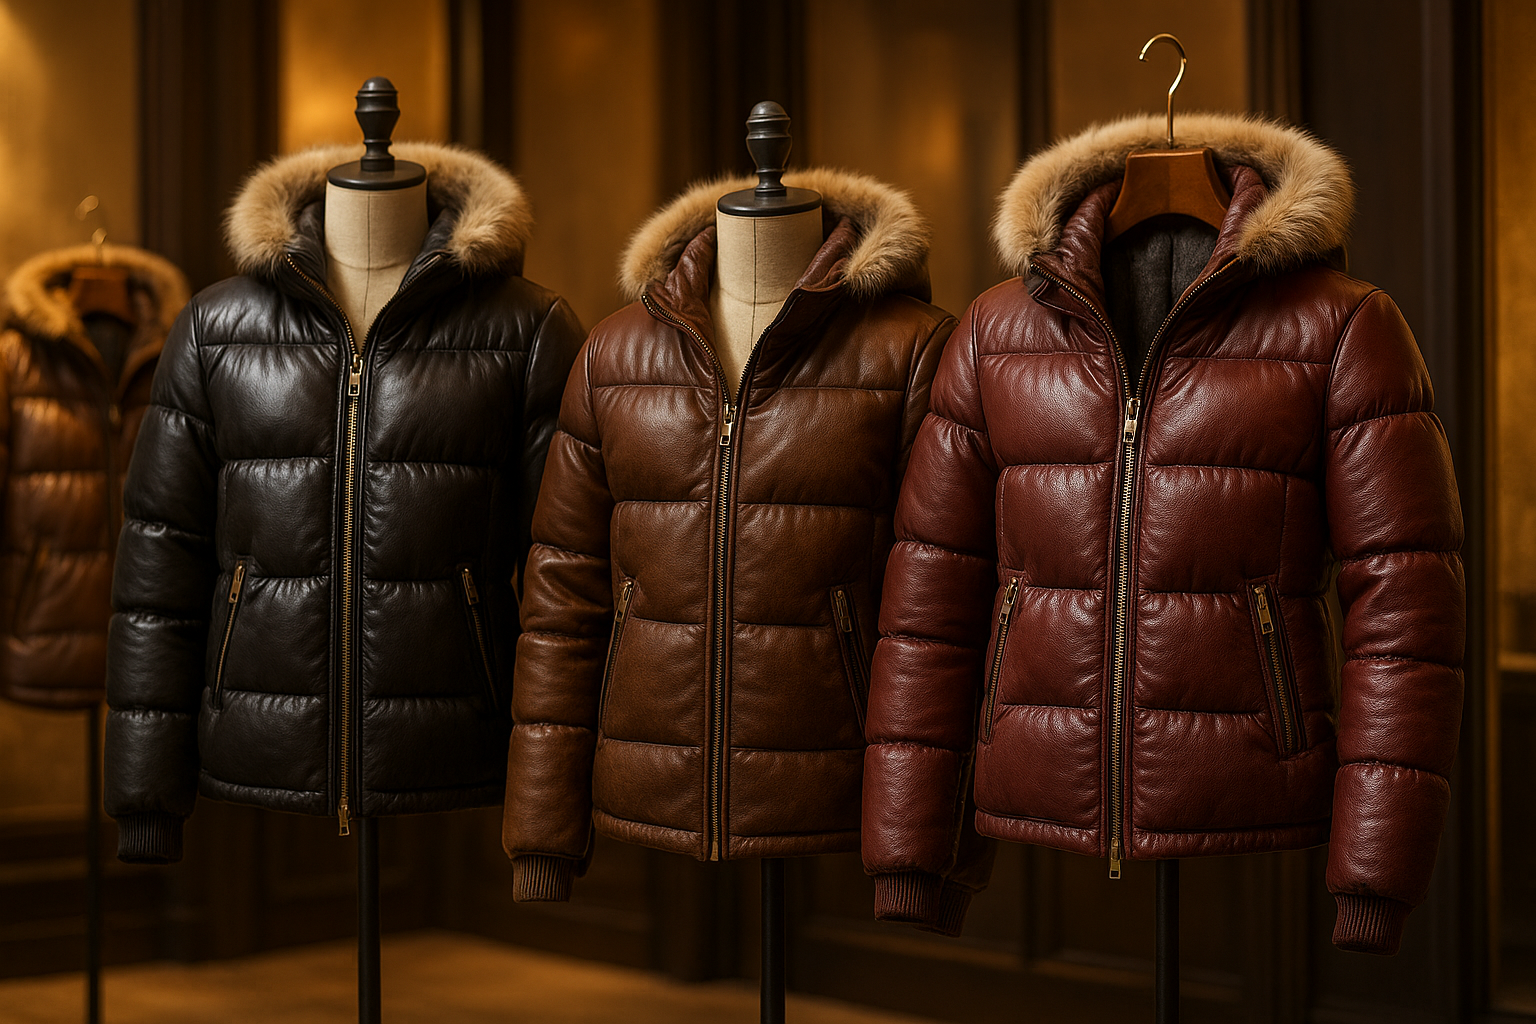
Stand Collar: Offers a sleek, modern look and extra neck coverage
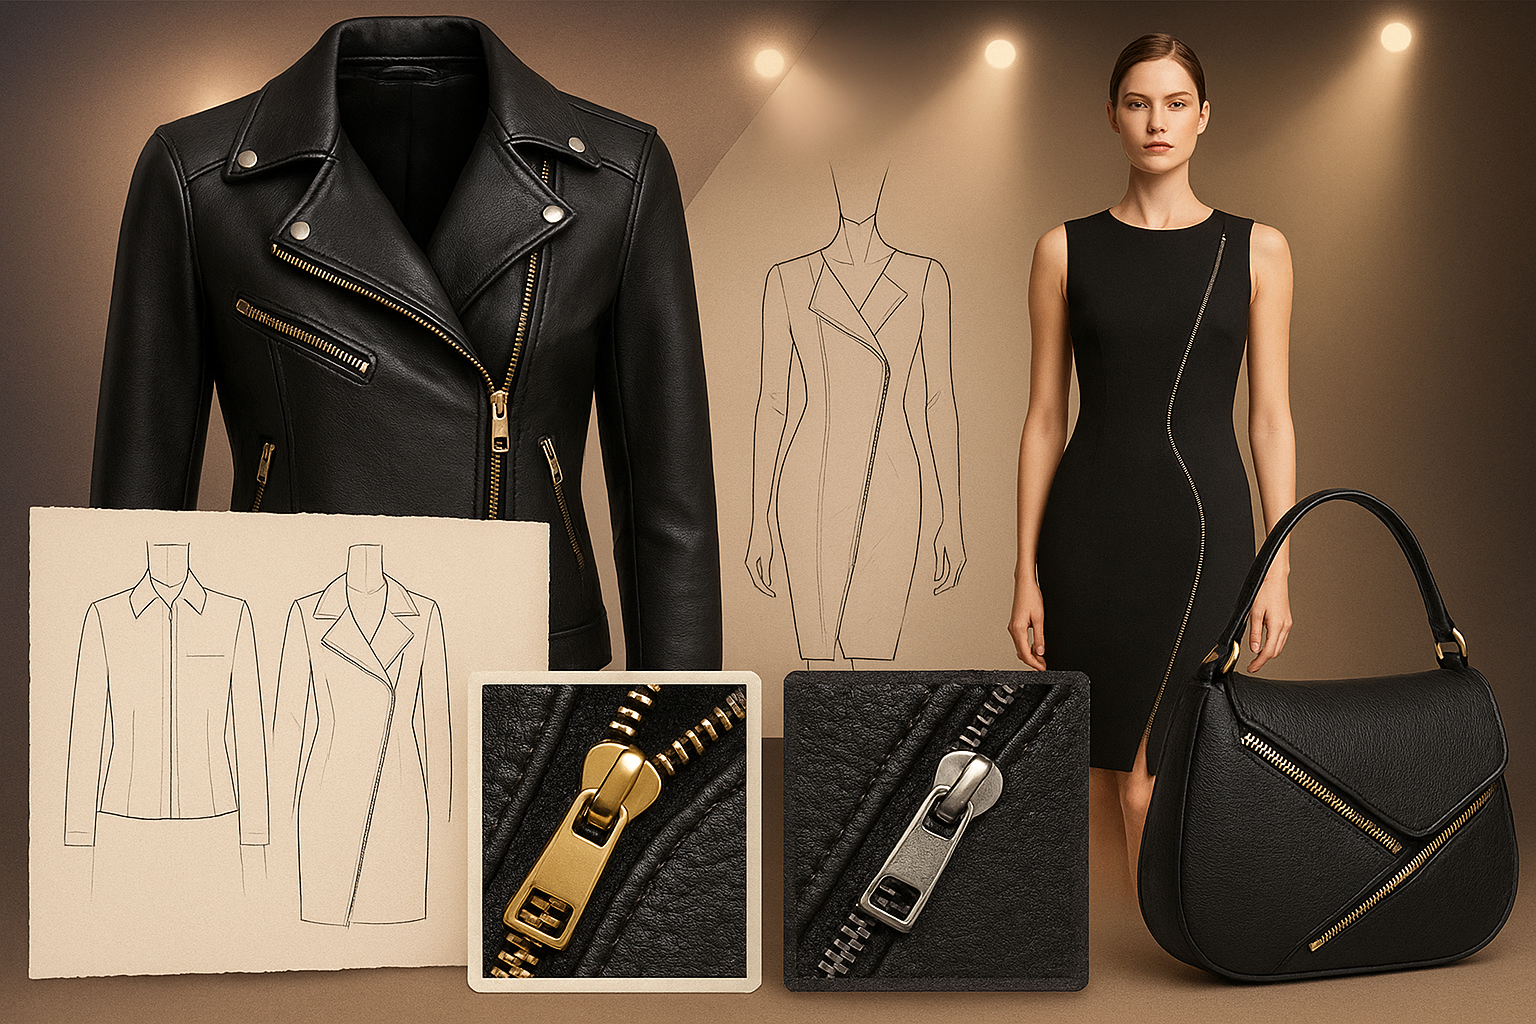
Notched Collar: Common in tailored leather jackets, adds sophistication
Snap or Tab Collar: Adds a rugged or biker-style aesthetic
Pick a style that complements your jacket’s design and the overall look you want to achieve.
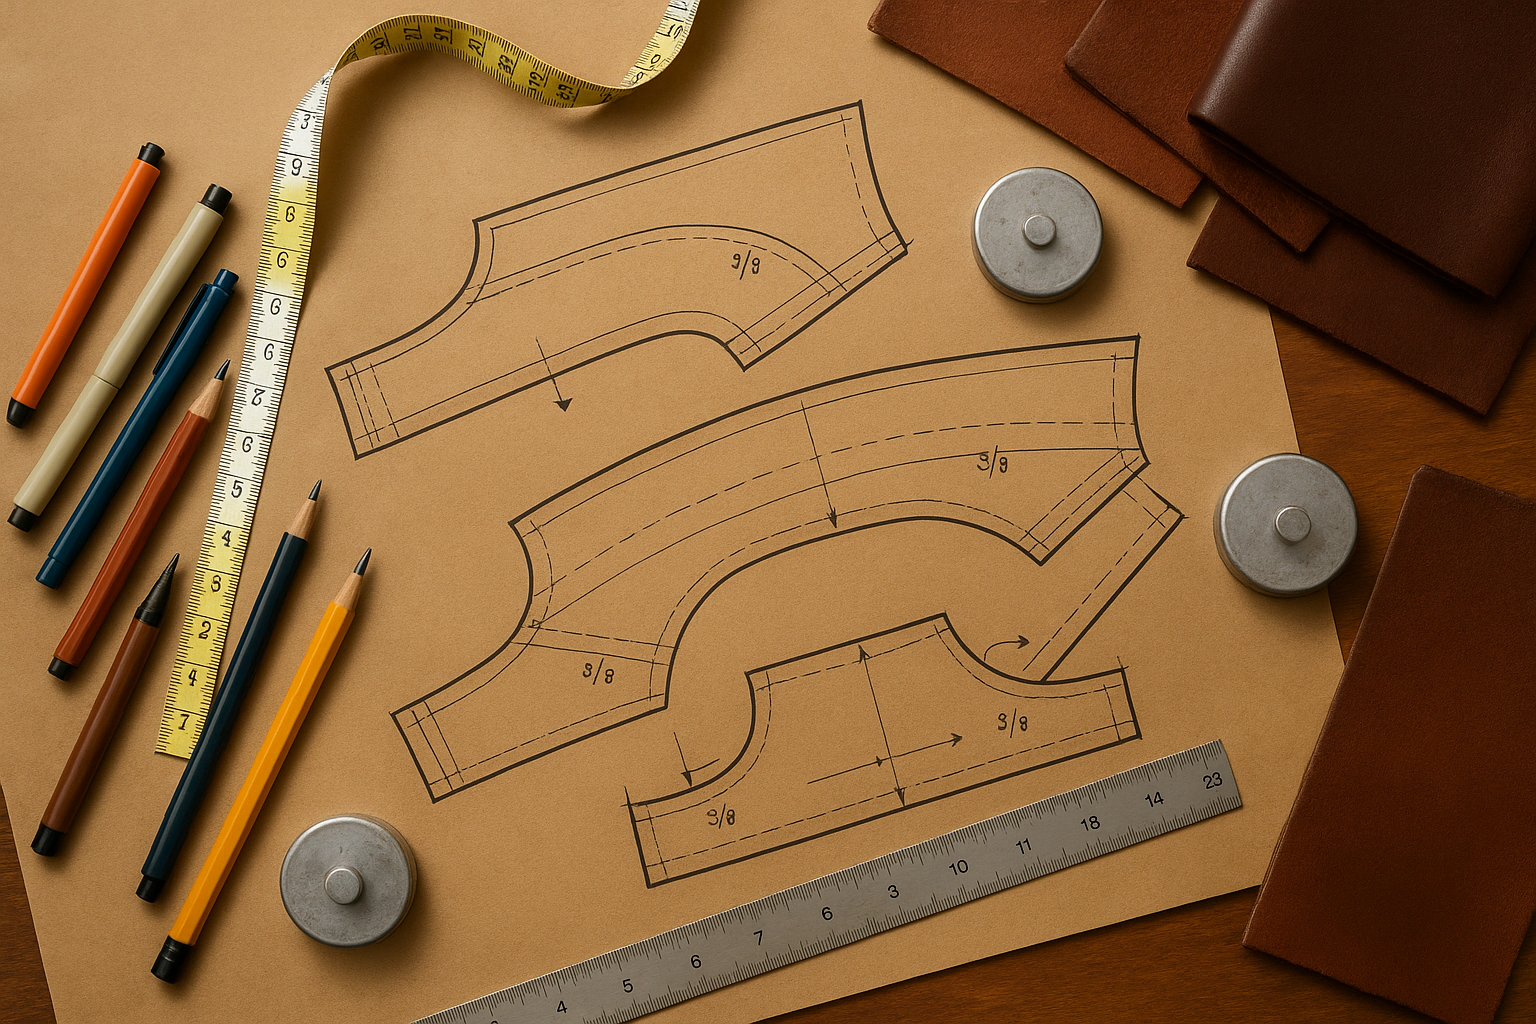
To draft a collar pattern:
Measure the neckline circumference of your jacket front and back
Decide on the collar height for your style
Determine collar width at the tips and center
Consider seam allowances for sewing
Accurate measurements are key to a collar that fits smoothly and looks professional.
Draw a rectangle matching the collar length and desired height
Shape the ends according to your chosen style (rounded, pointed, or straight)
Add seam allowances along all edges
Create a paper template first, and test it against the jacket neckline
Adjust for any fit issues before cutting into leather
This process ensures precision, prevents mistakes, and saves material.
Align the collar with the neckline, matching center points and shoulder seams
Pin or clip carefully to avoid shifting
Sew slowly with a leather needle or heavy-duty machine
Press edges gently using a cloth to prevent shine or marks on the leather
Finish with topstitching or edge stitching as needed
A well-sewn collar elevates your jacket’s look, making it appear professional and custom-made.
Q1: Can beginners make a collar pattern for leather jackets?
A: Yes! Start with a simple straight or stand collar, then try more intricate styles as you gain confidence.
Q2: How do I ensure the collar fits the neckline perfectly?
A: Draft a paper template first and test it on the jacket neckline. Adjust length and curve before cutting into leather.
Q3: Which collar style is easiest for beginners?
A: A classic shirt collar or simple stand collar is the most beginner-friendly.
Q4: Can I modify a store-bought jacket pattern to add a custom collar?
A: Absolutely. Trace the existing neckline, then draft your desired collar shape with added seam allowances.
Q5: What sewing tips help avoid puckering on leather collars?
A: Use sharp leather needles, sew slowly, avoid stretching the leather, and press seams gently with a cloth.