Cart
0
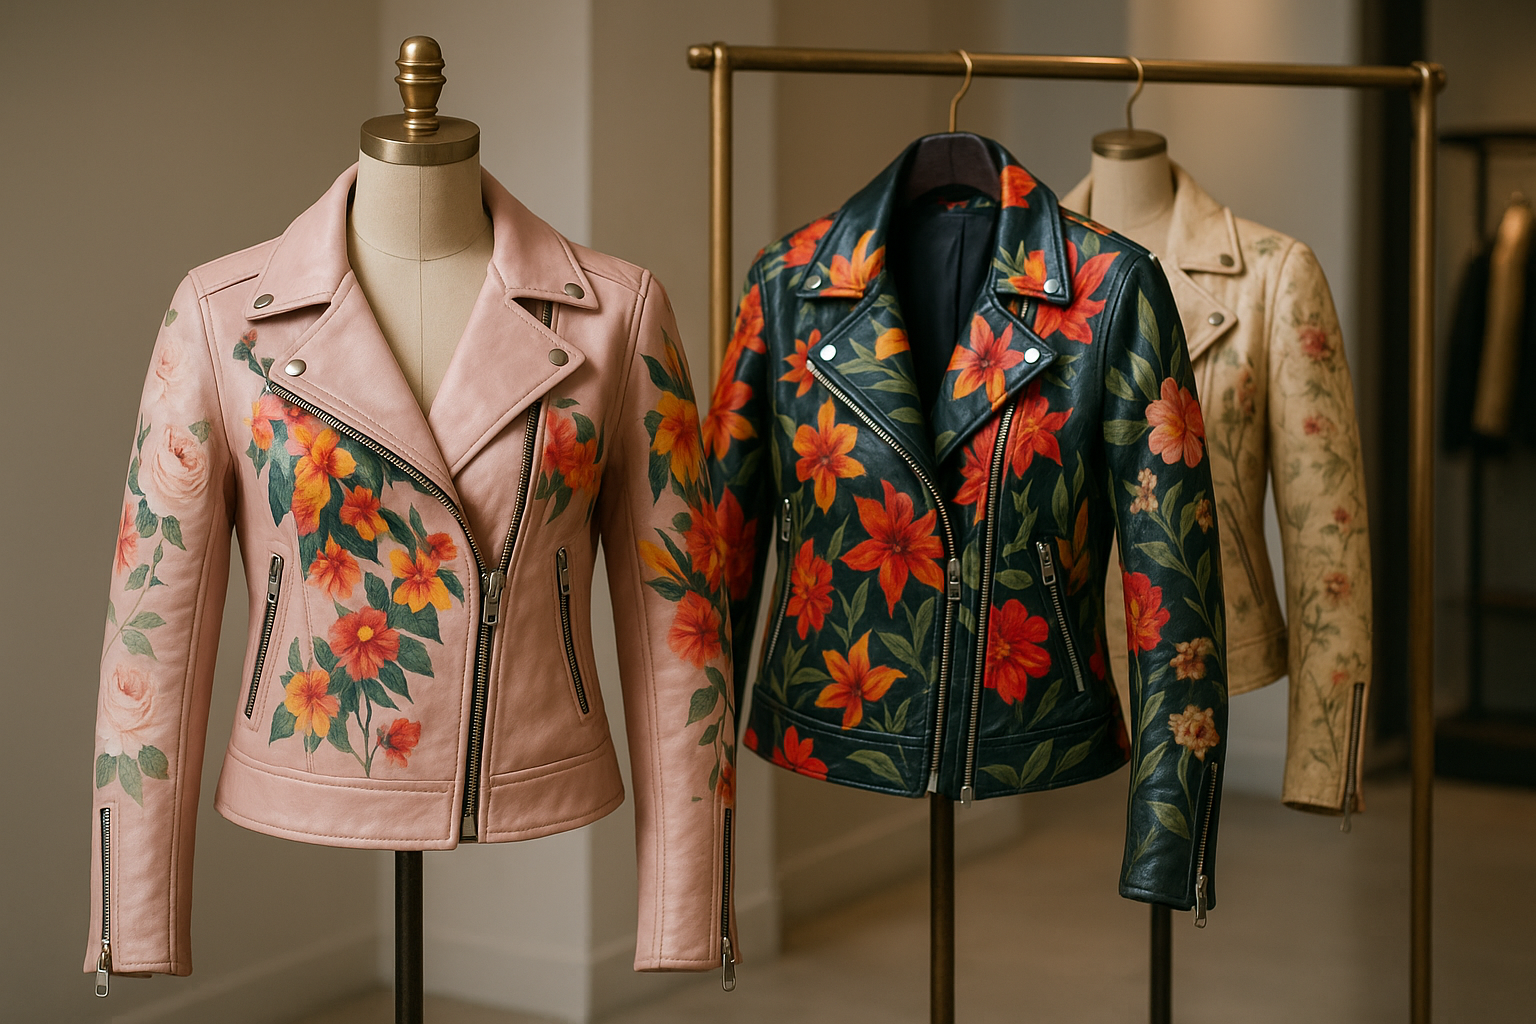
You may also like


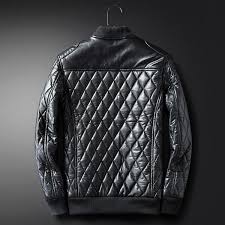
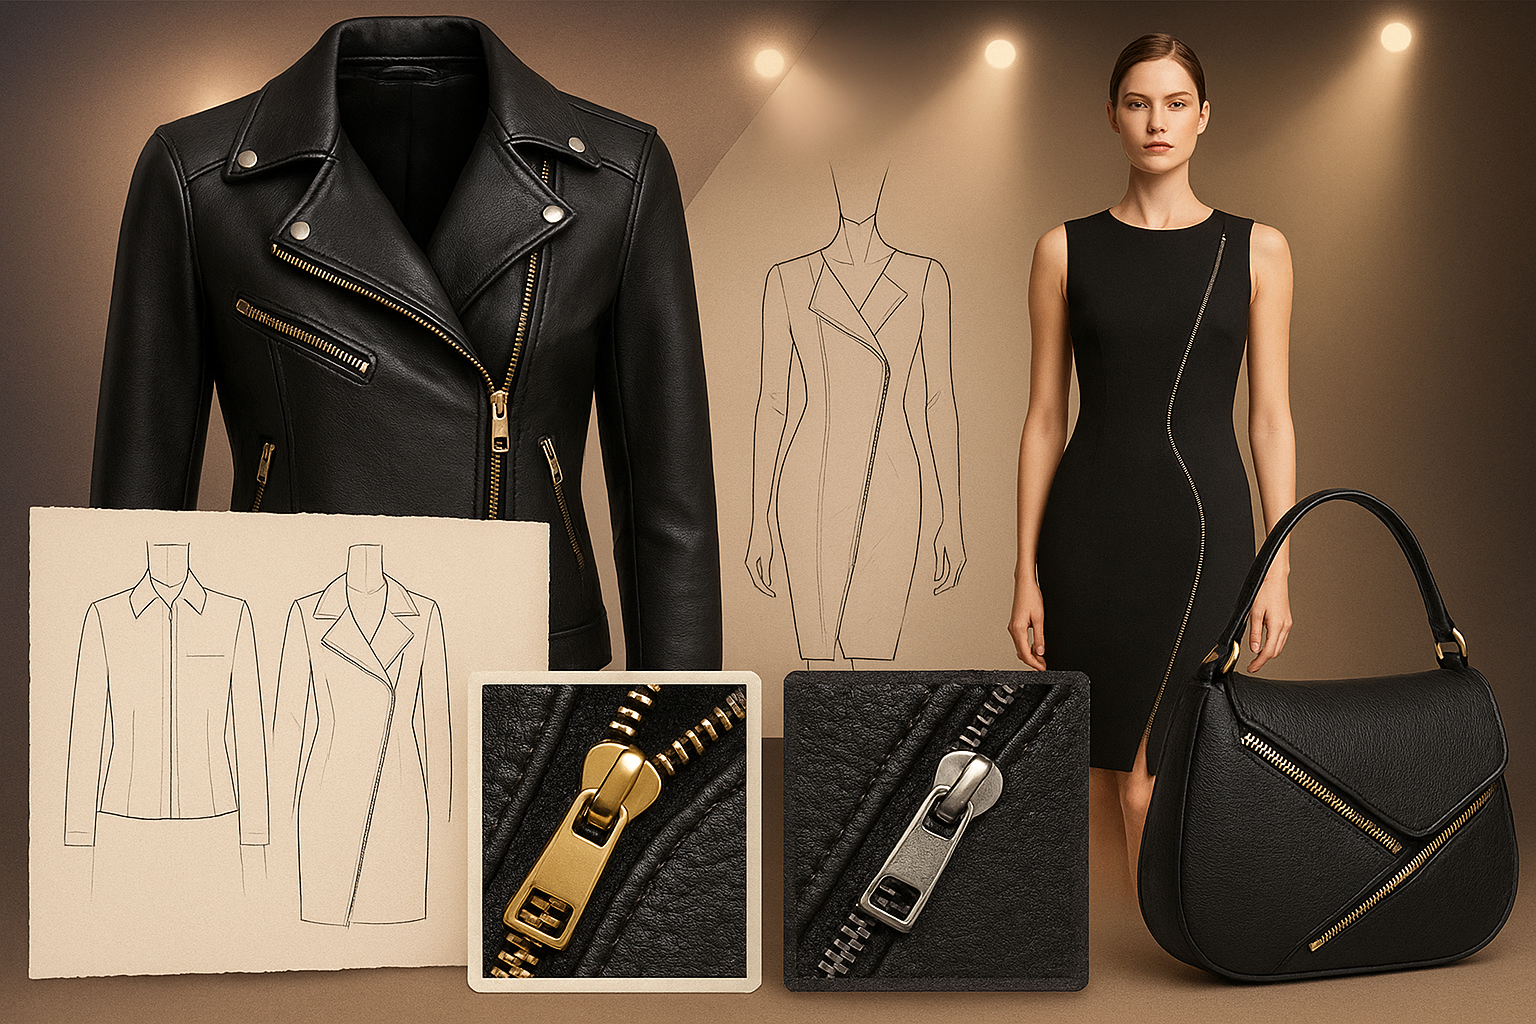
A quilted leather jacket adds elegance and texture to your wardrobe. The quilted effect isn’t just for looks—it also provides insulation, making the jacket both stylish and practical. In this guide, we’ll cover the essentials of making a quilted leather jacket from scratch.
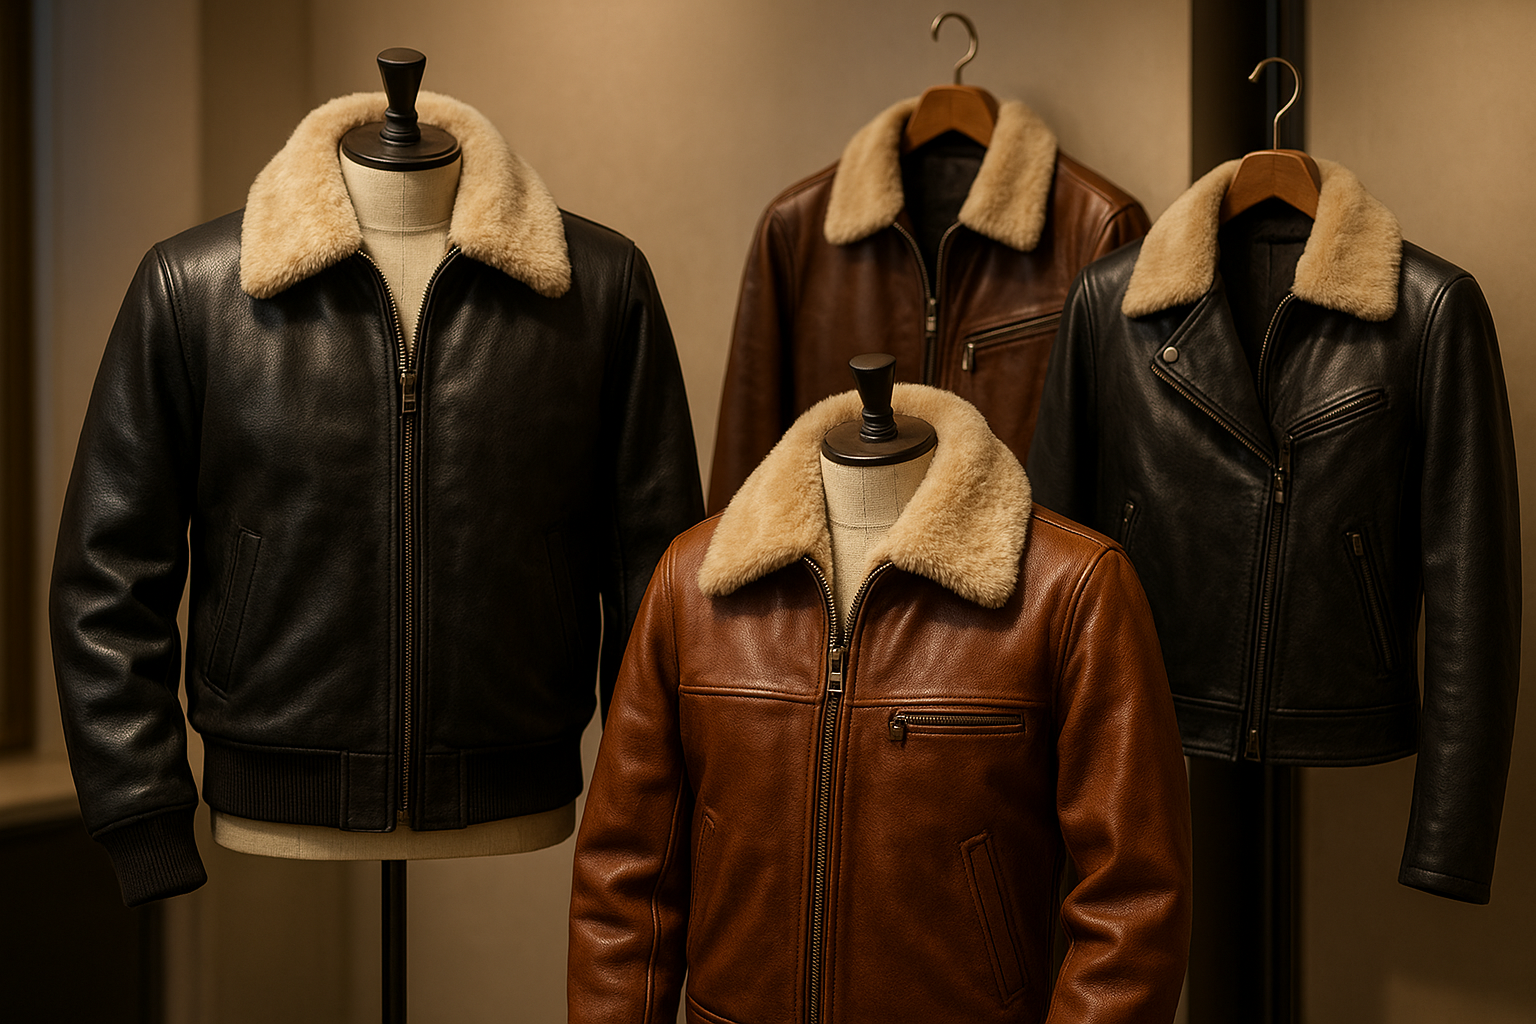
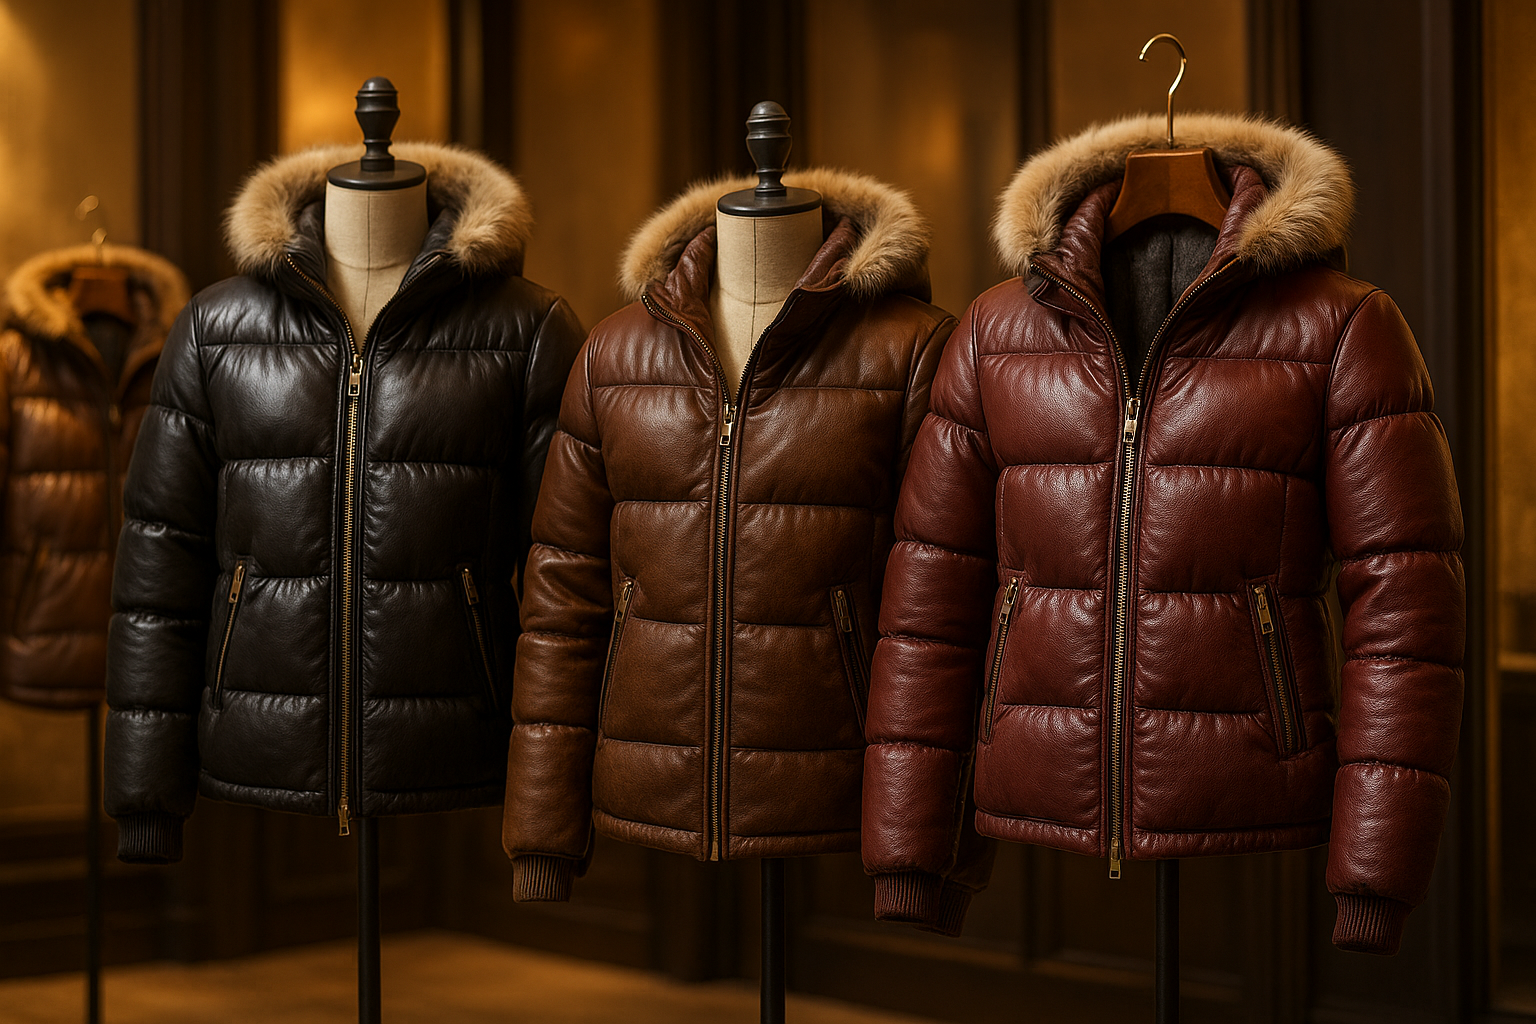
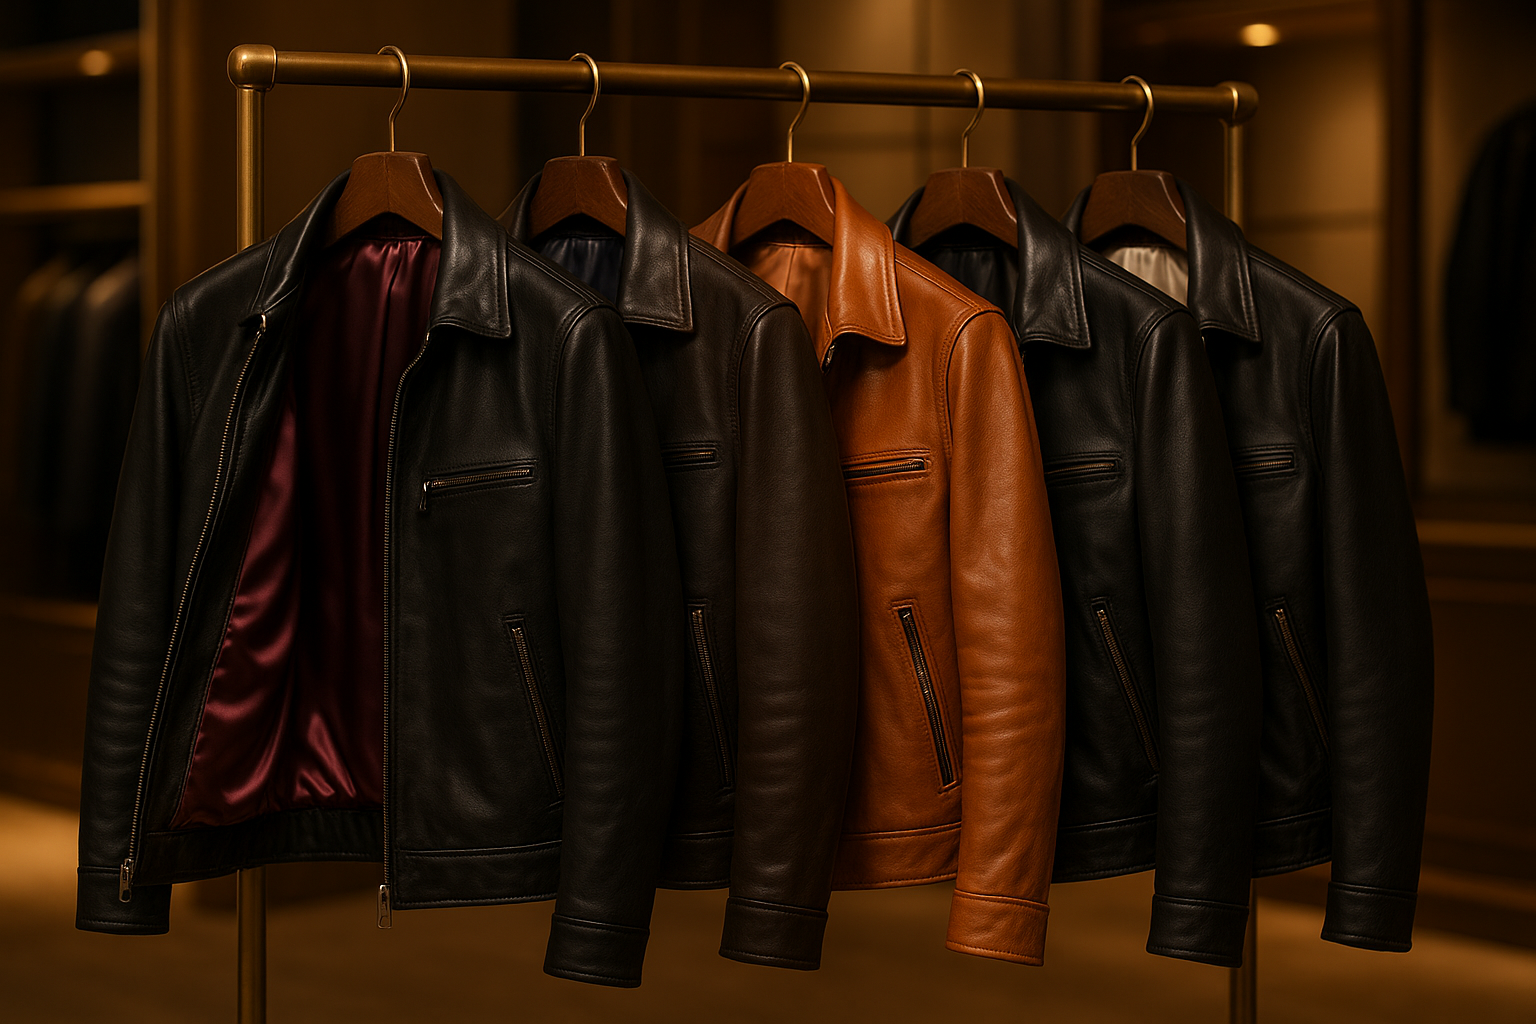
Opt for soft lambskin or cowhide for easier quilting.
Select lightweight padding or batting for insulation.
Pick a smooth lining (silk or polyester) for comfort.
Use tailor’s chalk or a washable marker to draw even lines.
Classic patterns include diamonds, grids, or parallel lines.
Keep spacing equal to ensure a clean, professional look.
Sandwich padding between the leather outer and lining fabric.
Use binder clips instead of pins to avoid puncturing leather.
Use a heavy-duty sewing machine with leather needles.
Stitch slowly, following the marked pattern.
Reinforce stitches at start and finish to prevent unraveling.
Cut and attach panels, sleeves, and collars as per your jacket pattern.
Add zippers, snaps, or buttons for closure.
Finish with topstitching to highlight quilted details.
Polish with a leather conditioner to keep the jacket soft and stylish.
Q1. What type of leather works best for quilting?
Lambskin and soft cowhide are ideal because they are flexible and easier to sew.
Q2. Do I need padding for quilting leather?
Yes, padding or batting gives the quilted texture and adds warmth.
Q3. Can quilting be done by hand?
It’s possible but very tough—an industrial sewing machine is recommended.
Q4. How do I keep stitches straight?
Use chalk markings and a quilting ruler for precision.
Q5. Is a quilted leather jacket waterproof?
Leather is water-resistant but not waterproof; apply a leather protector spray for added protection.