Cart
0
You may also like


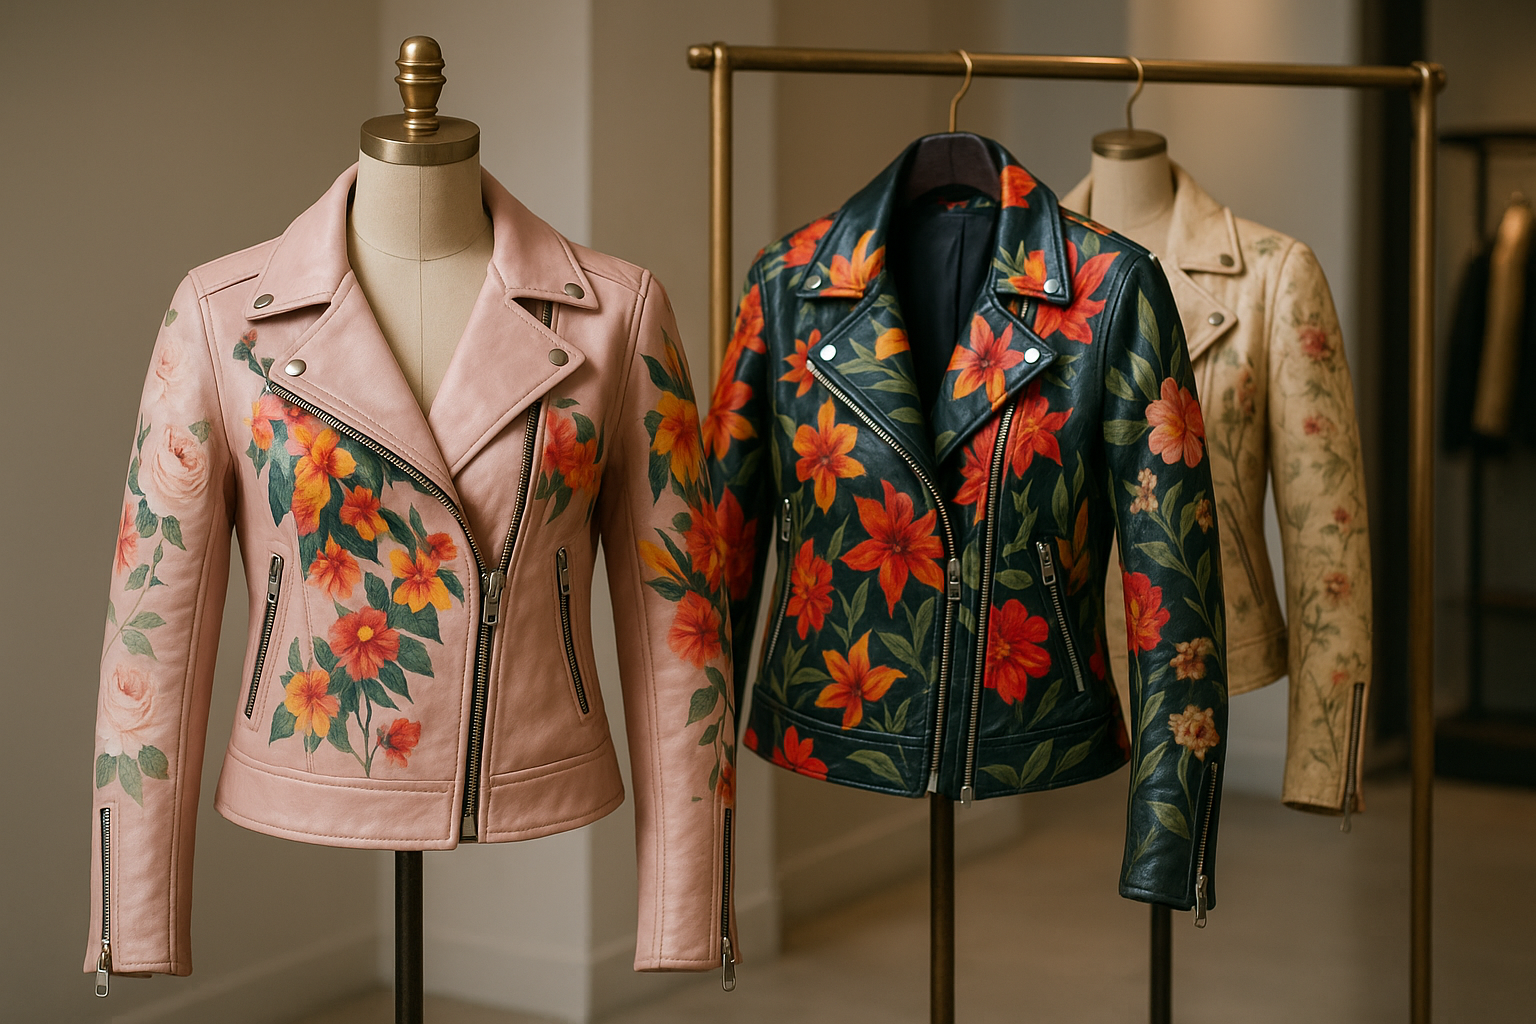
Making your own leather jacket might sound intimidating at first, but trust me—it’s absolutely doable with the right tools, patience, and a little guidance. Not only will you end up with a timeless wardrobe piece, but you’ll also get the unbeatable pride of saying, “I made this myself.”
In this guide, we’ll walk through each step of the jacket-making process—from choosing your leather to adding the final stitch—so you can confidently tackle your very first DIY leather jacket project.
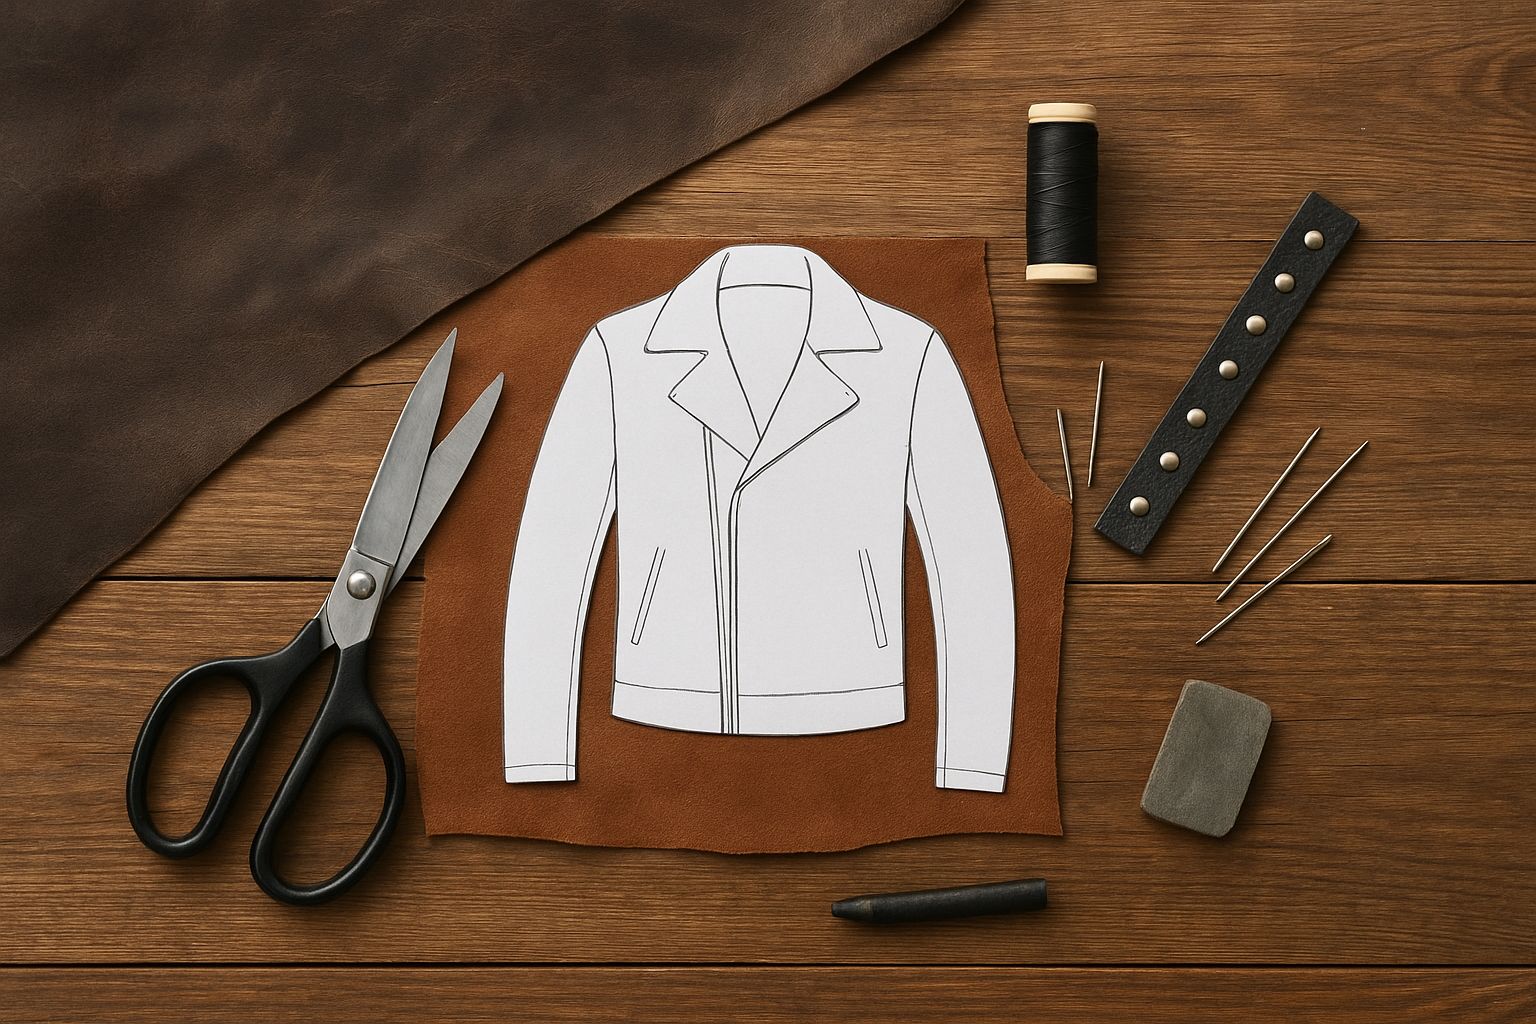
Before cutting into any leather, make sure you have your essentials ready:
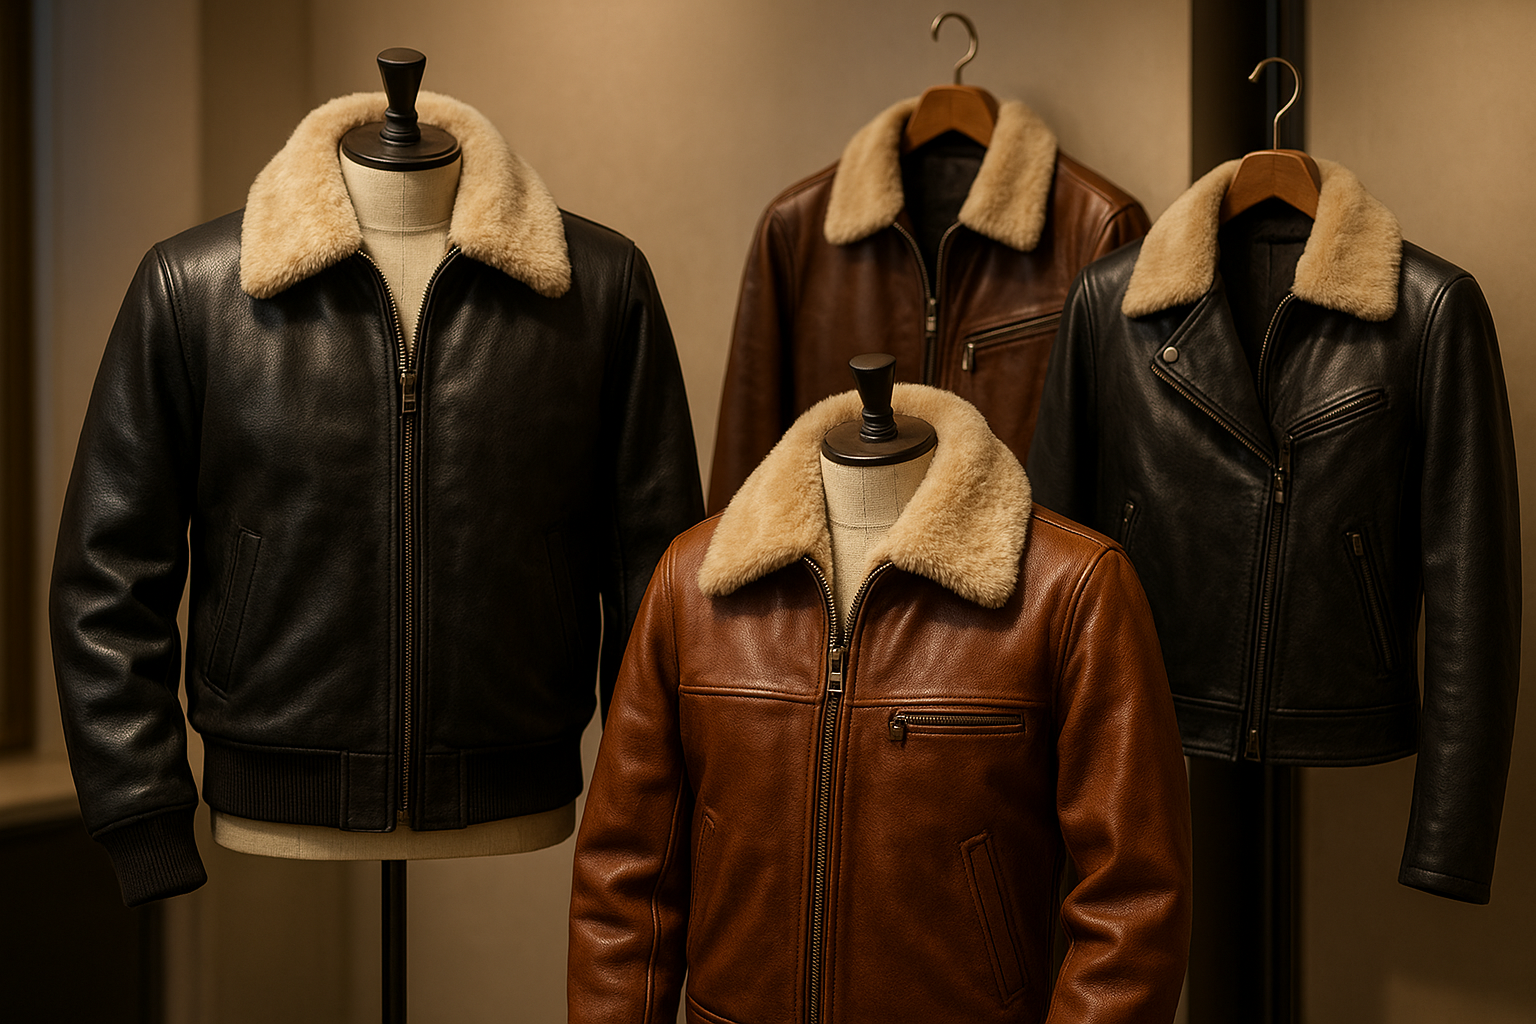
Leather hide (cowhide for durability, lambskin for beginner-friendly softness)
Heavy-duty or industrial sewing machine
Leather needles & strong polyester thread
Chalk or fabric marker for tracing patterns
Sharp scissors or rotary cutter
Jacket pattern (store-bought or drafted at home)
💡 Pro Tip: Softer hides like lambskin are much easier for beginners to work with compared to thick cowhide.
Lay your leather flat on a clean surface. Place your jacket pattern pieces on the hide, trace carefully, and cut with sharp scissors or a rotary cutter. Always remember to leave seam allowances.
Start by sewing the front and back panels together. Instead of pins (which leave permanent holes), use clips to hold pieces in place. Always test your stitches on scrap leather first to make sure your machine tension is set correctly.
This part can be a little tricky. Carefully clip the sleeves to the armholes and sew slowly to avoid puckering. For the collar, use a sturdier piece of leather, and consider adding a lining inside for extra comfort.
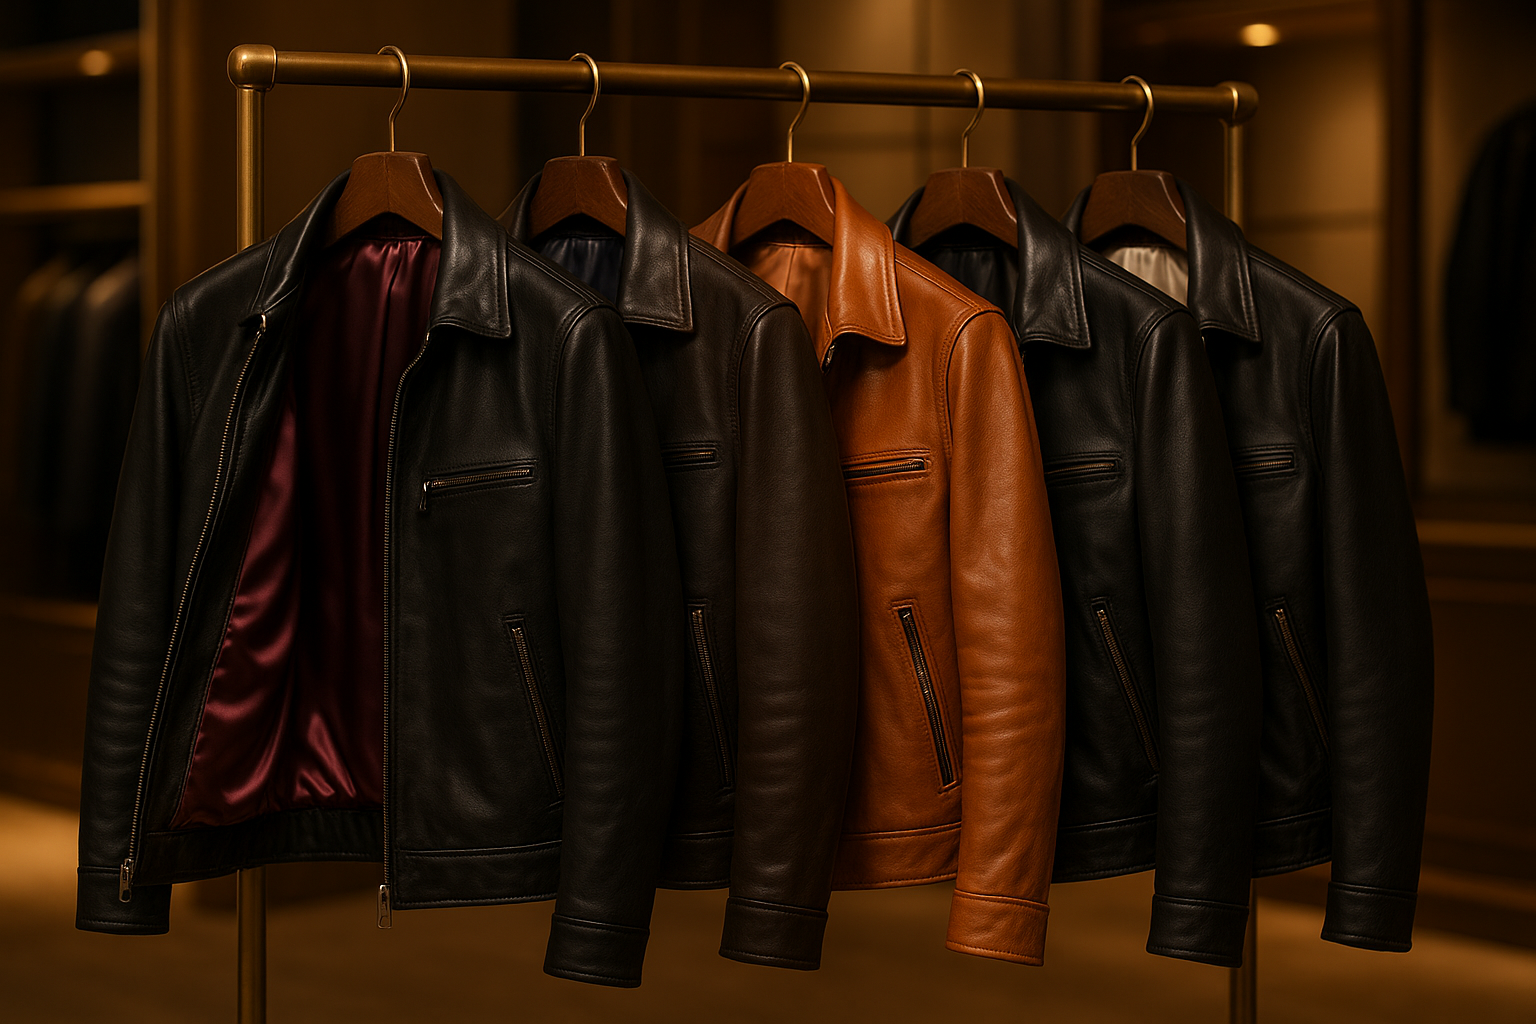
Adding a lining not only makes your jacket look more professional but also extends its life. Satin or polyester lining fabrics are great choices since they’re lightweight and comfortable.
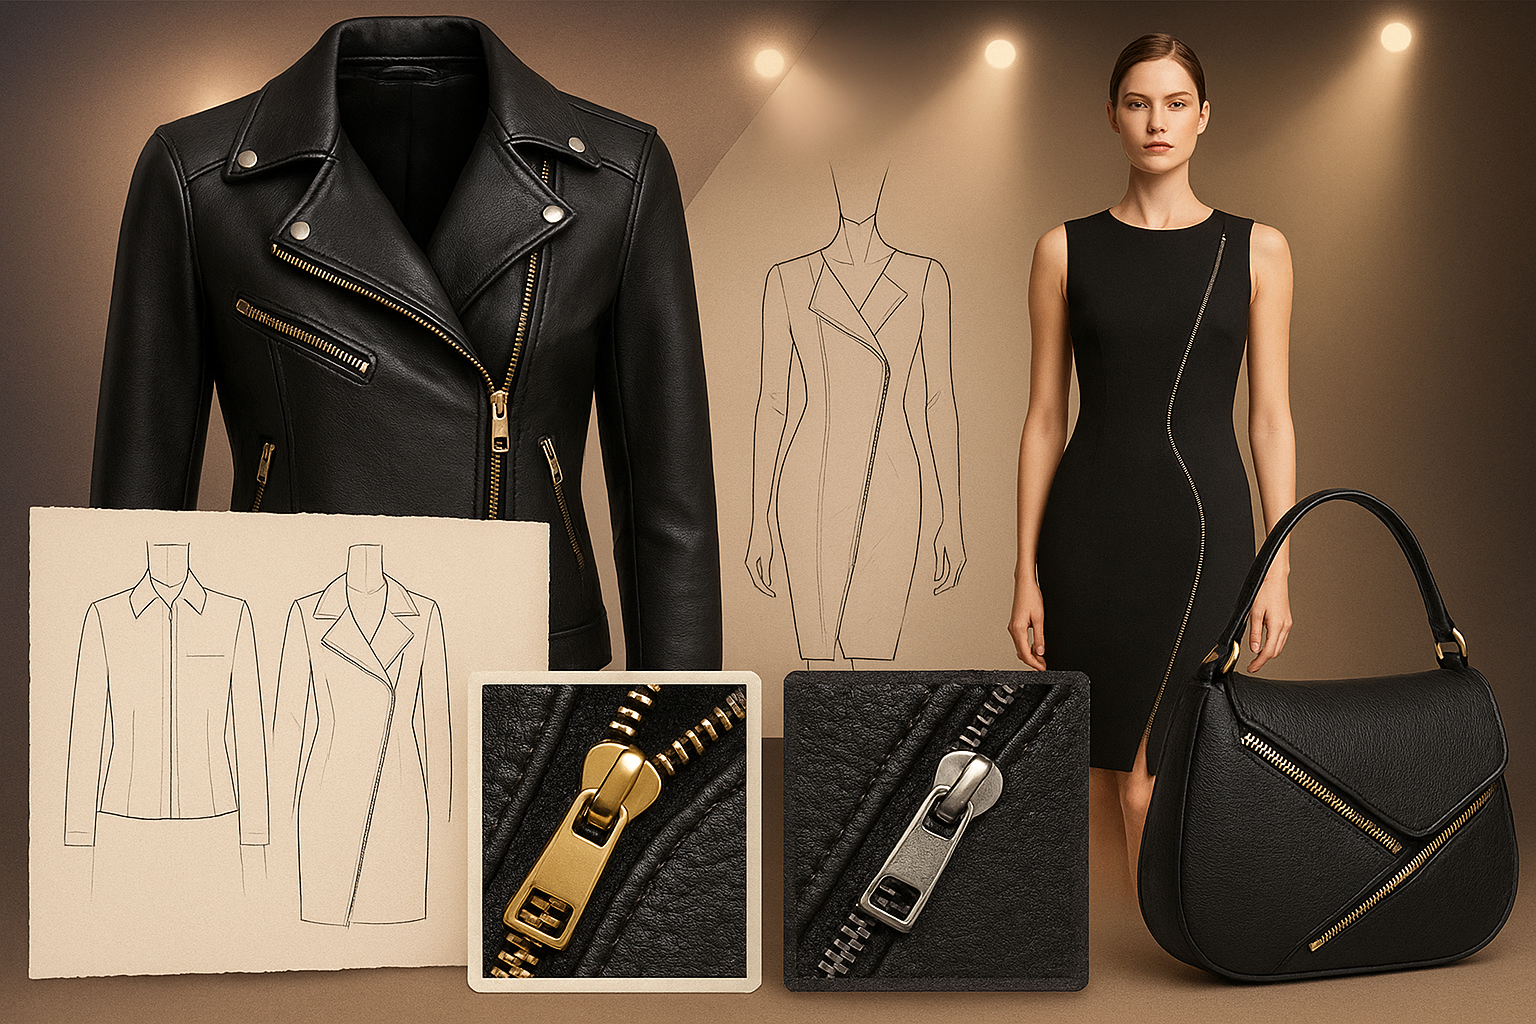
Hardware is what transforms a simple jacket into a style statement. When attaching zippers, use a bit of leather adhesive to keep them in place before stitching for better accuracy.
Check your seams, trim any excess threads, and apply a leather conditioner to protect and restore the natural shine of your new jacket. Now step back—you’ve just made your very own custom leather jacket from scratch!
Q1. What materials do I need to make a leather jacket?
You’ll need quality leather hides, a sewing machine (heavy-duty or industrial), leather needles, strong thread, lining fabric, and hardware like zippers or buttons.
Q2. Can I sew leather on a regular sewing machine?
Not usually. Most household machines struggle with leather. Go for a heavy-duty machine or consider hand-stitching with leather tools.
Q3. Is making a leather jacket beginner-friendly?
It’s challenging but possible. If you’re completely new, try smaller leather projects (like wallets or belts) before tackling a jacket.
Q4. How long does it take to make a leather jacket?
Depending on design and skill level, it can take anywhere from a few days to a few weeks.
Q5. Can I wash a handmade leather jacket?
No—leather should never be machine washed. Use leather-safe cleaners or take it to a professional.
Q6. Do I need a pattern?
Yes. A proper jacket pattern ensures the right fit, structure, and overall design. Skipping it could leave you with an awkward fit.