Cart
0
You may also like


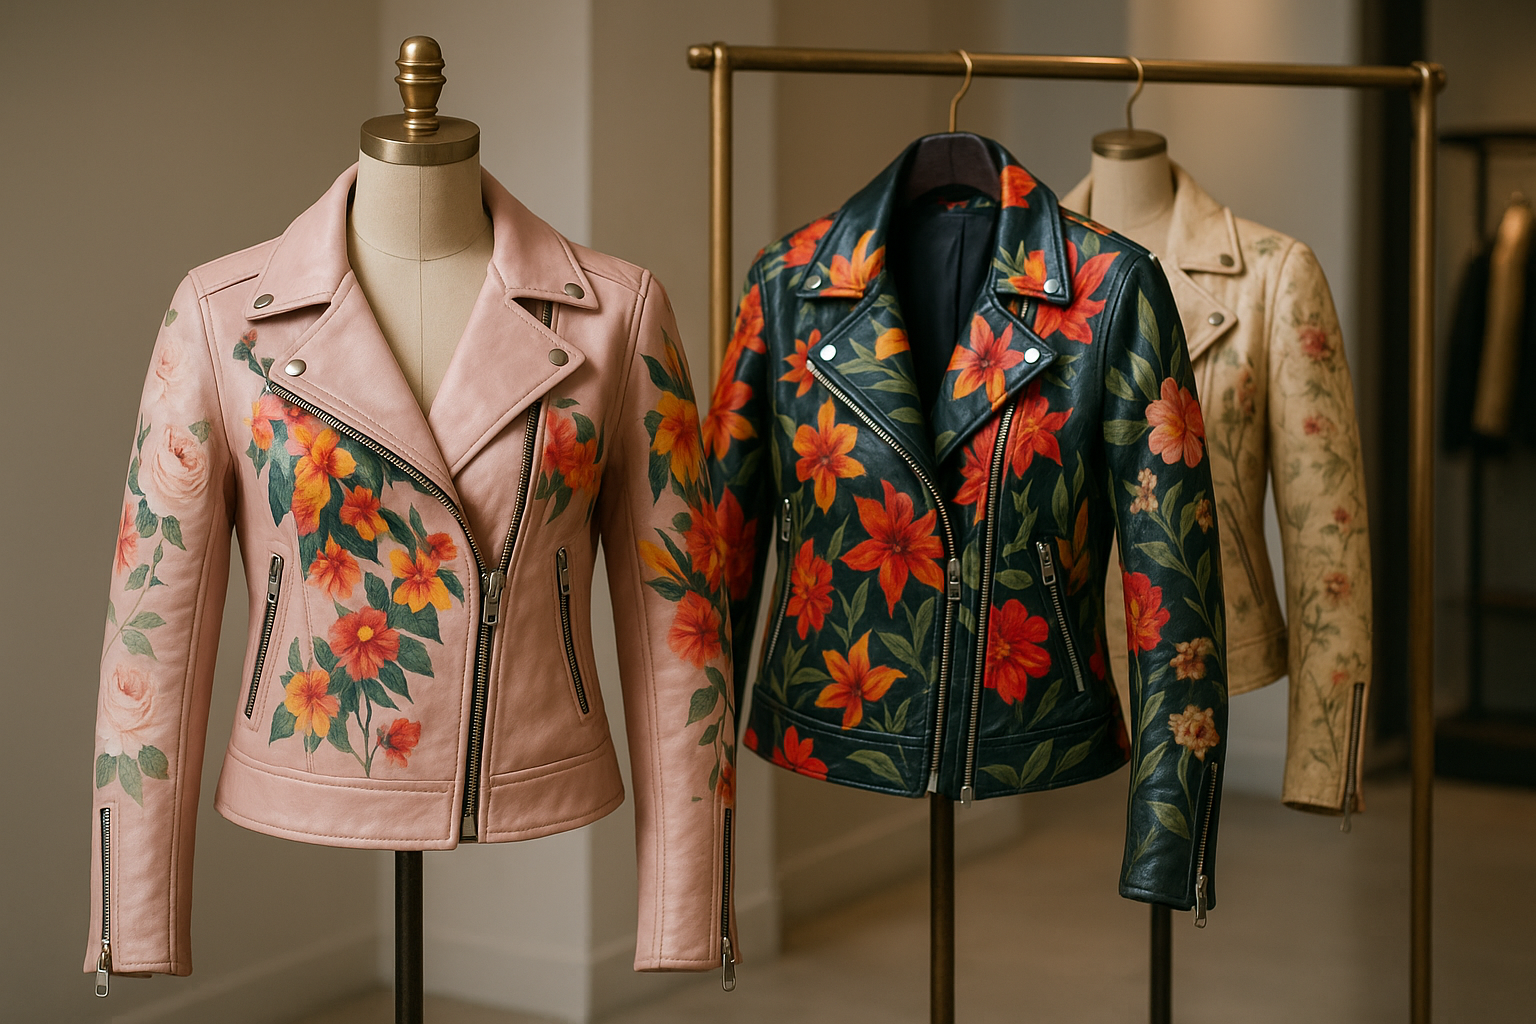
There’s something magical about leather products. A well-made leather wallet, belt, or jacket doesn’t just look good—it feels personal, like it carries a story. That story starts long before you ever pick it up in a store or workshop. Behind every piece is an artisan’s patience, skill, and love for detail. Let’s take a walk through the process of leather crafting and see how these timeless items come to life.
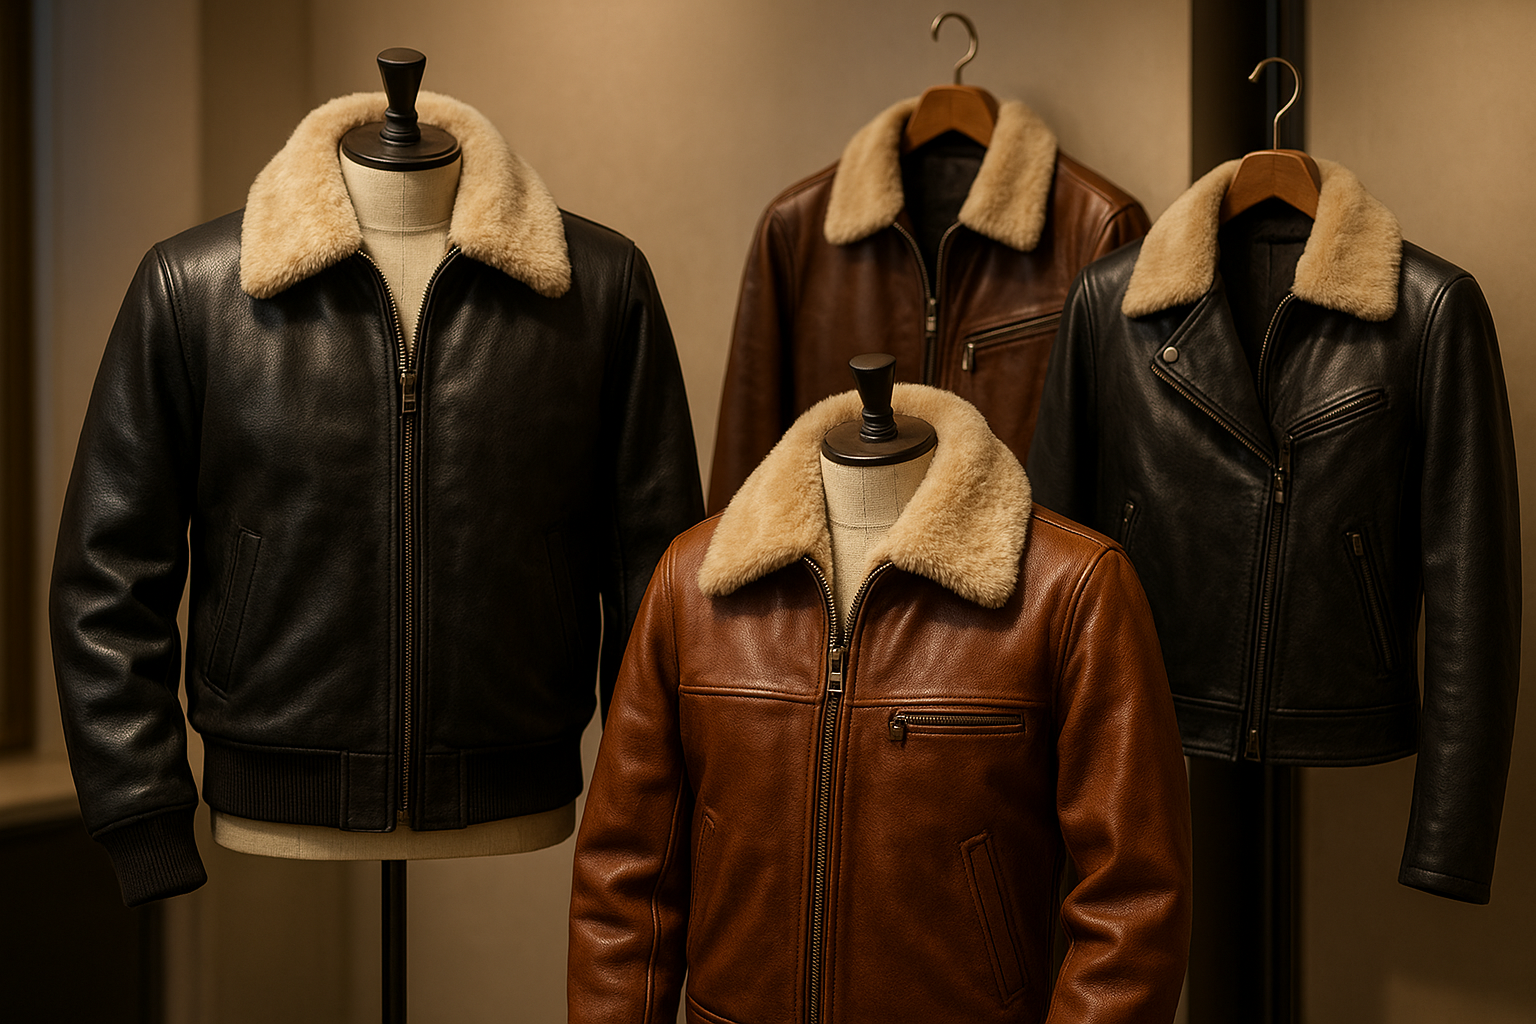
Every project starts with the hide. Not all leather is created equal—full-grain is tough and raw, top-grain is smooth and flexible, and suede feels soft and velvety. The choice depends on what’s being made. A rugged belt? Go full-grain. A cozy jacket? Top-grain or suede is your friend.
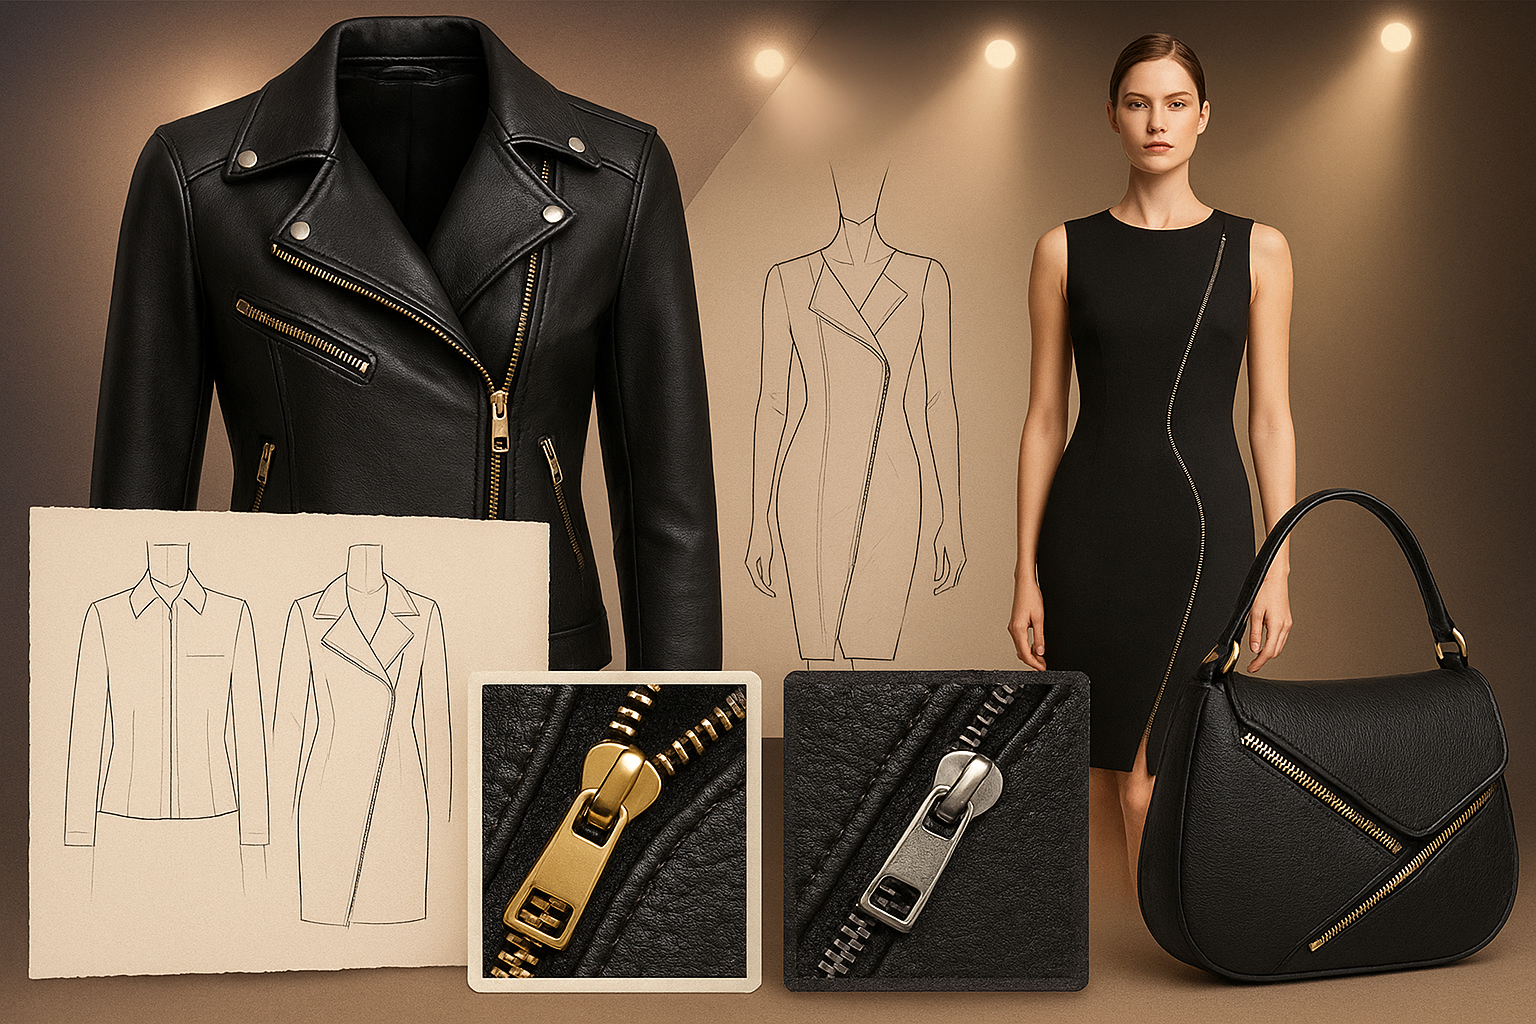
Before any cutting begins, there’s a sketch. Patterns are drawn to guide the process, like a map for the journey. These patterns ensure every piece fits perfectly together—because leather isn’t something you want to waste with trial and error.
Here’s where the craft really begins. Using sharp knives or rotary cutters, artisans carefully slice through the hide. One wrong move could ruin a section, so precision (and steady hands) matter. You can almost hear the soft shhk sound of blade on leather—an oddly satisfying moment in the workshop.
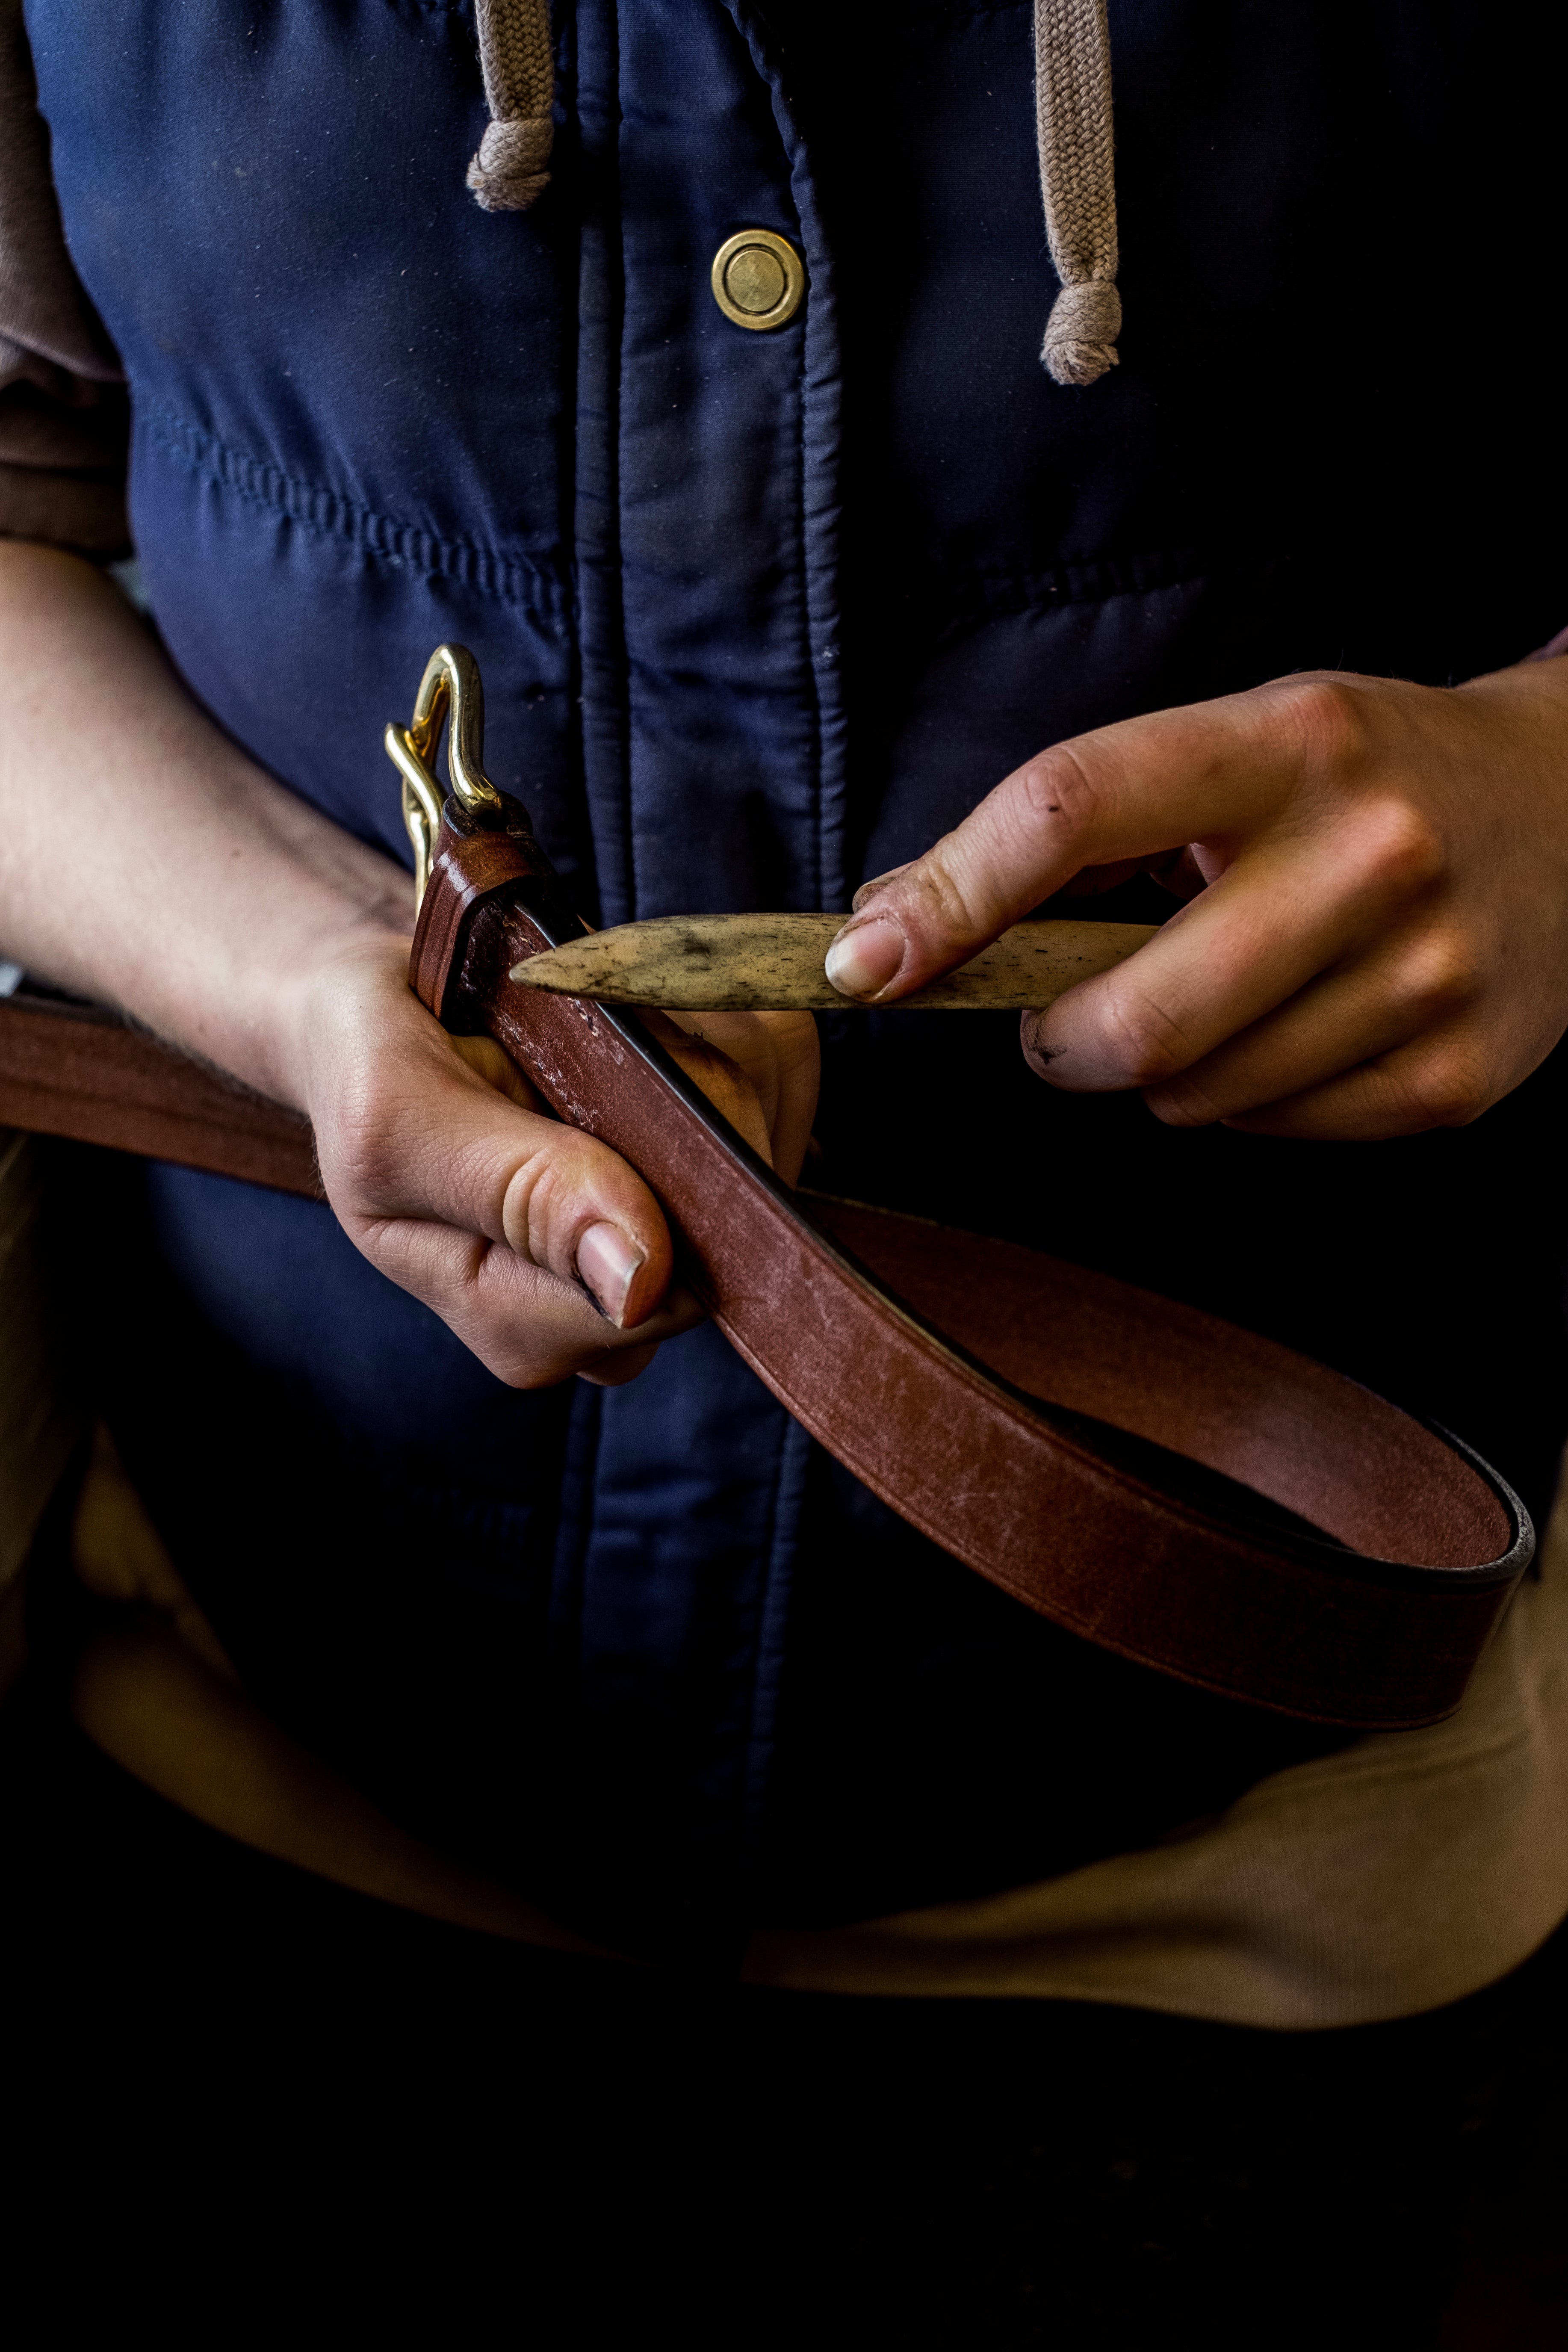
Raw leather edges can look rough. So, crafters smooth and round them with tools like an edge beveler, then burnish (rub) them until they shine. Sometimes, they’ll add paint or a sealant to give the edges a polished finish.
This is where the pieces start coming together. Hand-stitching—especially the saddle stitch—takes more time but creates seams that are stronger and more durable. Machine stitching is faster, perfect for mass production. Before the needle ever hits the leather, small holes are punched to guide the thread. Waxed linen or polyester thread is the go-to here, ensuring strength and flexibility.
The magic often lies in the little things: buckles, zippers, rivets, or snaps. Hardware adds both function and flair, giving the product personality.
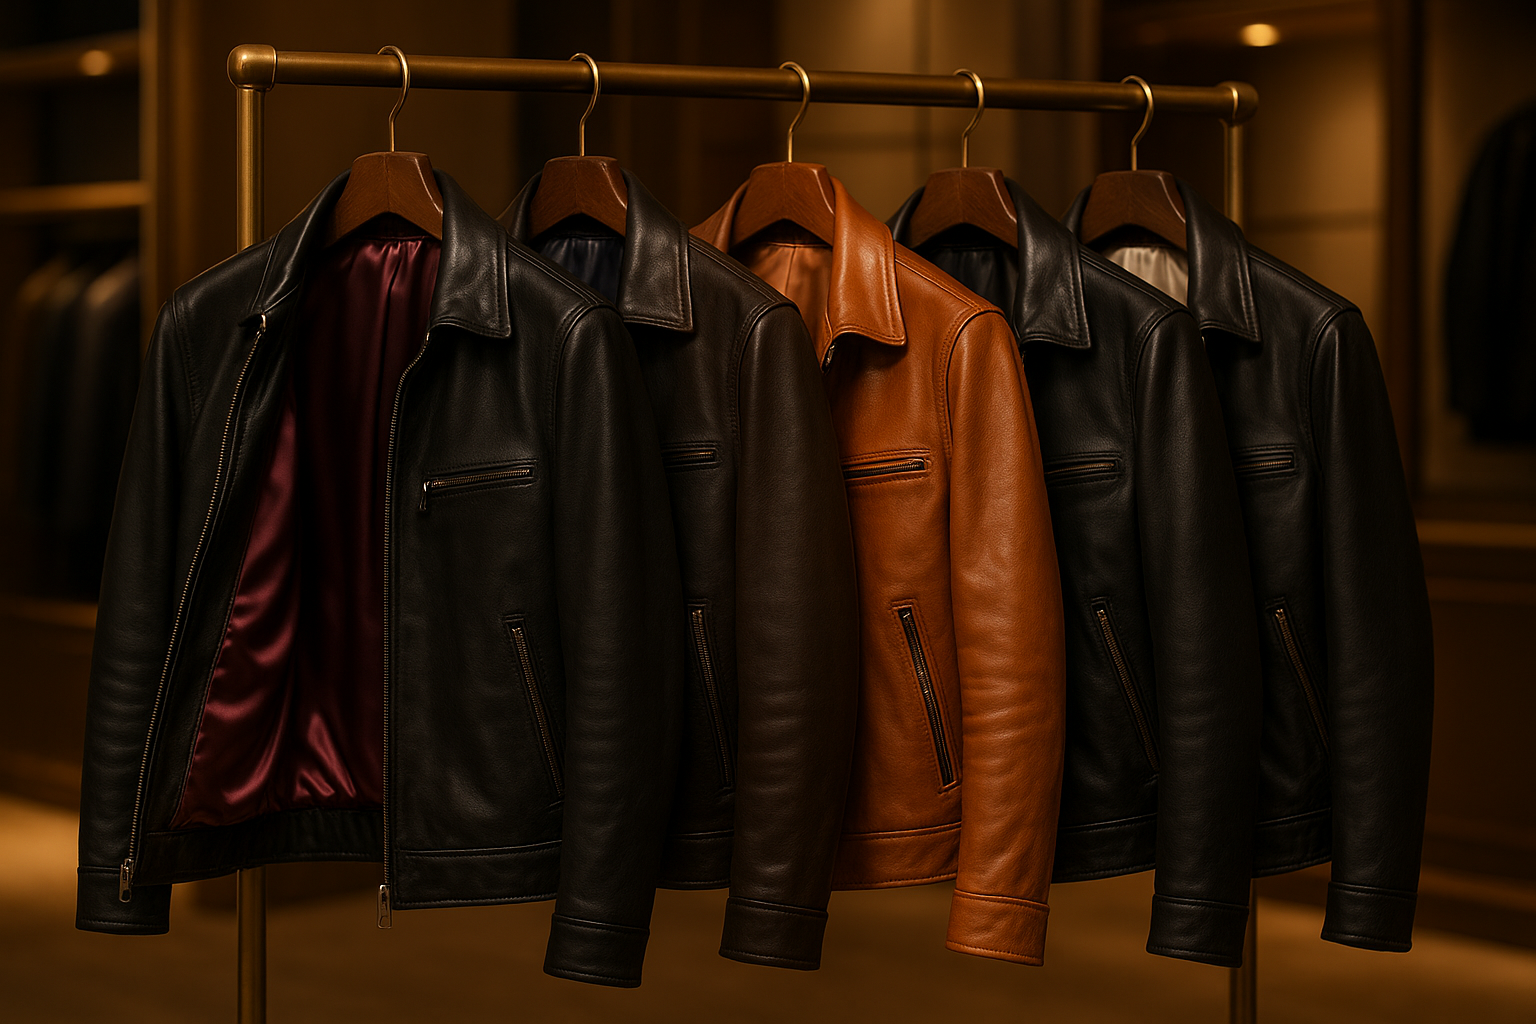
Once stitched and assembled, the leather gets its final care. Crafters condition it with oils or wax to keep it supple, sometimes add dyes for color, and maybe emboss a design or logo. This is when the leather starts to show its true character.
Before a product leaves the workshop, it’s inspected carefully. Are the stitches even? Do the edges feel smooth? Does the leather look and feel right? Only when it passes the test is it ready to be used—and to begin its new story with the owner.
1. How long does it take to make something from leather?
It really depends. A wallet might take a few hours, but a jacket or large bag could take days.
2. What tools do beginners need?
A sharp knife, stitching needles, pricking iron, waxed thread, an edge beveler, and a burnishing tool are great starters.
3. Is handmade better than machine-made?
Handmade leather goods often last longer because of careful stitching and the personal touch, but machine-made products are more affordable.
4. How do I spot good quality leather?
Look for full-grain leather, tight and even stitching, smooth edges, and sturdy hardware. And trust your hands—high-quality leather feels firm yet supple.
5. Can I try leather crafting at home?
Absolutely! Many beginners start with simple items like keychains, coasters, or wallets before tackling bigger projects.