Cart
0
You may also like


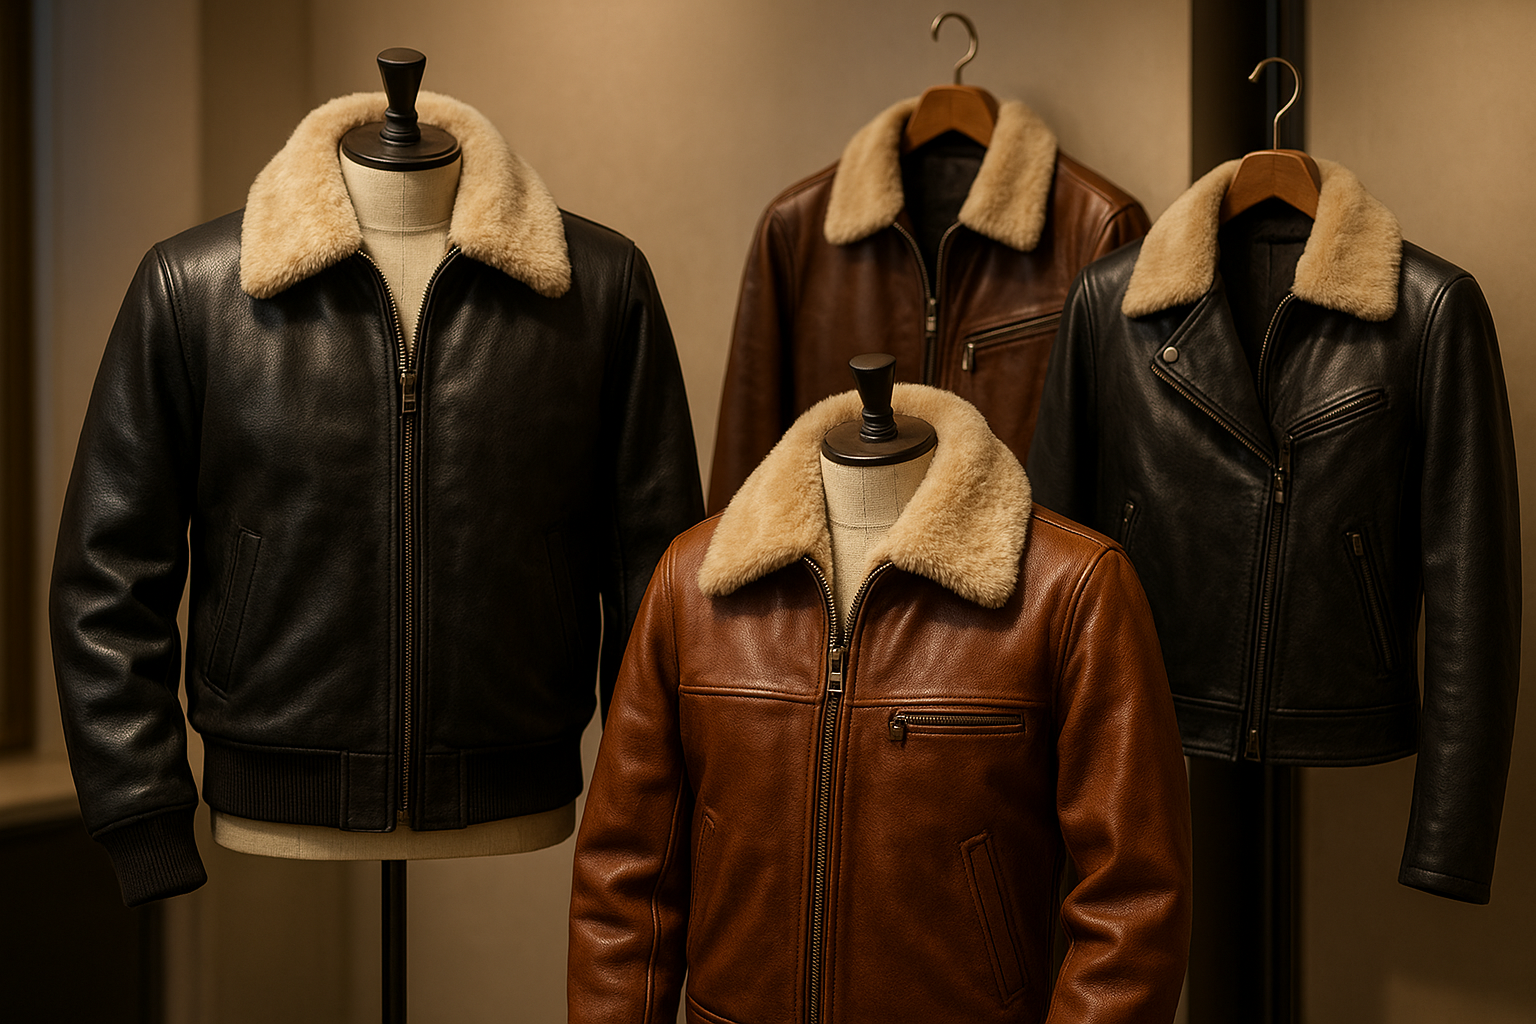
Leather is a natural material that thrives on balance—too much dirt can damage it, but so can excessive dryness. After cleaning, many people forget one crucial step: conditioning. This simple process is what keeps your leather soft, supple, and looking brand new.
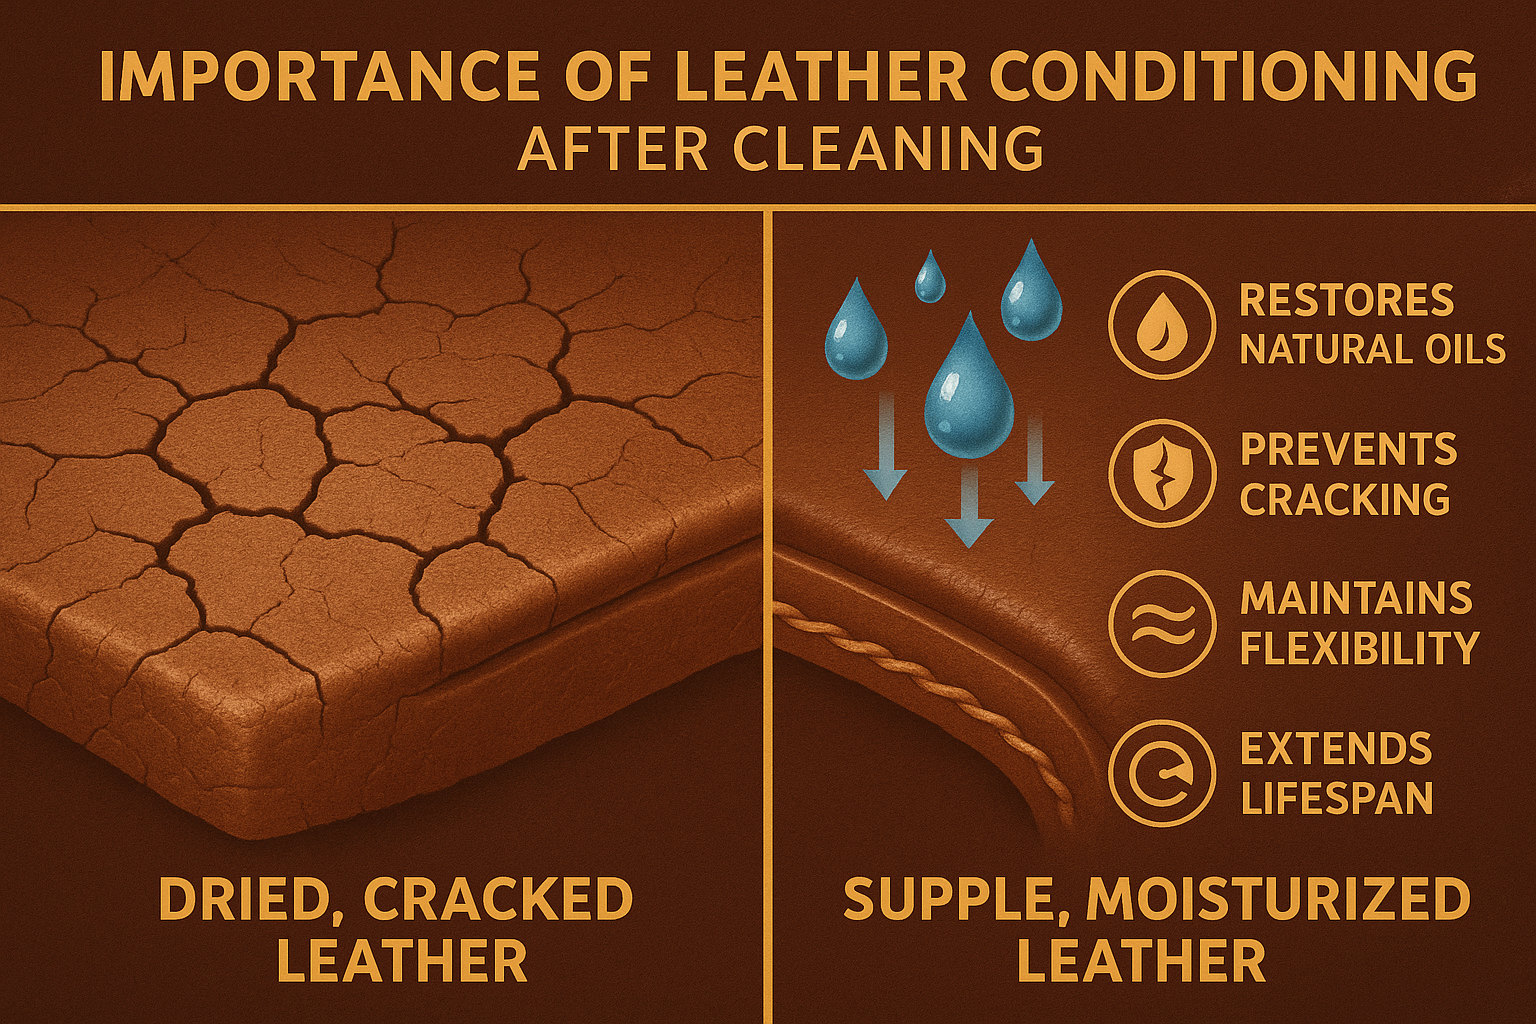
While cleaning removes dirt, sweat, and oils, it also strips away some of leather’s natural moisture. If not replenished, the leather becomes brittle and prone to cracks.
Restores Natural Oils – Rehydrates the leather, keeping it flexible.
Prevents Cracking – Stops dryness and flaking over time.
Enhances Appearance – Adds shine and richness to the leather’s color.
Extends Lifespan – Maintains durability for years of use.
Allow leather to fully dry after cleaning.
Apply a small amount of leather conditioner with a soft cloth.
Massage in circular motions to help absorption.
Let it rest for a few minutes, then buff with a clean cloth.
After every deep cleaning session
When leather looks dull or dry
At least once every 1–3 months, depending on climate and usage
Q1: Can I skip conditioning after cleaning leather?
No—skipping conditioning risks drying and cracking over time.
Q2: What happens if I over-condition leather?
Too much conditioner can clog pores, so apply sparingly.
Q3: Can I use household oils instead of leather conditioner?
Avoid cooking oils—they cause buildup and bad odors. Use a product designed for leather.
Q4: Is conditioning needed for all types of leather?
Yes, except suede and nubuck, which require special care.
Q5: How do I know my leather needs conditioning?
If it feels stiff, looks dull, or shows fine cracks, it’s time to condition.