Cart
0
You may also like


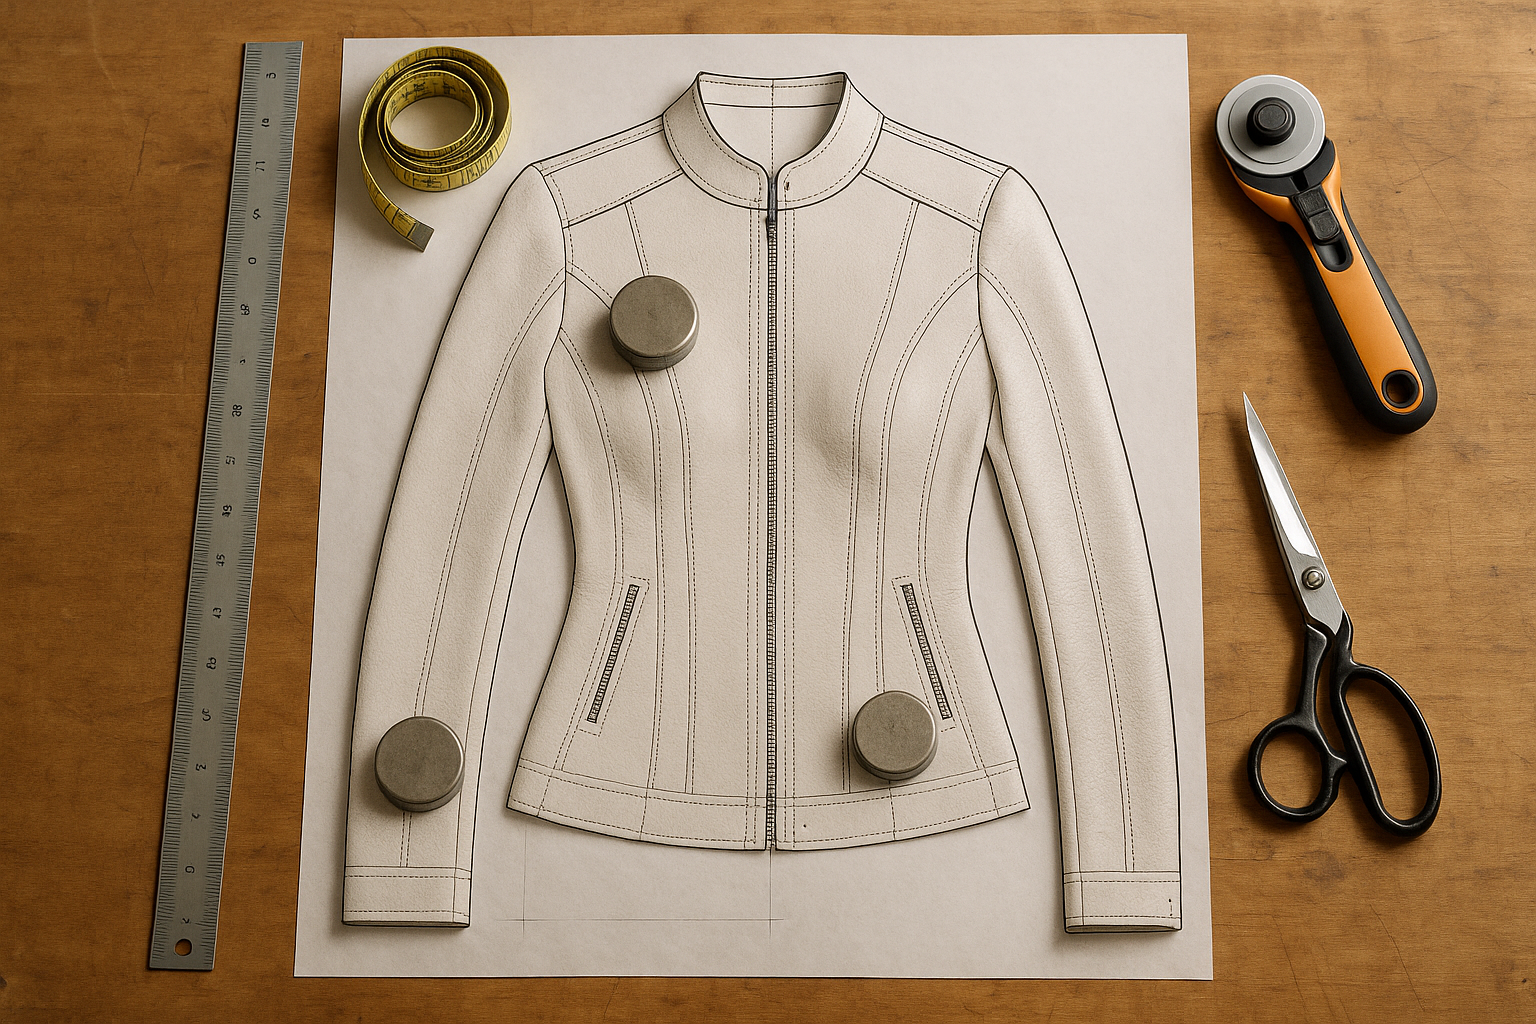
A leather jacket with a fitted waist not only looks sleek and tailored but also enhances comfort and style. Whether you’re crafting a jacket from scratch or modifying an existing pattern, understanding how to draft a fitted waist ensures your jacket hugs the body in all the right places without compromising mobility.
A fitted waist:
Creates a flattering, streamlined silhouette
Prevents the jacket from looking boxy or shapeless
Enhances comfort by following the natural curves of the body
Adds a professional, custom-made feel to your jacket
Start with precise measurements:
Natural waist circumference: Measure around the narrowest part of the torso
Hip circumference: Helps balance the jacket’s lower half
Waist-to-hem length: Ensures the jacket tapers correctly without pulling or bunching
Ease allowance: Add a small allowance for movement and comfort
Accurate measurements are essential to avoid a jacket that’s too tight or too loose.
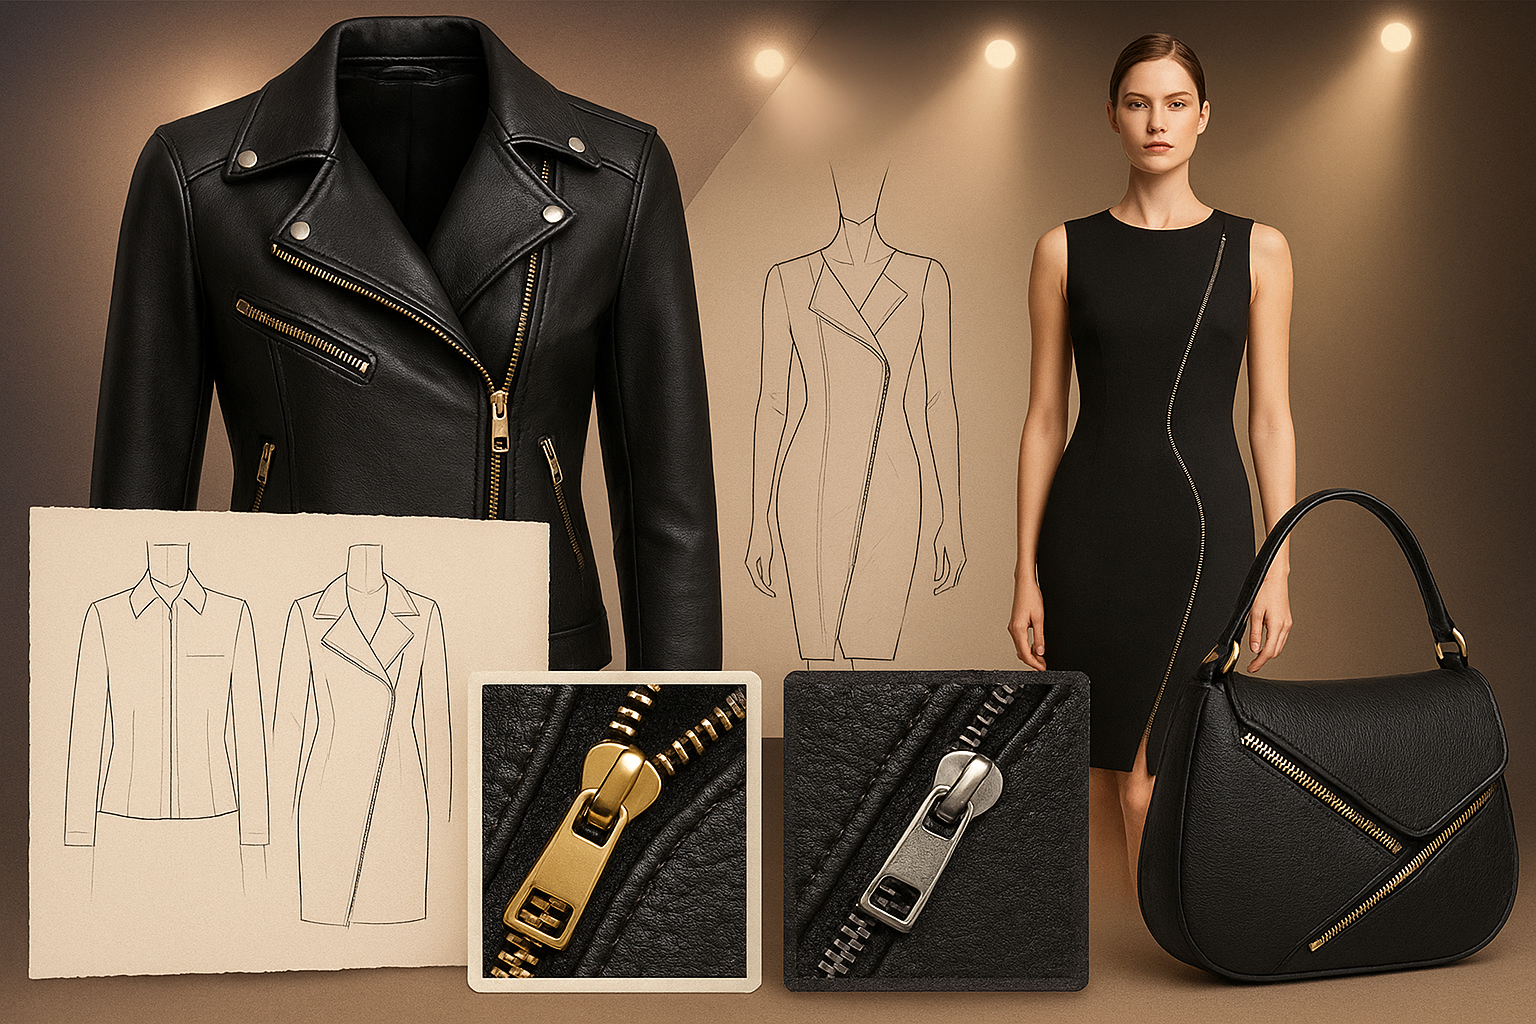
Identify the waistline on your pattern: Mark it clearly on both front and back pieces
Taper gradually: Draw lines from the bust or shoulder down to the waist, then flare slightly to the hem for balance
Maintain symmetry: Ensure side seams on both sides mirror each other
Add darts or princess seams if needed: These can help shape the waist while keeping the jacket stylish
Test with a muslin or scrap fabric: Make adjustments before cutting expensive leather
Gradual tapering and seam adjustments ensure the jacket maintains both fit and aesthetic appeal.
Sew slowly and carefully, especially along tapered seams
Reinforce waist seams with topstitching for durability
Press seams gently with a cloth to avoid shiny marks on the leather
Check fit frequently on a dress form or mannequin before final stitching
Following these tips ensures the waist looks smooth and professional.
Over-tapering, causing tightness or discomfort
Ignoring ease allowance for movement
Skipping test fittings, which can lead to ill-fitting leather
Uneven seams, making the jacket appear lopsided
Q1: Can beginners draft a fitted waist for leather jackets?
A: Yes! Start with simple tapering and gradually explore darts or princess seams as you gain confidence.
Q2: How do I ensure the waist is comfortable?
A: Always add a small ease allowance and test the pattern with scrap fabric before cutting leather.
Q3: What pattern adjustments help maintain style?
A: Gradual tapering, side seam alignment, and optional darts help keep the jacket stylish while fitting the body.
Q4: Can a fitted waist be added to a store-bought pattern?
A: Absolutely. Mark the waistline and taper the side seams carefully while keeping the original shoulder and bust measurements intact.
Q5: How can I avoid shiny marks on leather when sewing?
A: Press seams gently with a cloth in between the leather and iron to prevent shine and preserve the jacket’s finish.