Cart
0
You may also like


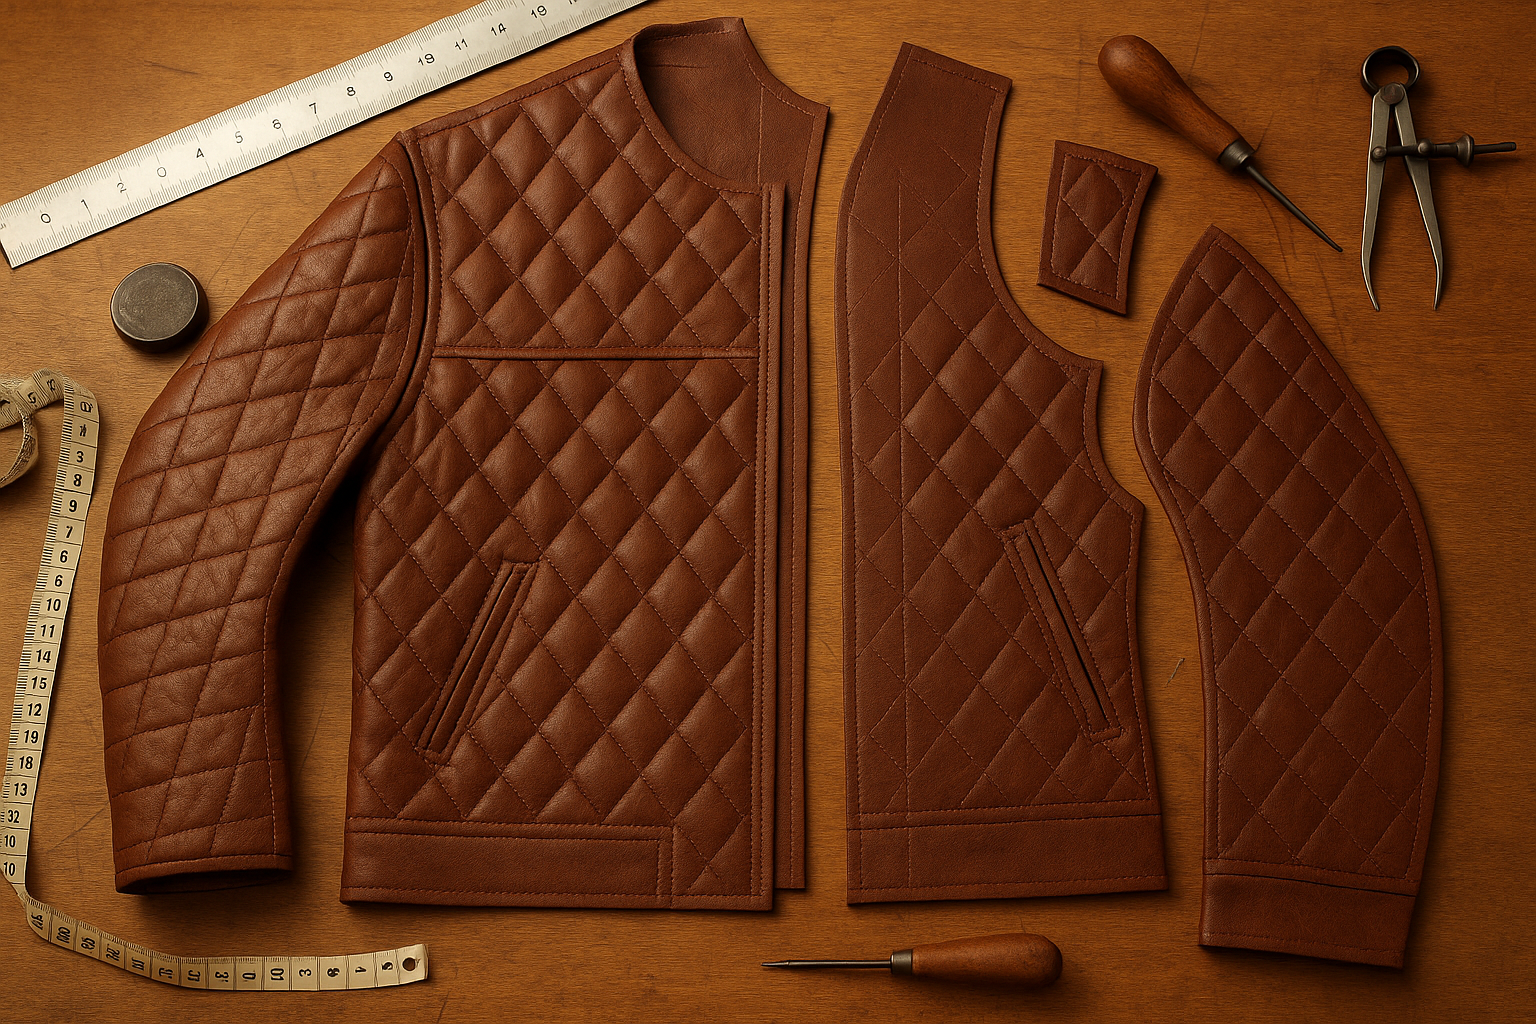
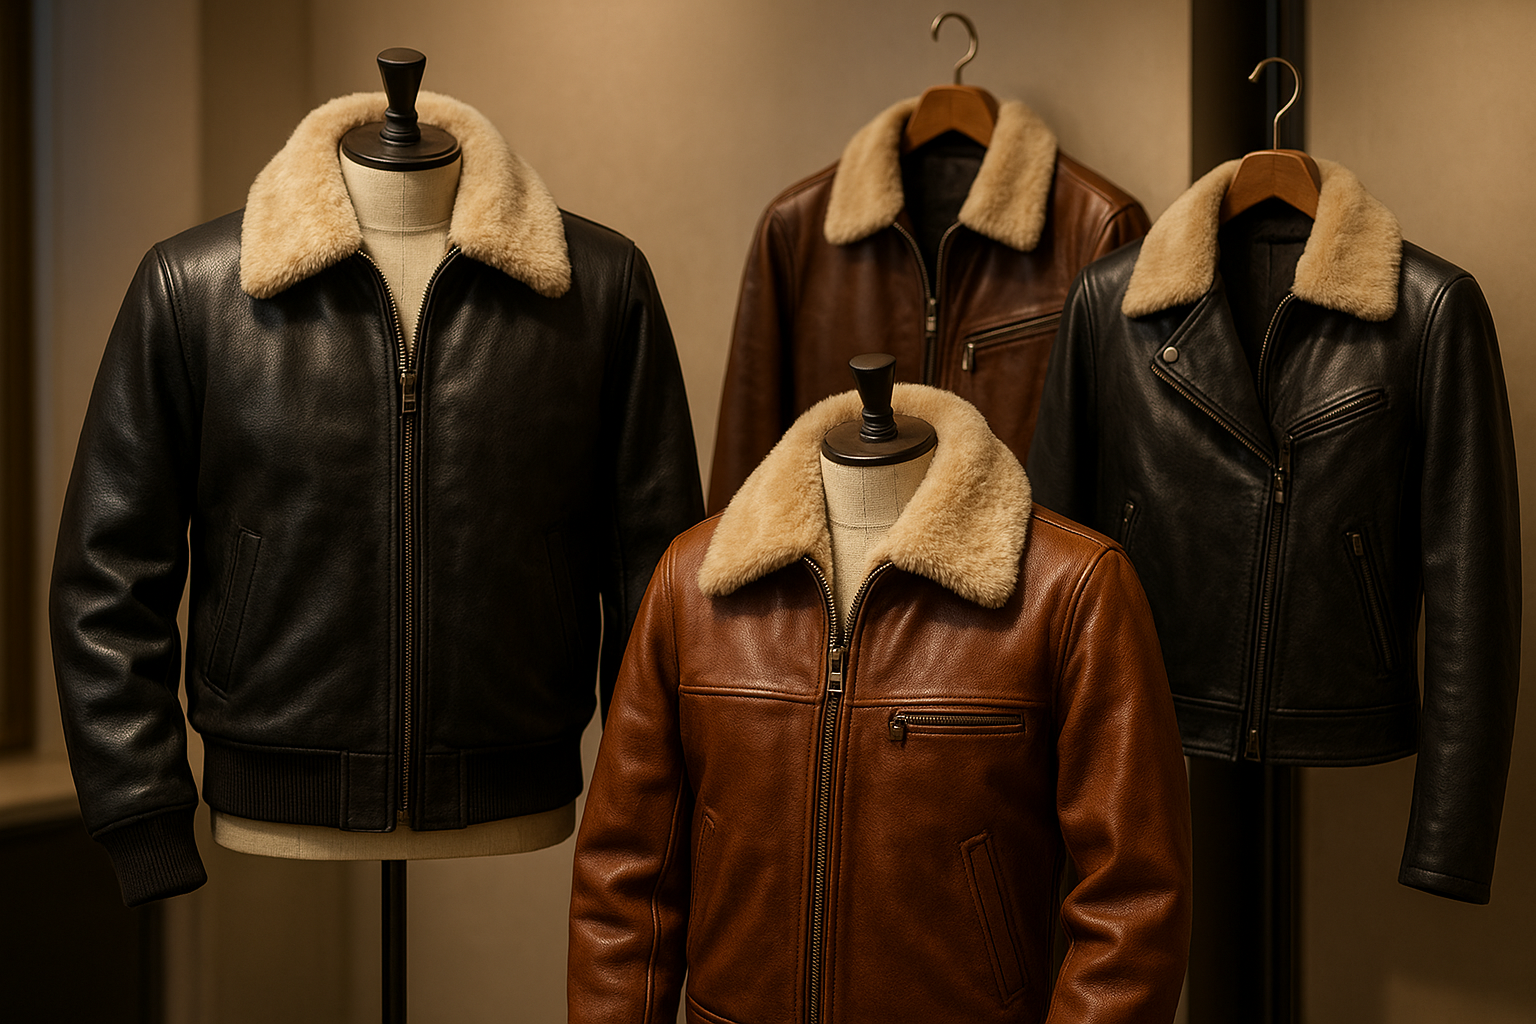
Quilted leather jackets are a stylish combination of elegance and warmth. The iconic diamond or square stitching not only adds visual interest but also strengthens the leather, creating a unique, durable piece. Designing a quilted jacket begins with the right pattern, and understanding how to draft one ensures your jacket fits perfectly and looks professional.
Quilted jackets stand out because they:
Provide added insulation while remaining lightweight
Offer texture and design interest with stitched panels
Allow for creative paneling, giving your jacket a bespoke look
A well-drafted pattern ensures these features enhance both style and function without compromising fit.
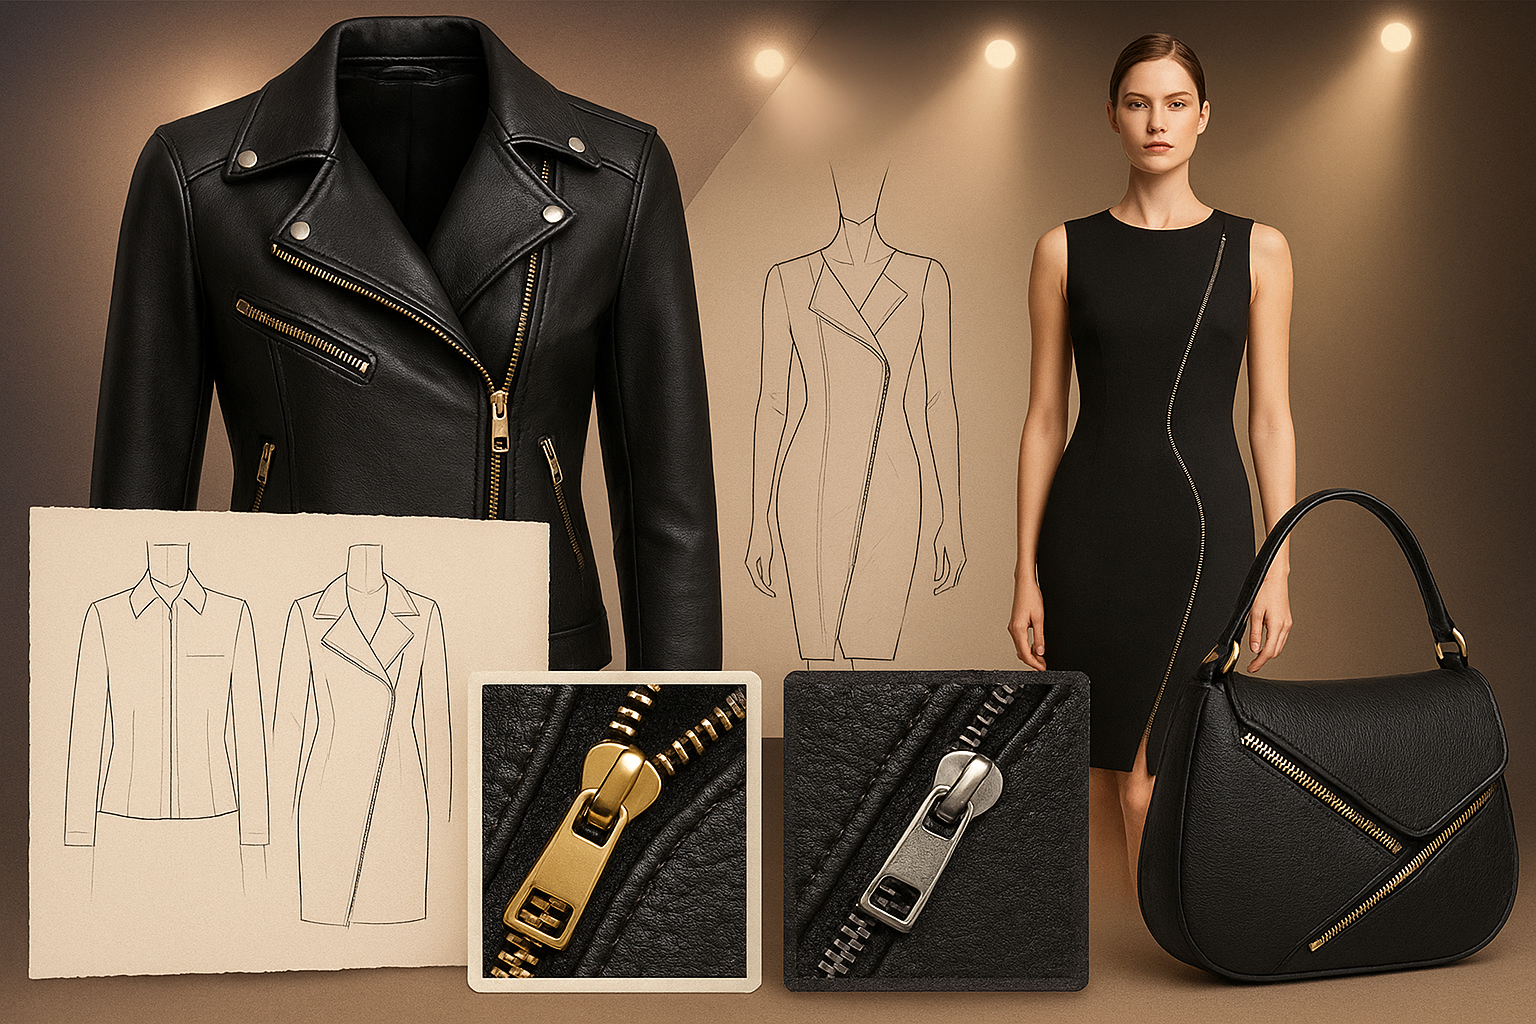
Take Accurate Measurements: Chest, waist, hip, sleeve length, shoulder width, and jacket length are all essential.
Draft the Base Pattern: Start with a simple leather jacket pattern, including front, back, sleeves, and yoke pieces.
Mark Quilt Sections: Decide where the quilted panels will be (front, back, shoulders, or sleeves). Consider symmetry and proportion to maintain a balanced look.
Accurate measurements and base patterns are critical to making sure the quilted panels align correctly.
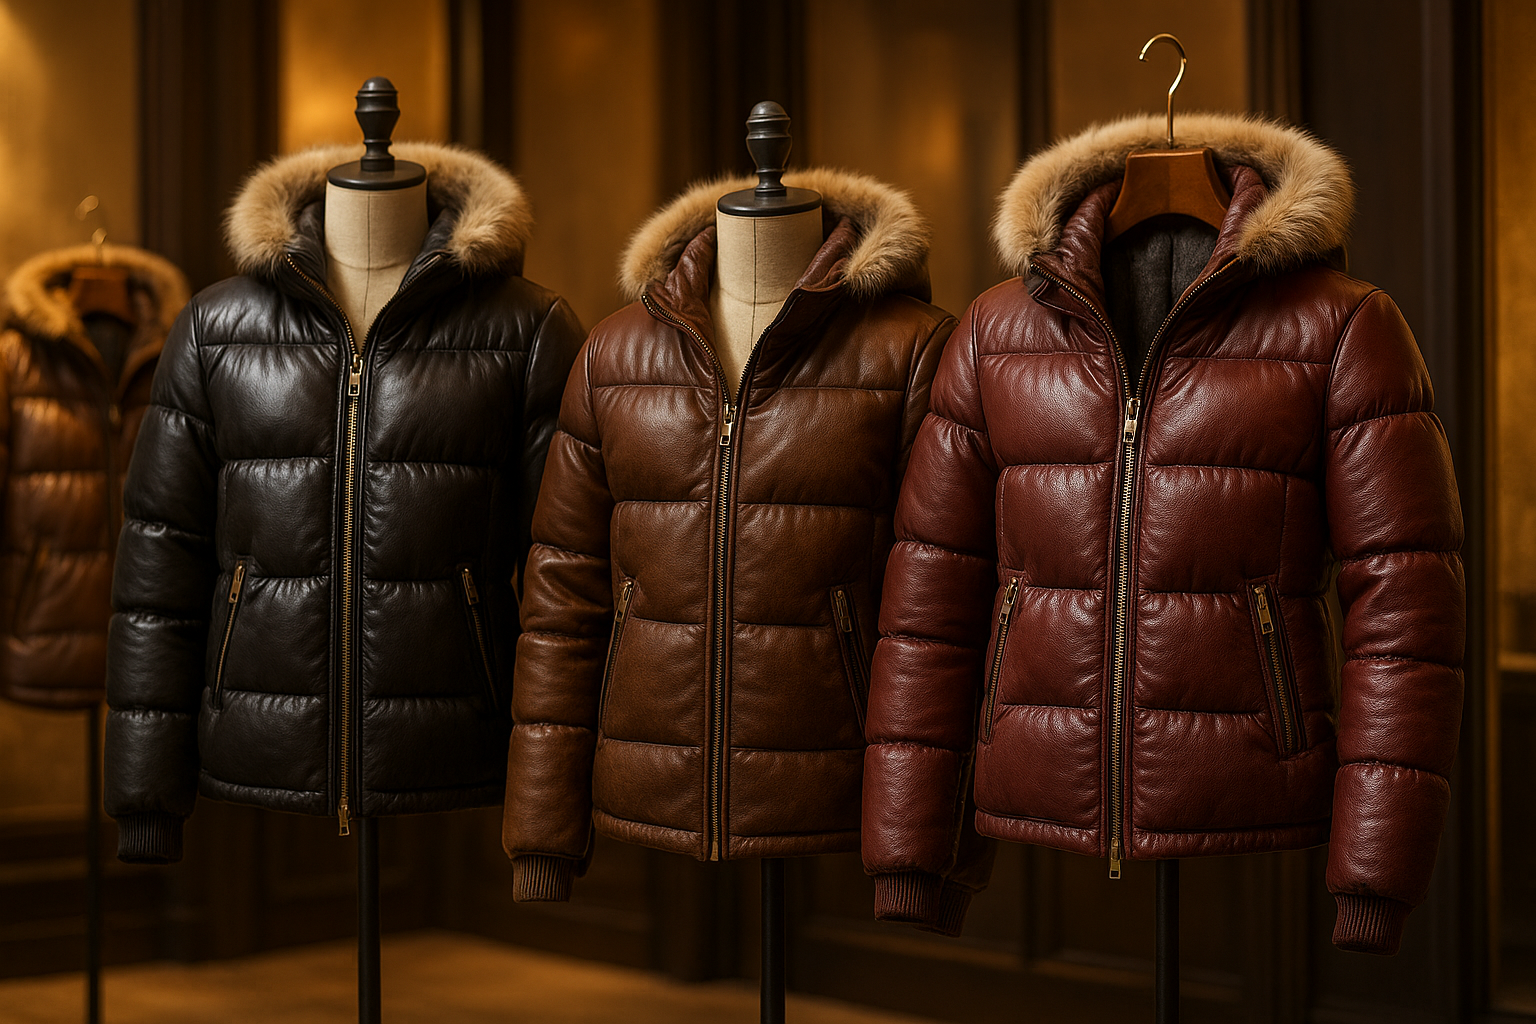
Choose Your Quilt Shape: Diamond, square, or geometric patterns work well.
Add Seam Allowances: Each panel should have extra space for stitching without affecting the jacket’s size.
Plan for Padding: If using batting or lining, account for the added thickness when drafting the pattern.
Test Layout on Paper: Draw panels on the pattern first to ensure even spacing and alignment.
Thoughtful panel design ensures your quilted leather jacket looks polished and professional.
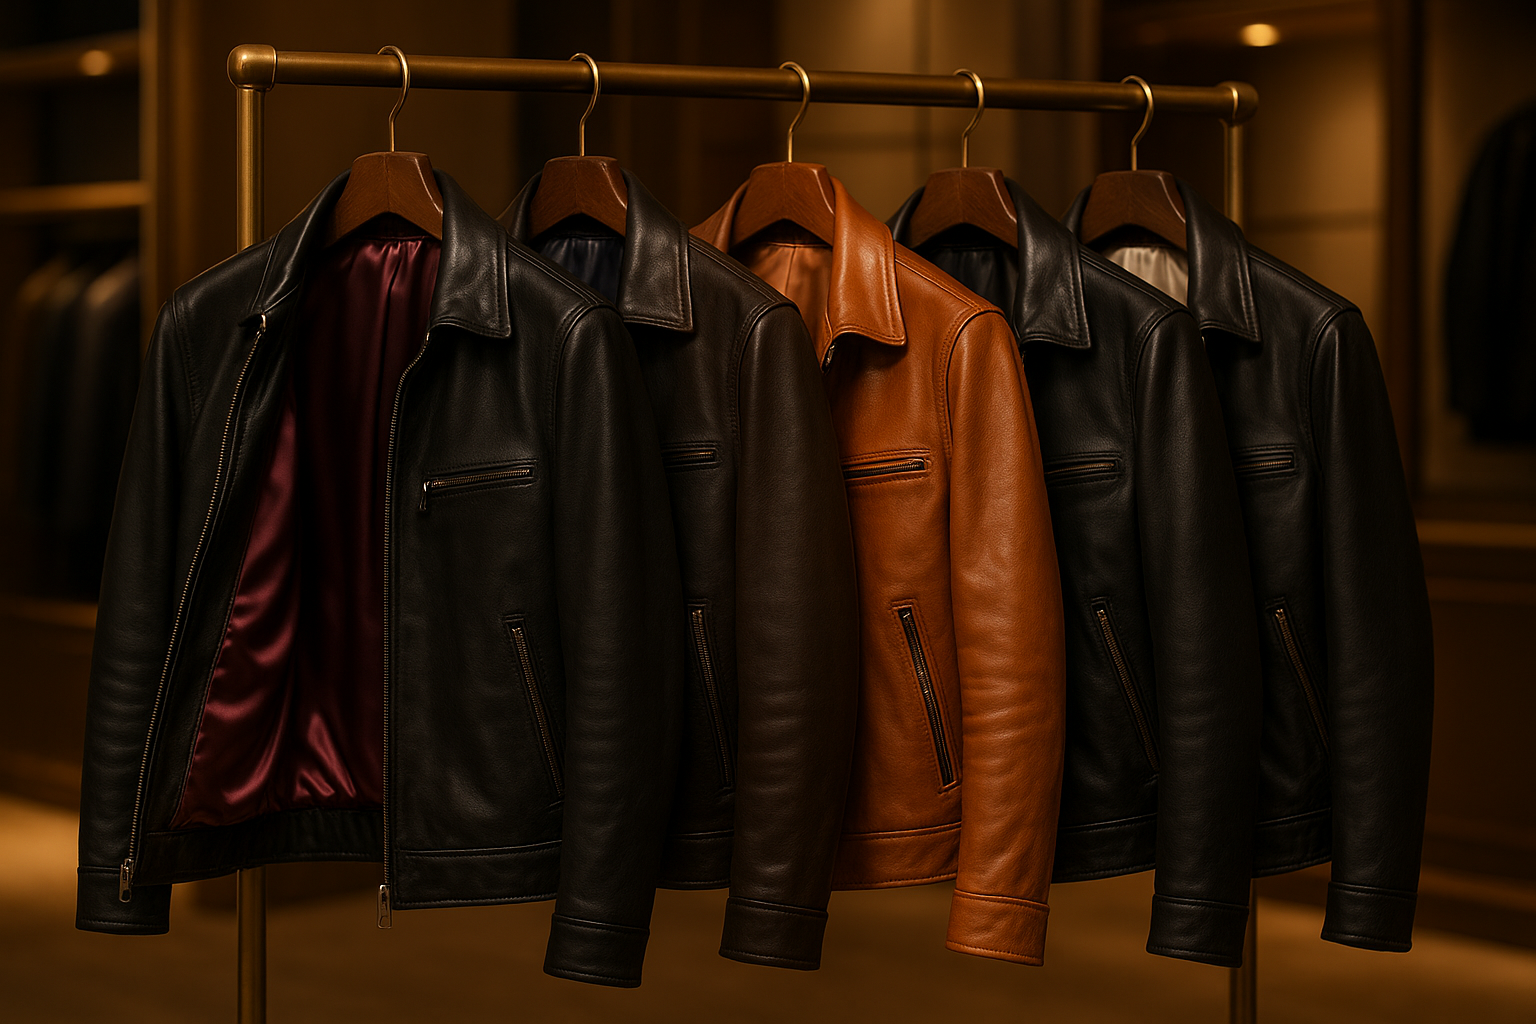
Use Leather Needles and Strong Thread: Quilted panels require reinforced stitching.
Sew Slowly: Take your time to prevent leather from stretching or puckering.
Press Carefully: Use a cloth between the leather and the iron to avoid shiny marks.
Attach Panels to Base Pieces First: This simplifies assembly and maintains clean lines.
Following these steps will help your quilted jacket maintain a sleek finish and long-lasting durability.
Misaligned quilt lines—can make the jacket look uneven
Ignoring extra thickness—panels may make seams too tight
Skipping test panels—leads to poor fit and proportions
Using inappropriate needles or thread—can tear the leather
Q1: Can beginners draft patterns for quilted leather jackets?
A: Yes! Start with a simple diamond or square quilt pattern and gradually try more complex designs as your confidence grows.
Q2: How do I account for added thickness in quilted panels?
A: Include extra seam allowance and consider the padding or lining thickness to maintain a proper fit.
Q3: What tools are needed for quilting leather jackets?
A: Leather needles, heavy-duty thread, measuring tape, rulers, and optional scrap leather for testing panels.
Q4: Can quilted panels be added to an existing jacket pattern?
A: Absolutely. Mark the panels on your base pattern, adjust for seam allowance, and sew them onto the jacket pieces.
Q5: How can I prevent puckering while sewing quilted panels?
A: Sew slowly, use a leather-appropriate needle, and avoid stretching the leather as you stitch