Cart
0
You may also like


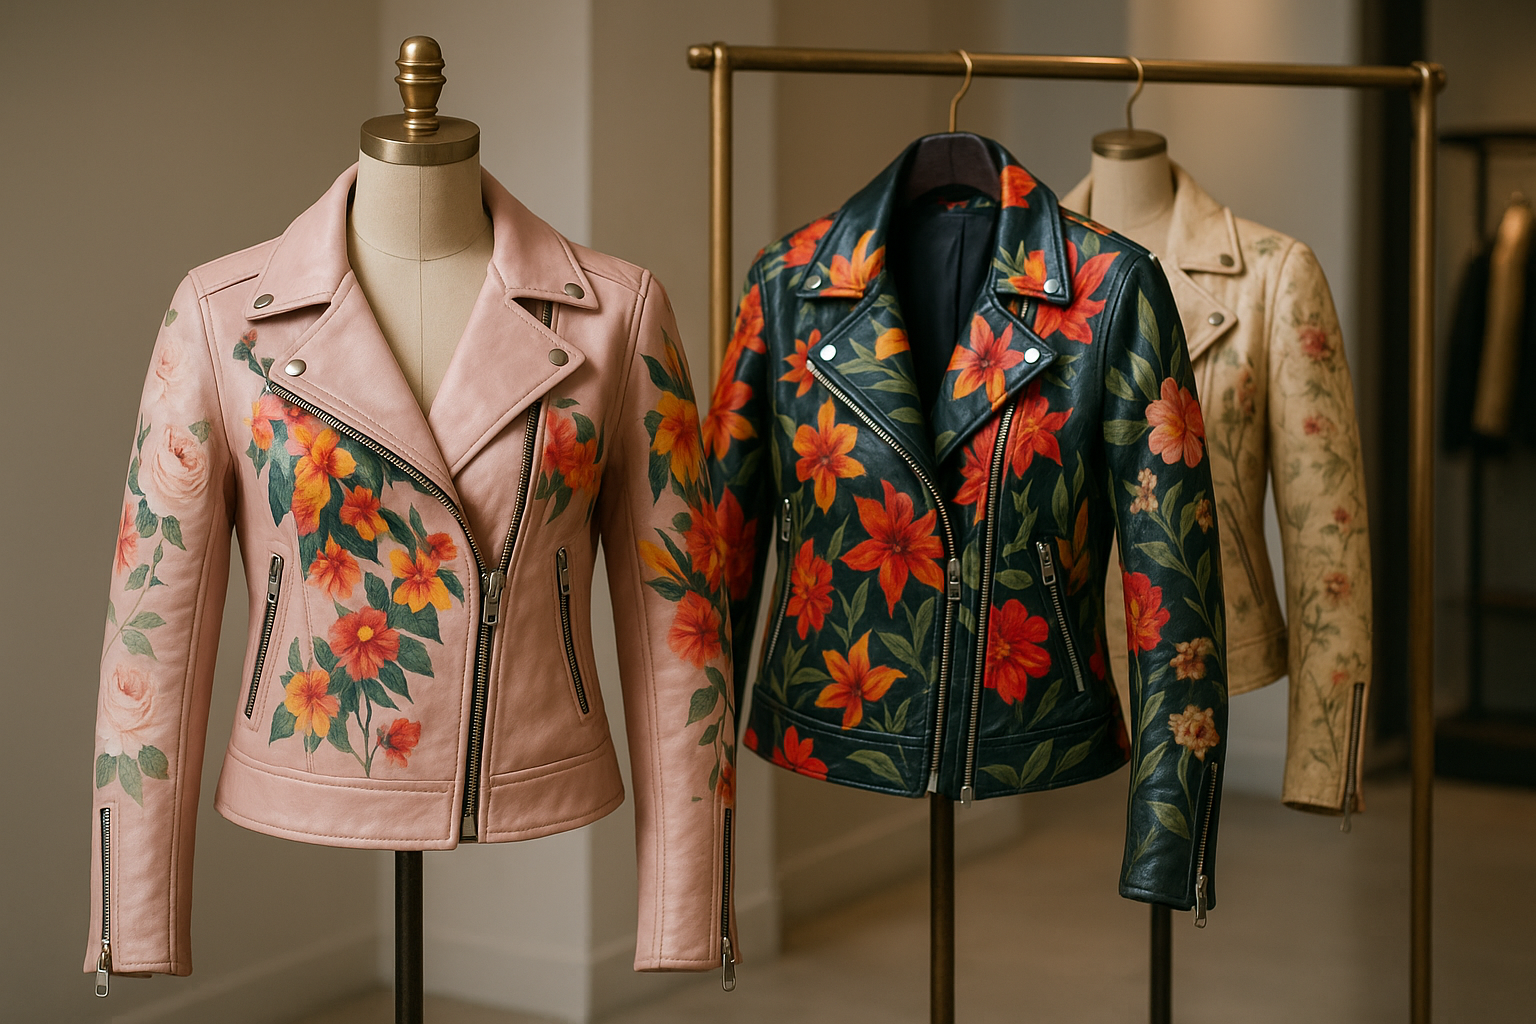
Leather jackets are timeless, stylish, and versatile. While buying one off-the-rack is easy, creating a custom leather jacket from scratch gives you the freedom to choose your fit, style, and details. It might seem intimidating at first, but with the right approach, even beginners can draft a professional-looking pattern.
This guide will walk you step-by-step through creating a leather jacket pattern that fits perfectly and reflects your personal style.
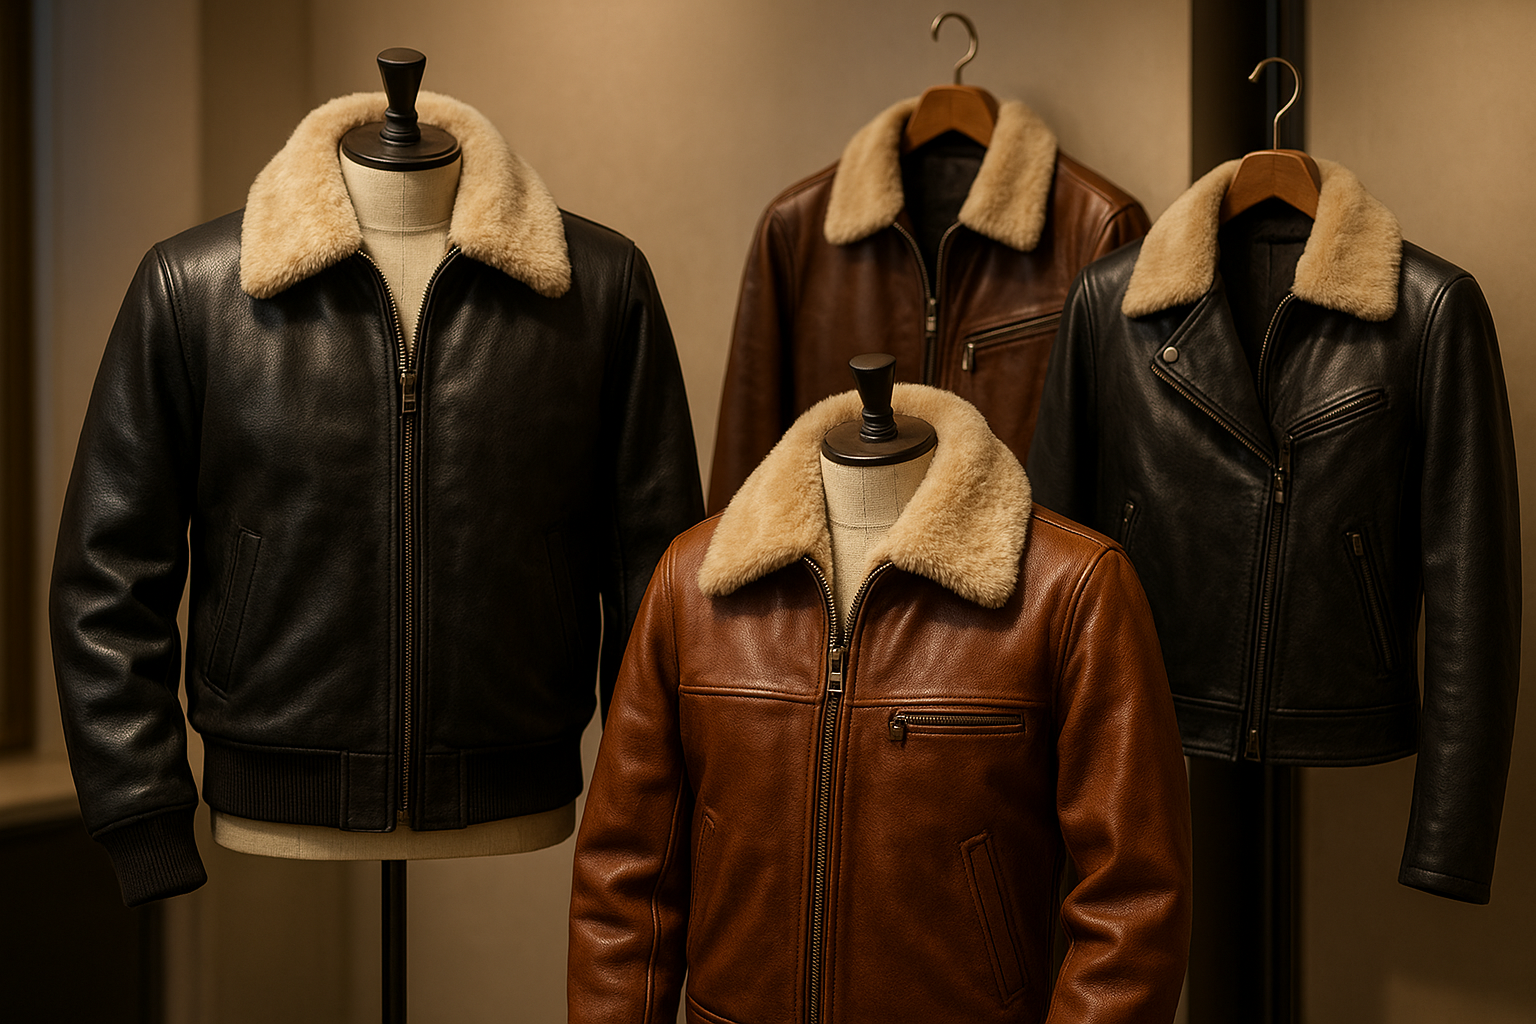
Start with the right leather for your project. Cowhide and lambskin are popular choices—durable, soft, and perfect for jackets. Decide whether you want a matte or glossy finish and pick a color that suits your style.
You’ll also need pattern paper, measuring tape, rulers, and pencils for drafting. Don’t forget your sewing tools and leather needles for later!
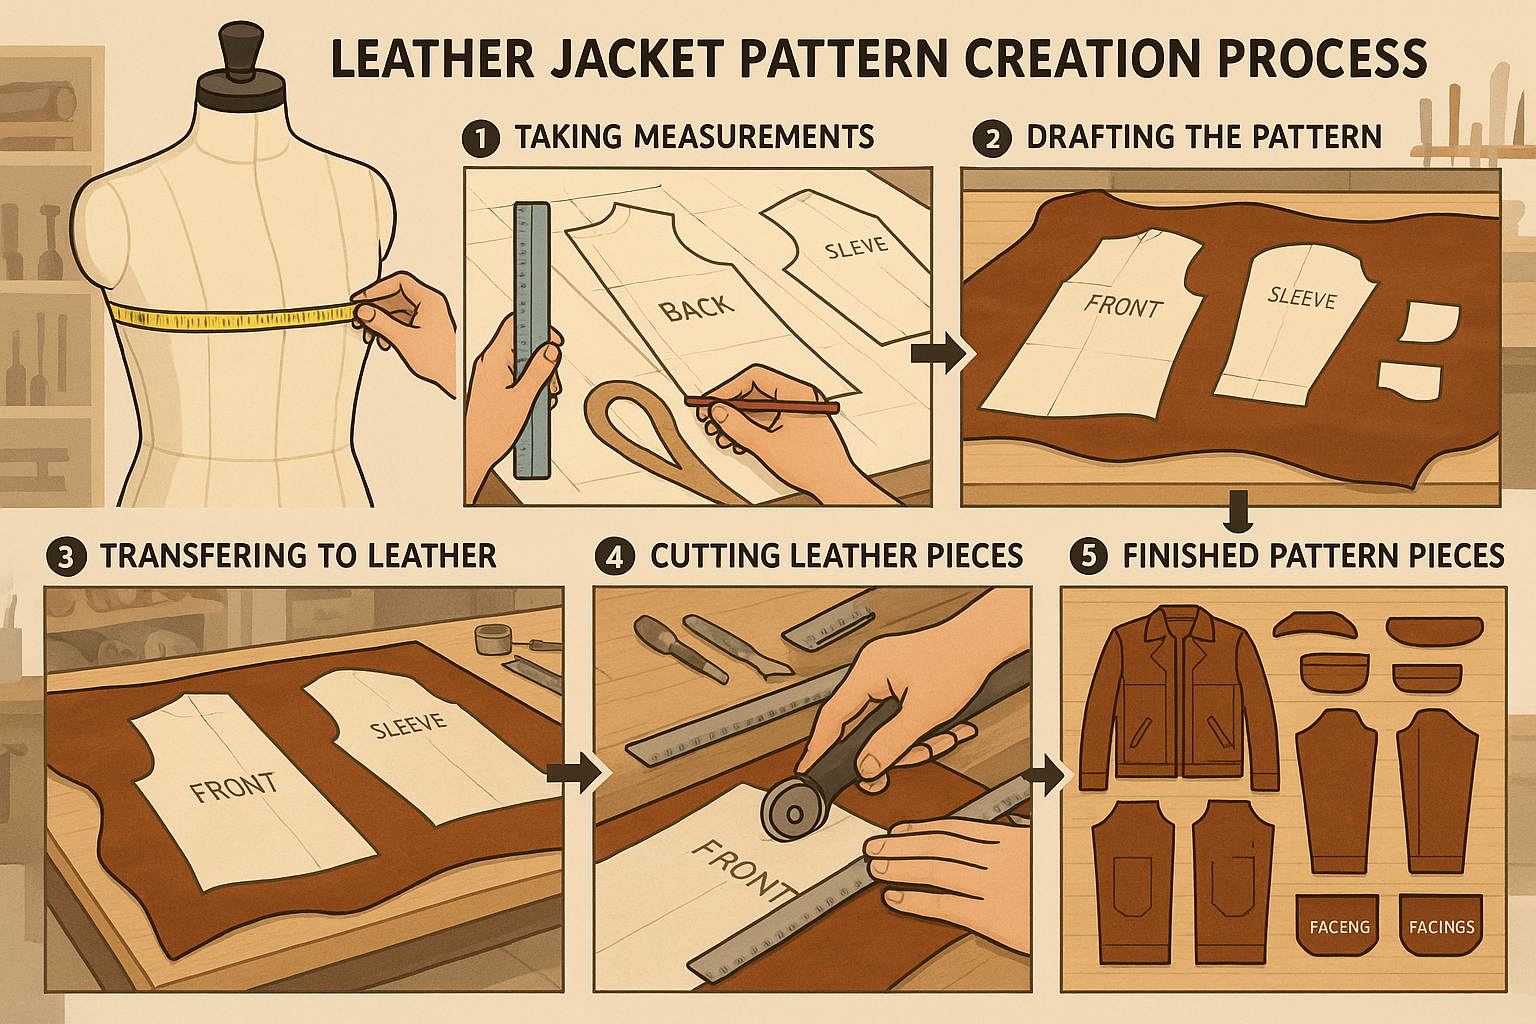
Accurate measurements are key to a perfect-fitting jacket. Measure:
Chest
Waist
Hips
Shoulder width
Sleeve length
Jacket length
Write everything down. It’s much easier to adjust your pattern with precise numbers than to fix a misfit later.
Use your measurements to draw the basic jacket shapes on pattern paper. Start with:
Front panel
Back panel
Sleeves
Collar
Yoke or shoulder details
Make sure to include seam allowances—usually around ½ inch—for sewing. Mark darts or shaping lines if you want a tailored fit.
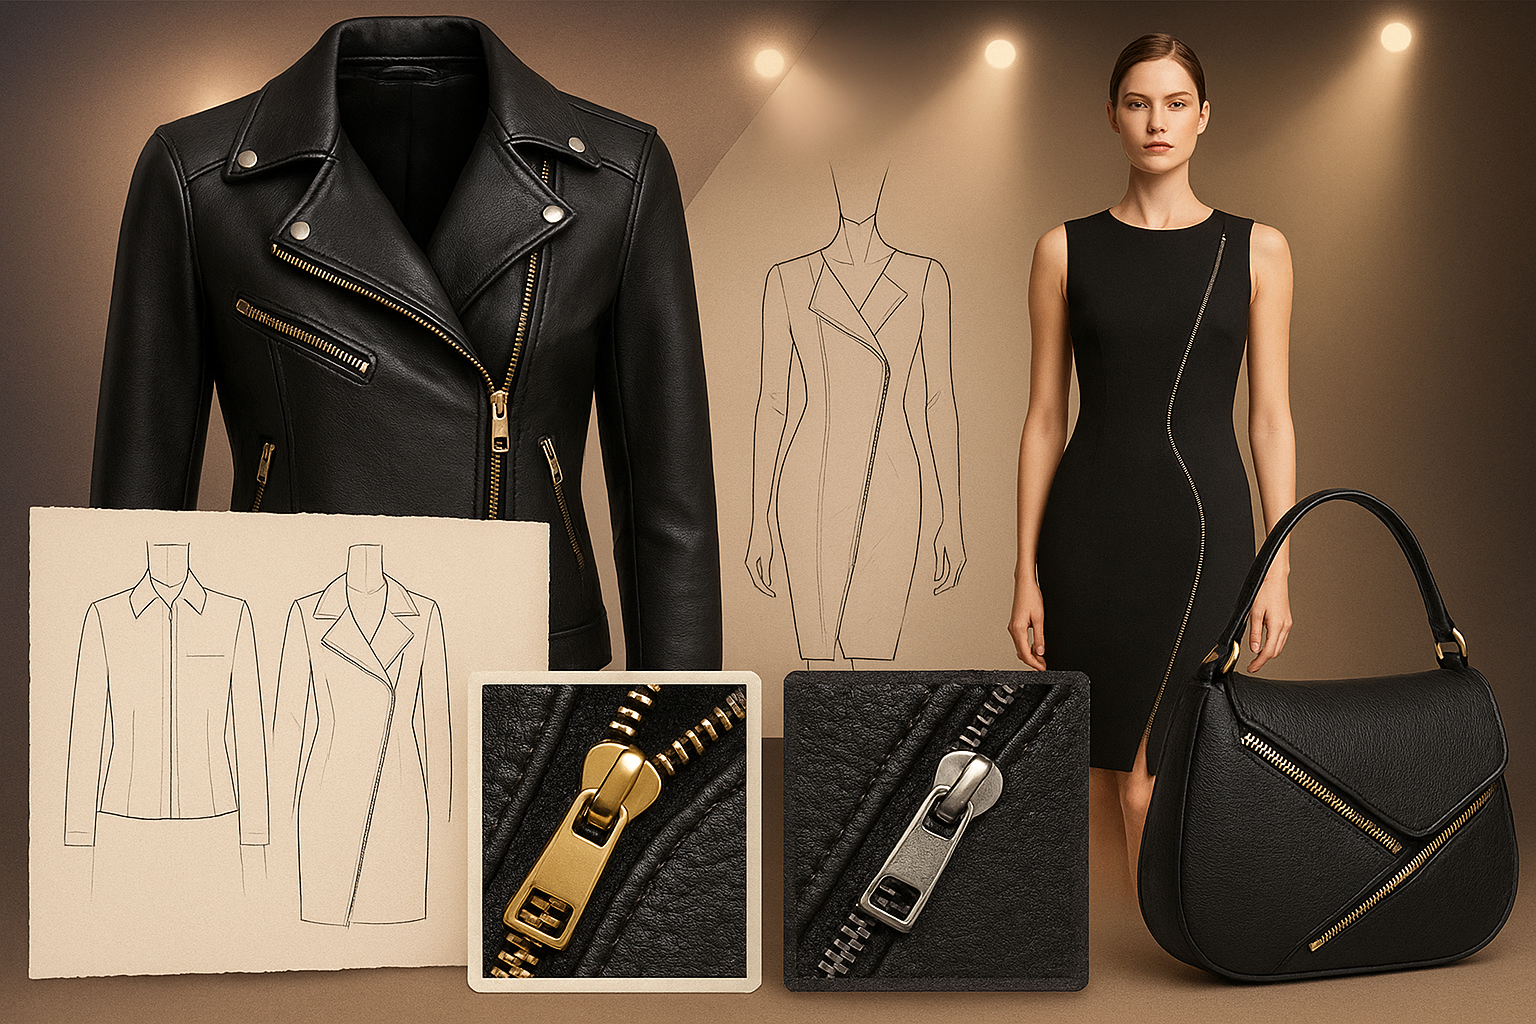
Here’s where creativity comes in! Decide on:
Pockets (zipper, flap, or welt)
Zipper or button closure
Decorative stitching or paneling
Shoulder or elbow patches
Include these details in your pattern so they are ready to cut and attach when sewing.
Once your pattern pieces are complete, label them clearly and cut them out of your pattern paper. You can test the fit using a muslin or scrap fabric first—this helps identify any adjustments before cutting the actual leather.
Lay the pattern pieces on your leather hide, pin them lightly, and carefully cut with a sharp rotary cutter or leather scissors. Keep strips consistent and follow your markings precisely—accuracy is key to a professional-looking jacket.
Use a heavy-duty leather sewing machine or hand-stitch with strong leather needles. Start by assembling the main body, then attach sleeves, collars, and style details. Reinforce seams for durability.
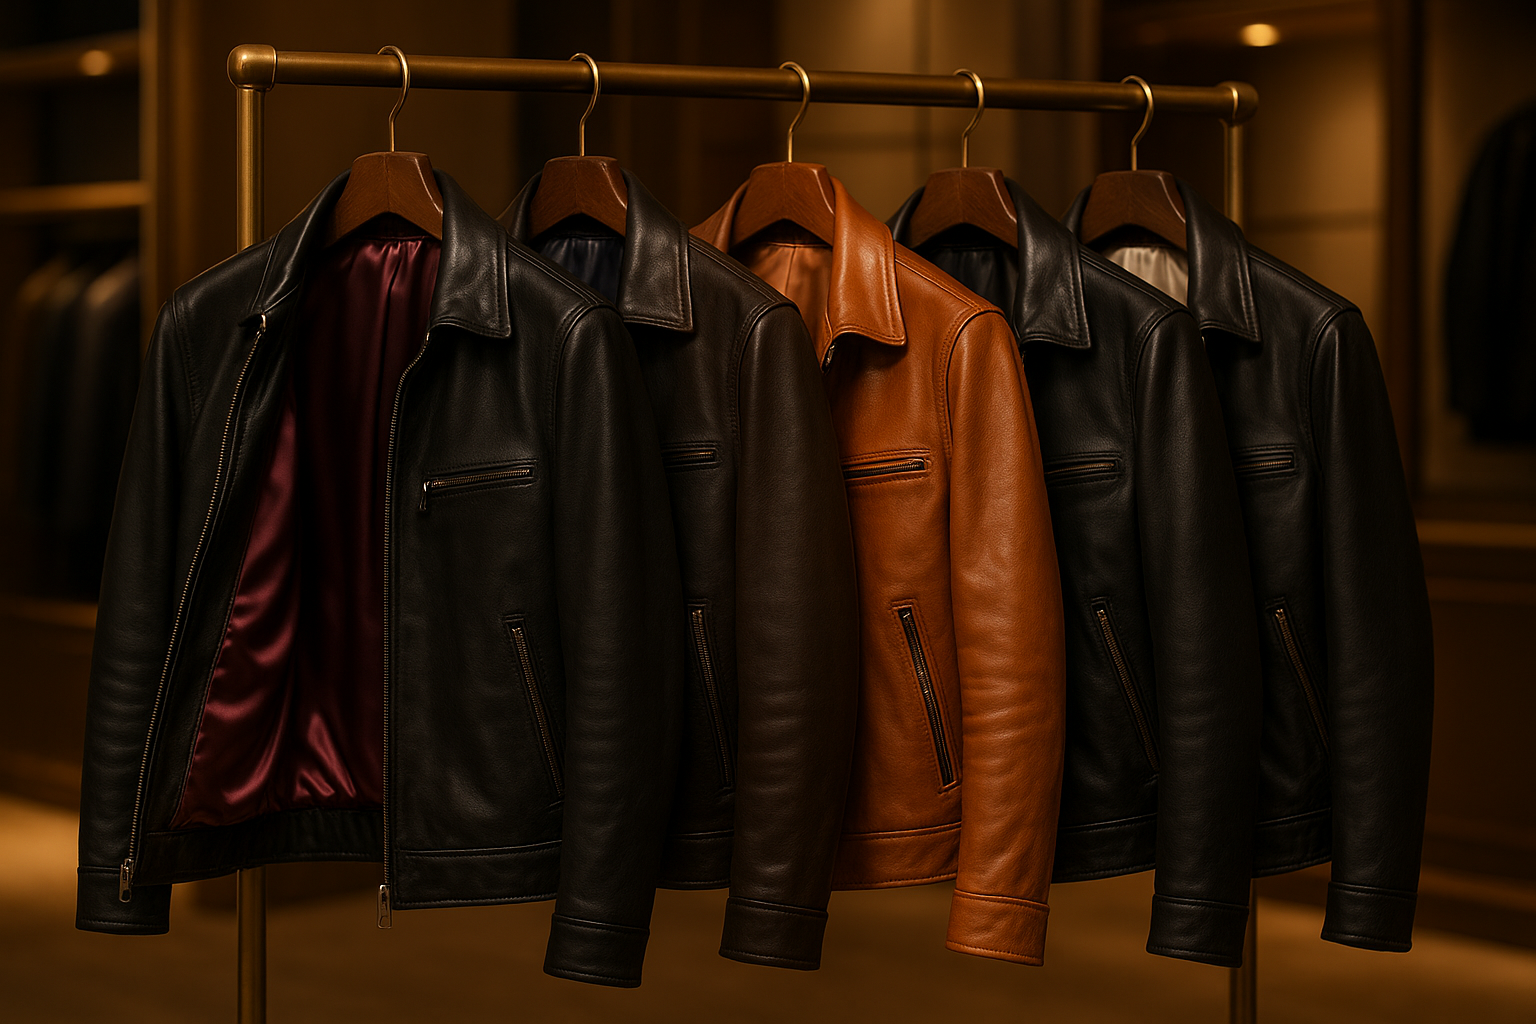
Once your jacket is assembled:
Smooth edges
Add hardware like zippers, snaps, or conchos
Condition the leather to maintain softness and flexibility
And voilà—you’ve created a custom leather jacket that’s uniquely yours!
Q1: Can beginners create a leather jacket pattern from scratch?
A: Absolutely! Start simple, take accurate measurements, and draft carefully. You can add complex details as you gain confidence.
Q2: What leather is best for a DIY jacket?
A: Cowhide and lambskin are ideal—durable, soft, and flexible for sewing. Avoid very stiff or thin leathers for your first project.
Q3: How do I ensure the jacket fits properly?
A: Always measure carefully and test your pattern on scrap fabric or muslin before cutting the leather. Adjust as needed.
Q4: Do I need special tools for cutting leather?
A: Yes. Use sharp leather scissors, a rotary cutter, or a utility knife. Heavy-duty needles are required for sewing.
Q5: Can I add pockets and zippers to my pattern?
A: Definitely! Include them in your pattern during drafting so you can cut and attach pieces precisely.