Cart
0
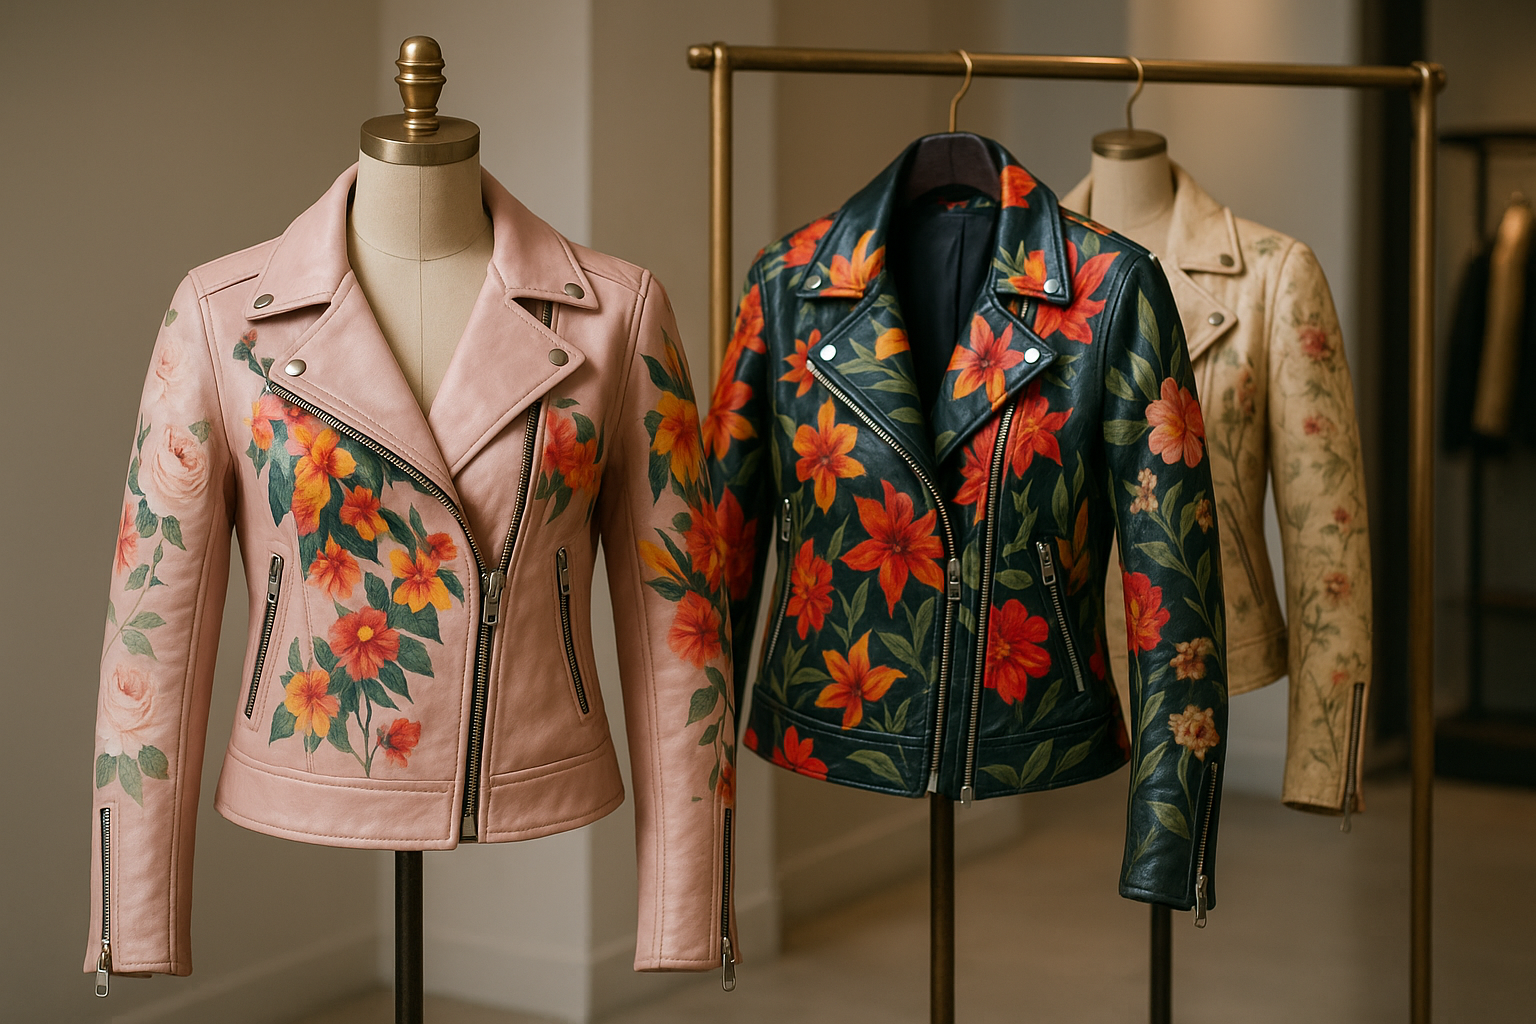
You may also like


Buying a store-bought leather jacket pattern is a great starting point, especially for beginners. But if you want a jacket that fits perfectly and reflects your personal style, some customization is key. Modifying pre-made patterns allows you to adjust measurements, tweak seams, and add your own creative touches—without starting completely from scratch.
This guide will walk you through how to make a store-bought pattern truly your own.
Pre-made patterns are designed to fit an average size, which may not match your body perfectly. Customizing ensures:
A better fit for your shoulders, chest, and waist
Proportional sleeve length and jacket length
Personalized design details like pockets, collars, and panels
With small modifications, a standard pattern can feel like it was tailor-made just for you.
Before adjusting the pattern, take precise measurements of your body:
Chest
Waist
Hips
Shoulder width
Sleeve length
Jacket length
Compare these with the pattern measurements to identify where adjustments are needed.
Common modifications include:
Length: Shorten or lengthen the jacket or sleeves for your ideal fit.
Width: Increase or decrease chest, waist, or hip measurements.
Darts and Seams: Move or add darts for a more tailored shape.
Always mark your changes clearly on the pattern and use a ruler for accuracy.
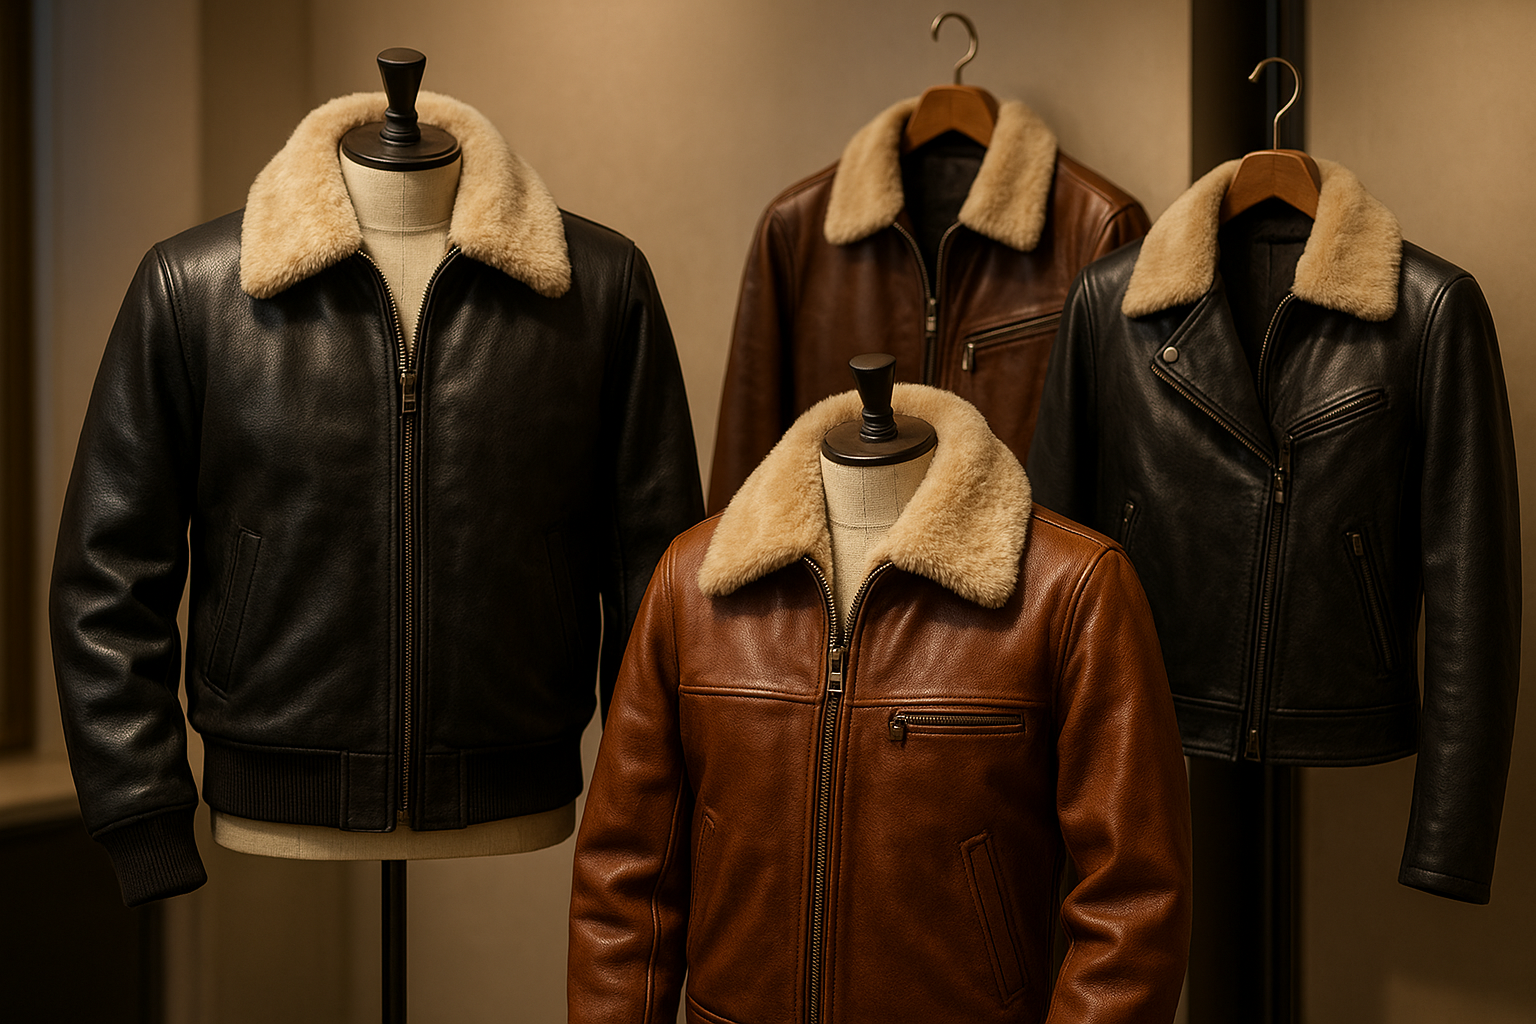
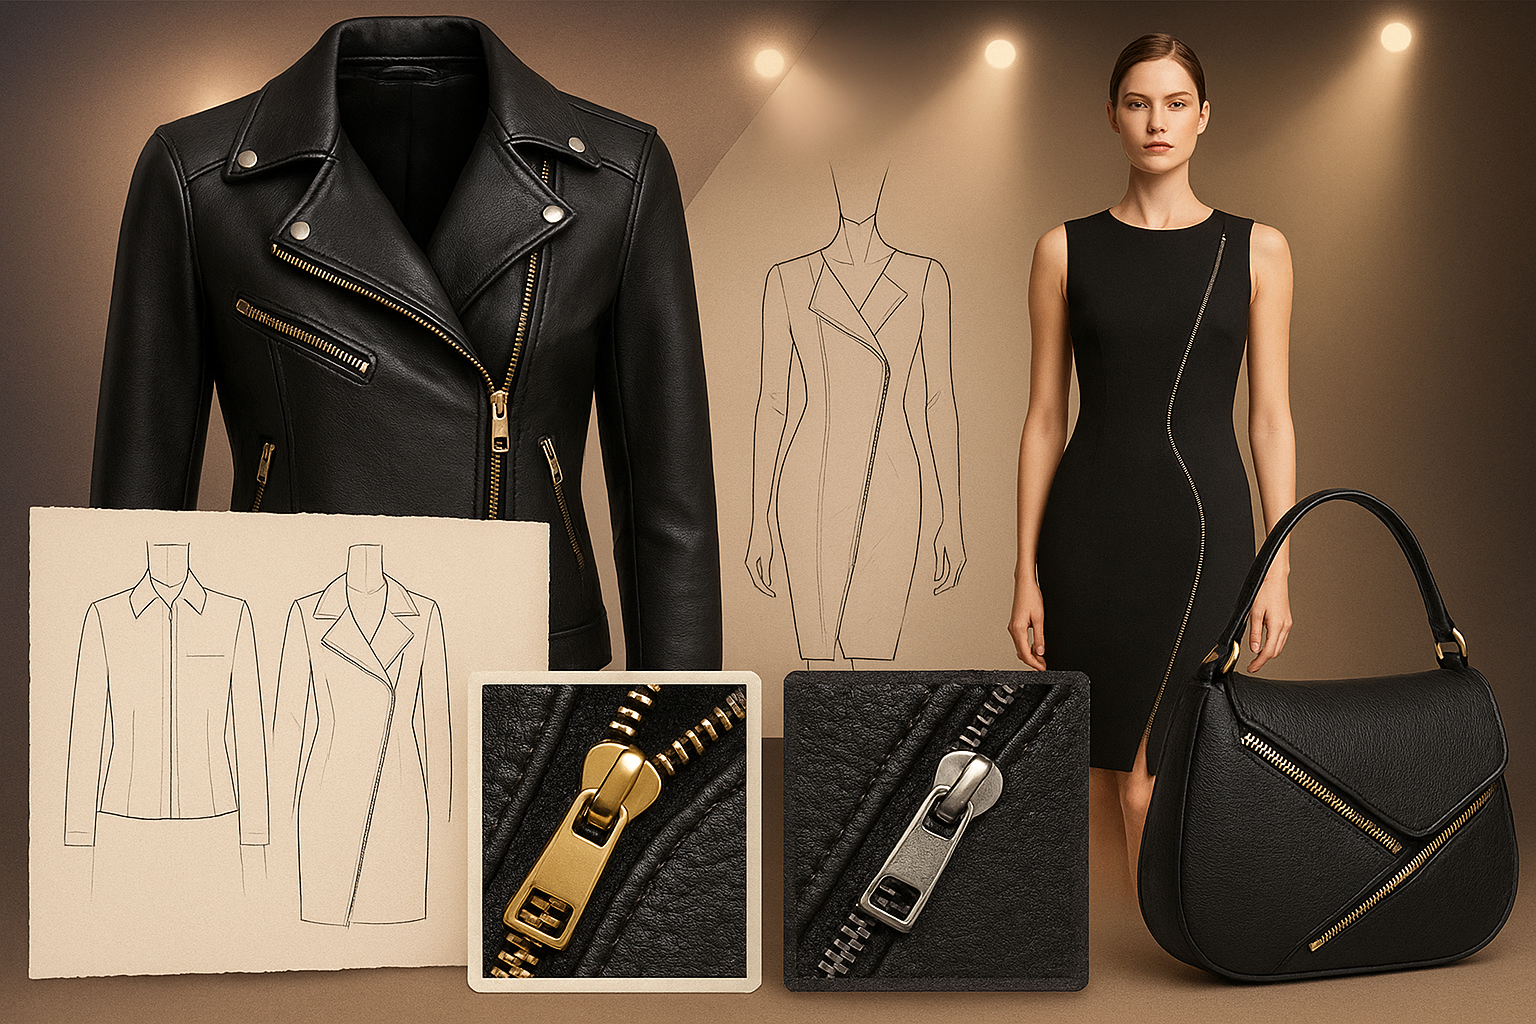
This is your chance to get creative! Consider:
Different collar styles
Pocket placements (zipper, flap, or welt)
Decorative seams or paneling
Shoulder or elbow patches
Integrate these into your modified pattern so that everything aligns when cutting the leather.
Before cutting the actual leather, test your modified pattern using muslin or scrap fabric. This allows you to make adjustments without risking expensive leather. Ensure sleeves, shoulders, and torso fit comfortably.
Once the pattern is finalized:
Lay it on your leather hide carefully
Pin lightly and cut precisely
Assemble using a heavy-duty sewing machine or hand-stitch with leather needles
Reinforce seams for durability
Add zippers, buttons, or snaps as needed. Smooth edges and condition the leather to maintain softness and flexibility. Your modified, one-of-a-kind leather jacket is now ready to wear!
Q1: Can beginners modify a store-bought leather jacket pattern?
A: Absolutely! Start with small adjustments and test the fit with fabric before cutting leather.
Q2: How do I know where to adjust the pattern?
A: Compare your body measurements with the pattern. Focus on chest, waist, hips, shoulder width, and sleeve length.
Q3: Can I add pockets and style details to a store-bought pattern?
A: Yes! Mark them on your modified pattern so they align perfectly when cutting and stitching.
Q4: Should I test the modified pattern before cutting leather?
A: Definitely. Use muslin or scrap fabric to ensure a perfect fit and avoid mistakes on expensive leather.
Q5: What tools do I need for modifying and sewing leather patterns?
A: You’ll need measuring tape, rulers, pattern paper, scissors, leather cutting tools, and a heavy-duty sewing machine or leather hand-stitching needles.